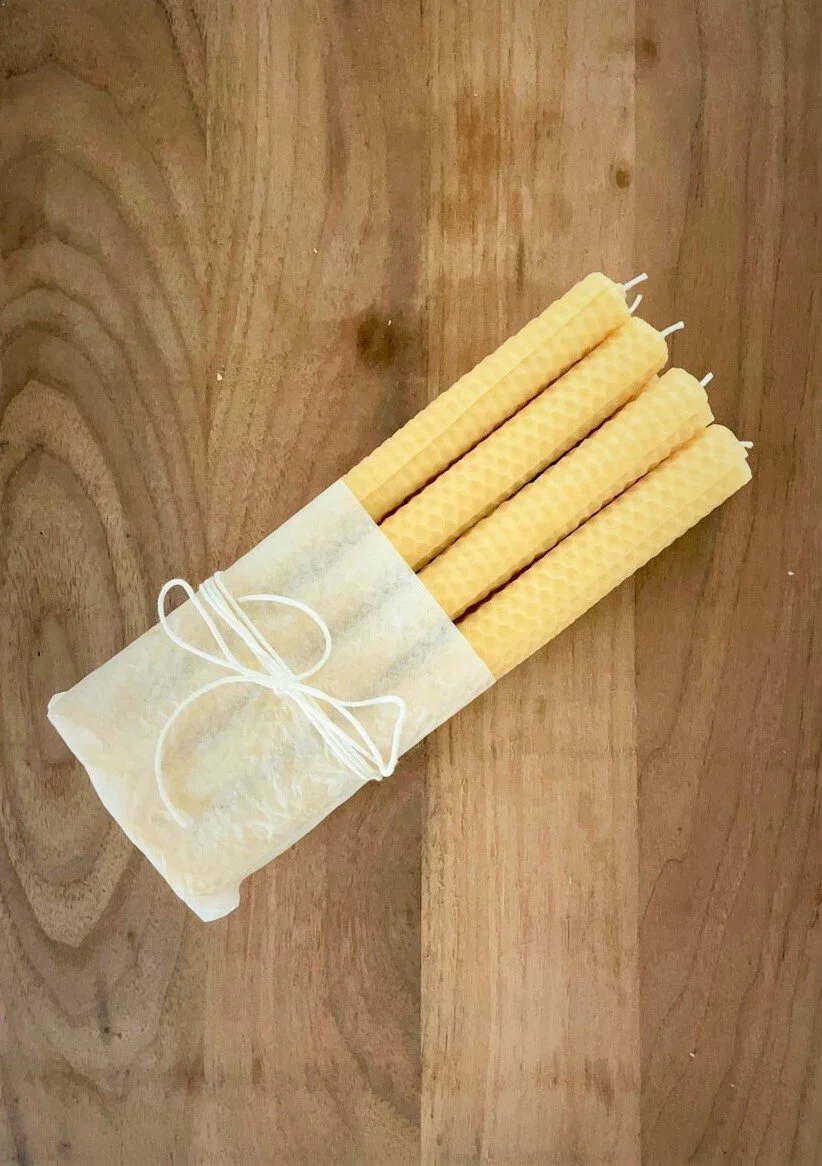
I WANTED TO SHARE THIS AWESOME BEESWAX TAPER CANDLE TUTORIAL WITH YOU TODAY. THIS PROJECT IS SUPER QUICK AND EASY TO DO! THE END RESULTS WILL MAKE GREAT GIFTS FOR LESS THAN $4 A PERSON (IVE INCLUDED A QUICK GIFT IDEA AT THE END OF THIS POST!).
This is not a sponsored post but links contain affiliate links. If you make a purchase through one of my links (at no additional cost to you), I may earn a small commission. Thank you so much for your support!
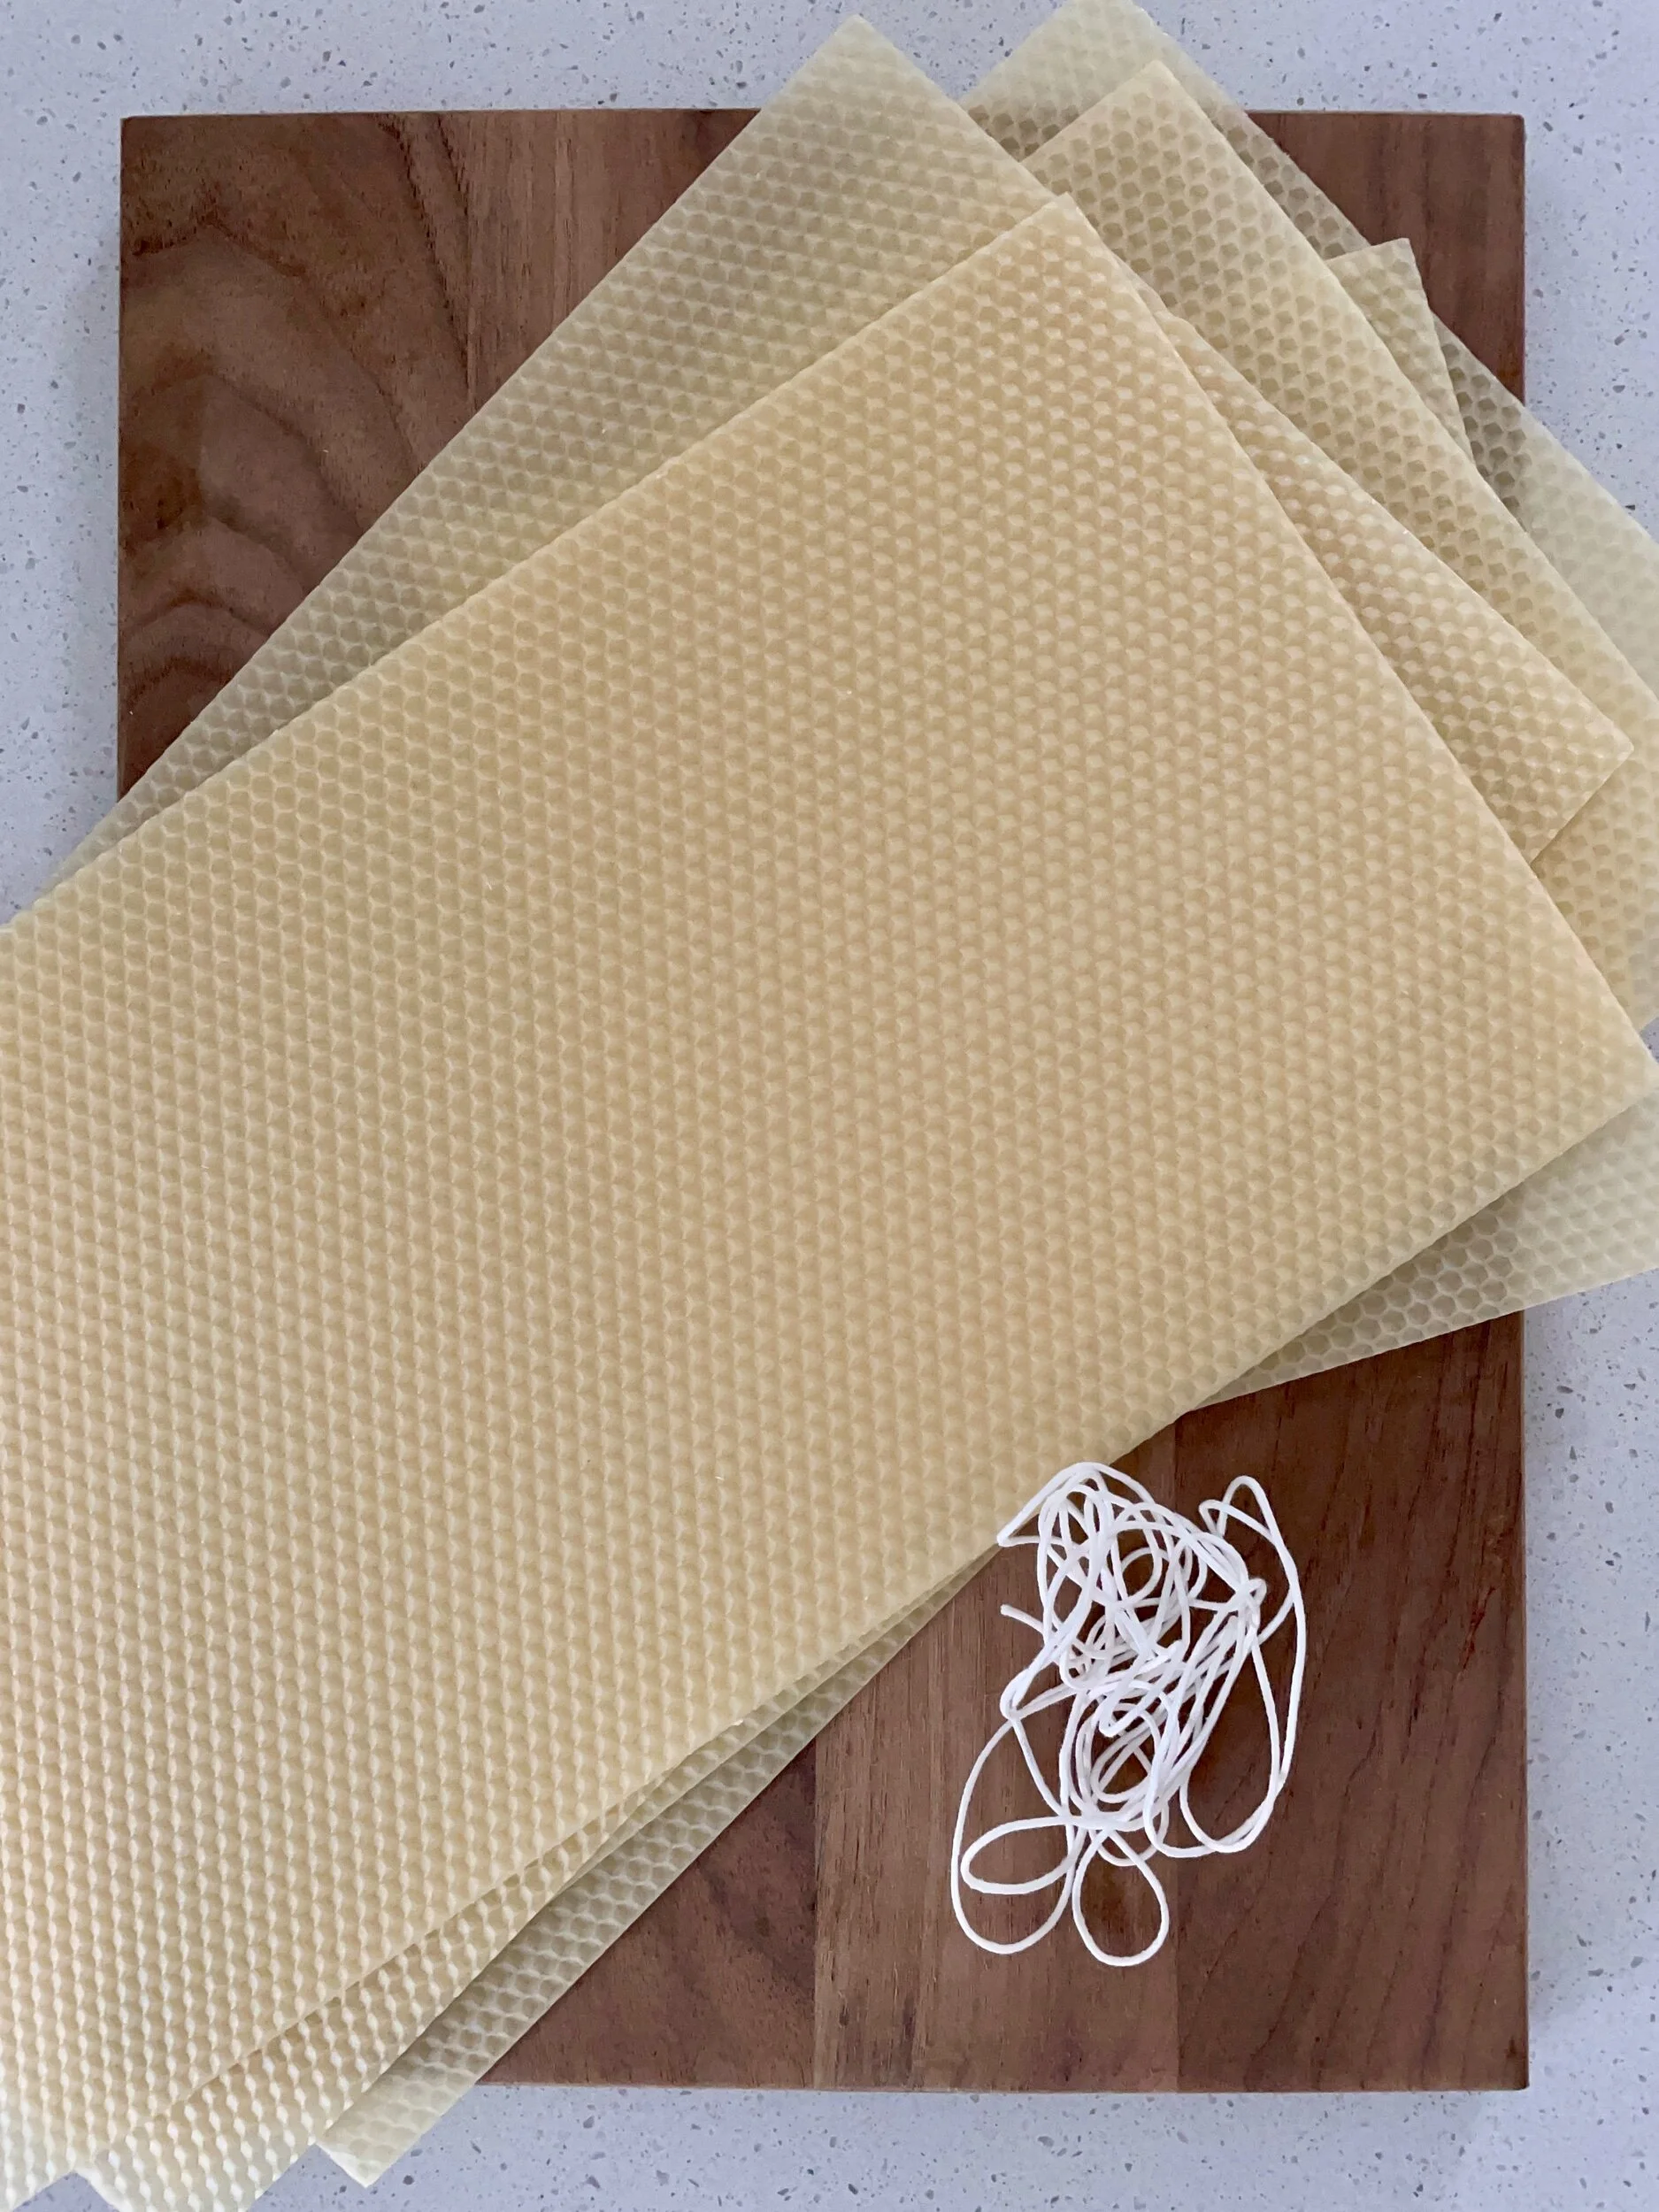
Making these gorgeous beeswax candles is super easy to do. My favorite part (besides their cost) is that this project doesnt involve melting wax and there is virtually no mess to clean afterwards! Making these candles only takes a few minutes and each candle only costs about $1.65 each. For this project you will need:
This beeswax kit from amazon
A knife or scissors
Parchment (to keep your work surface clean + easy clean up)
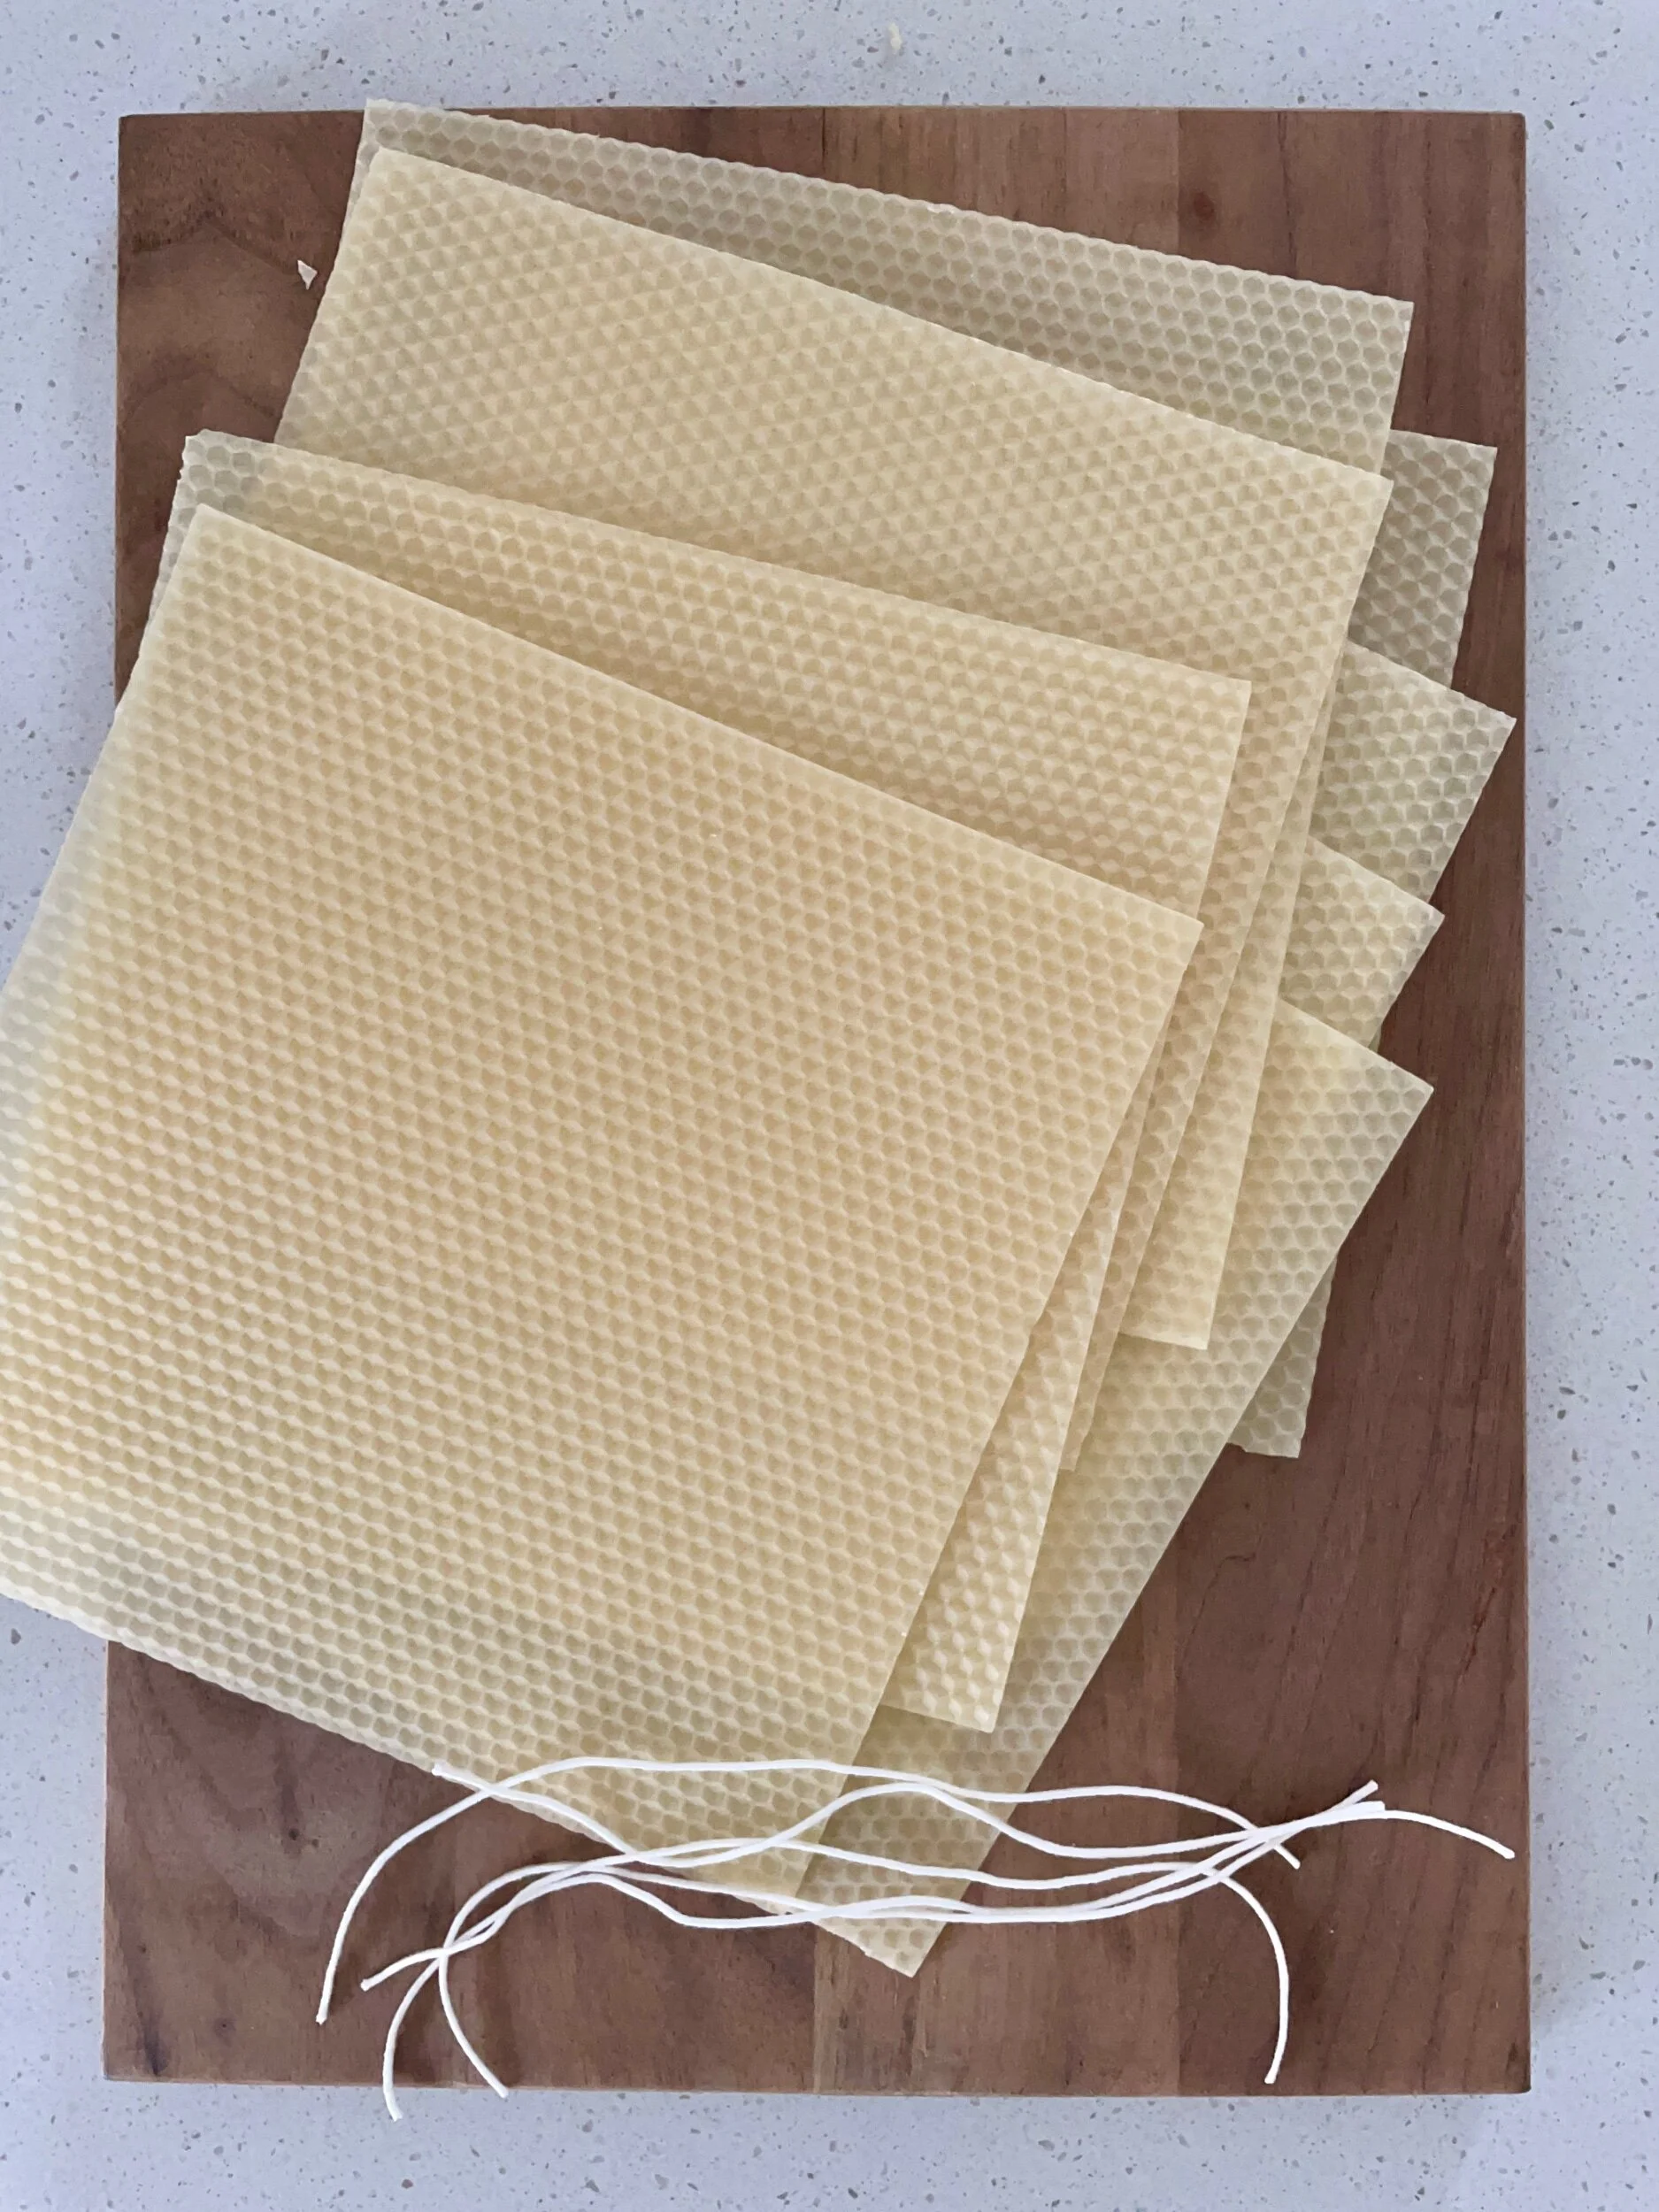
First, you want to cut your wax sheets in half making two 8″x 8″ sheets. I start my roll from the cut end so don’t worry if they aren’t perfect.
Next, cut your wick string about 8.5” long (save time but prepping all the string at once) and lay it along the cut edge of the wax sheet. You want the extra 1/2” of wick poking out on one end like you see in the image.
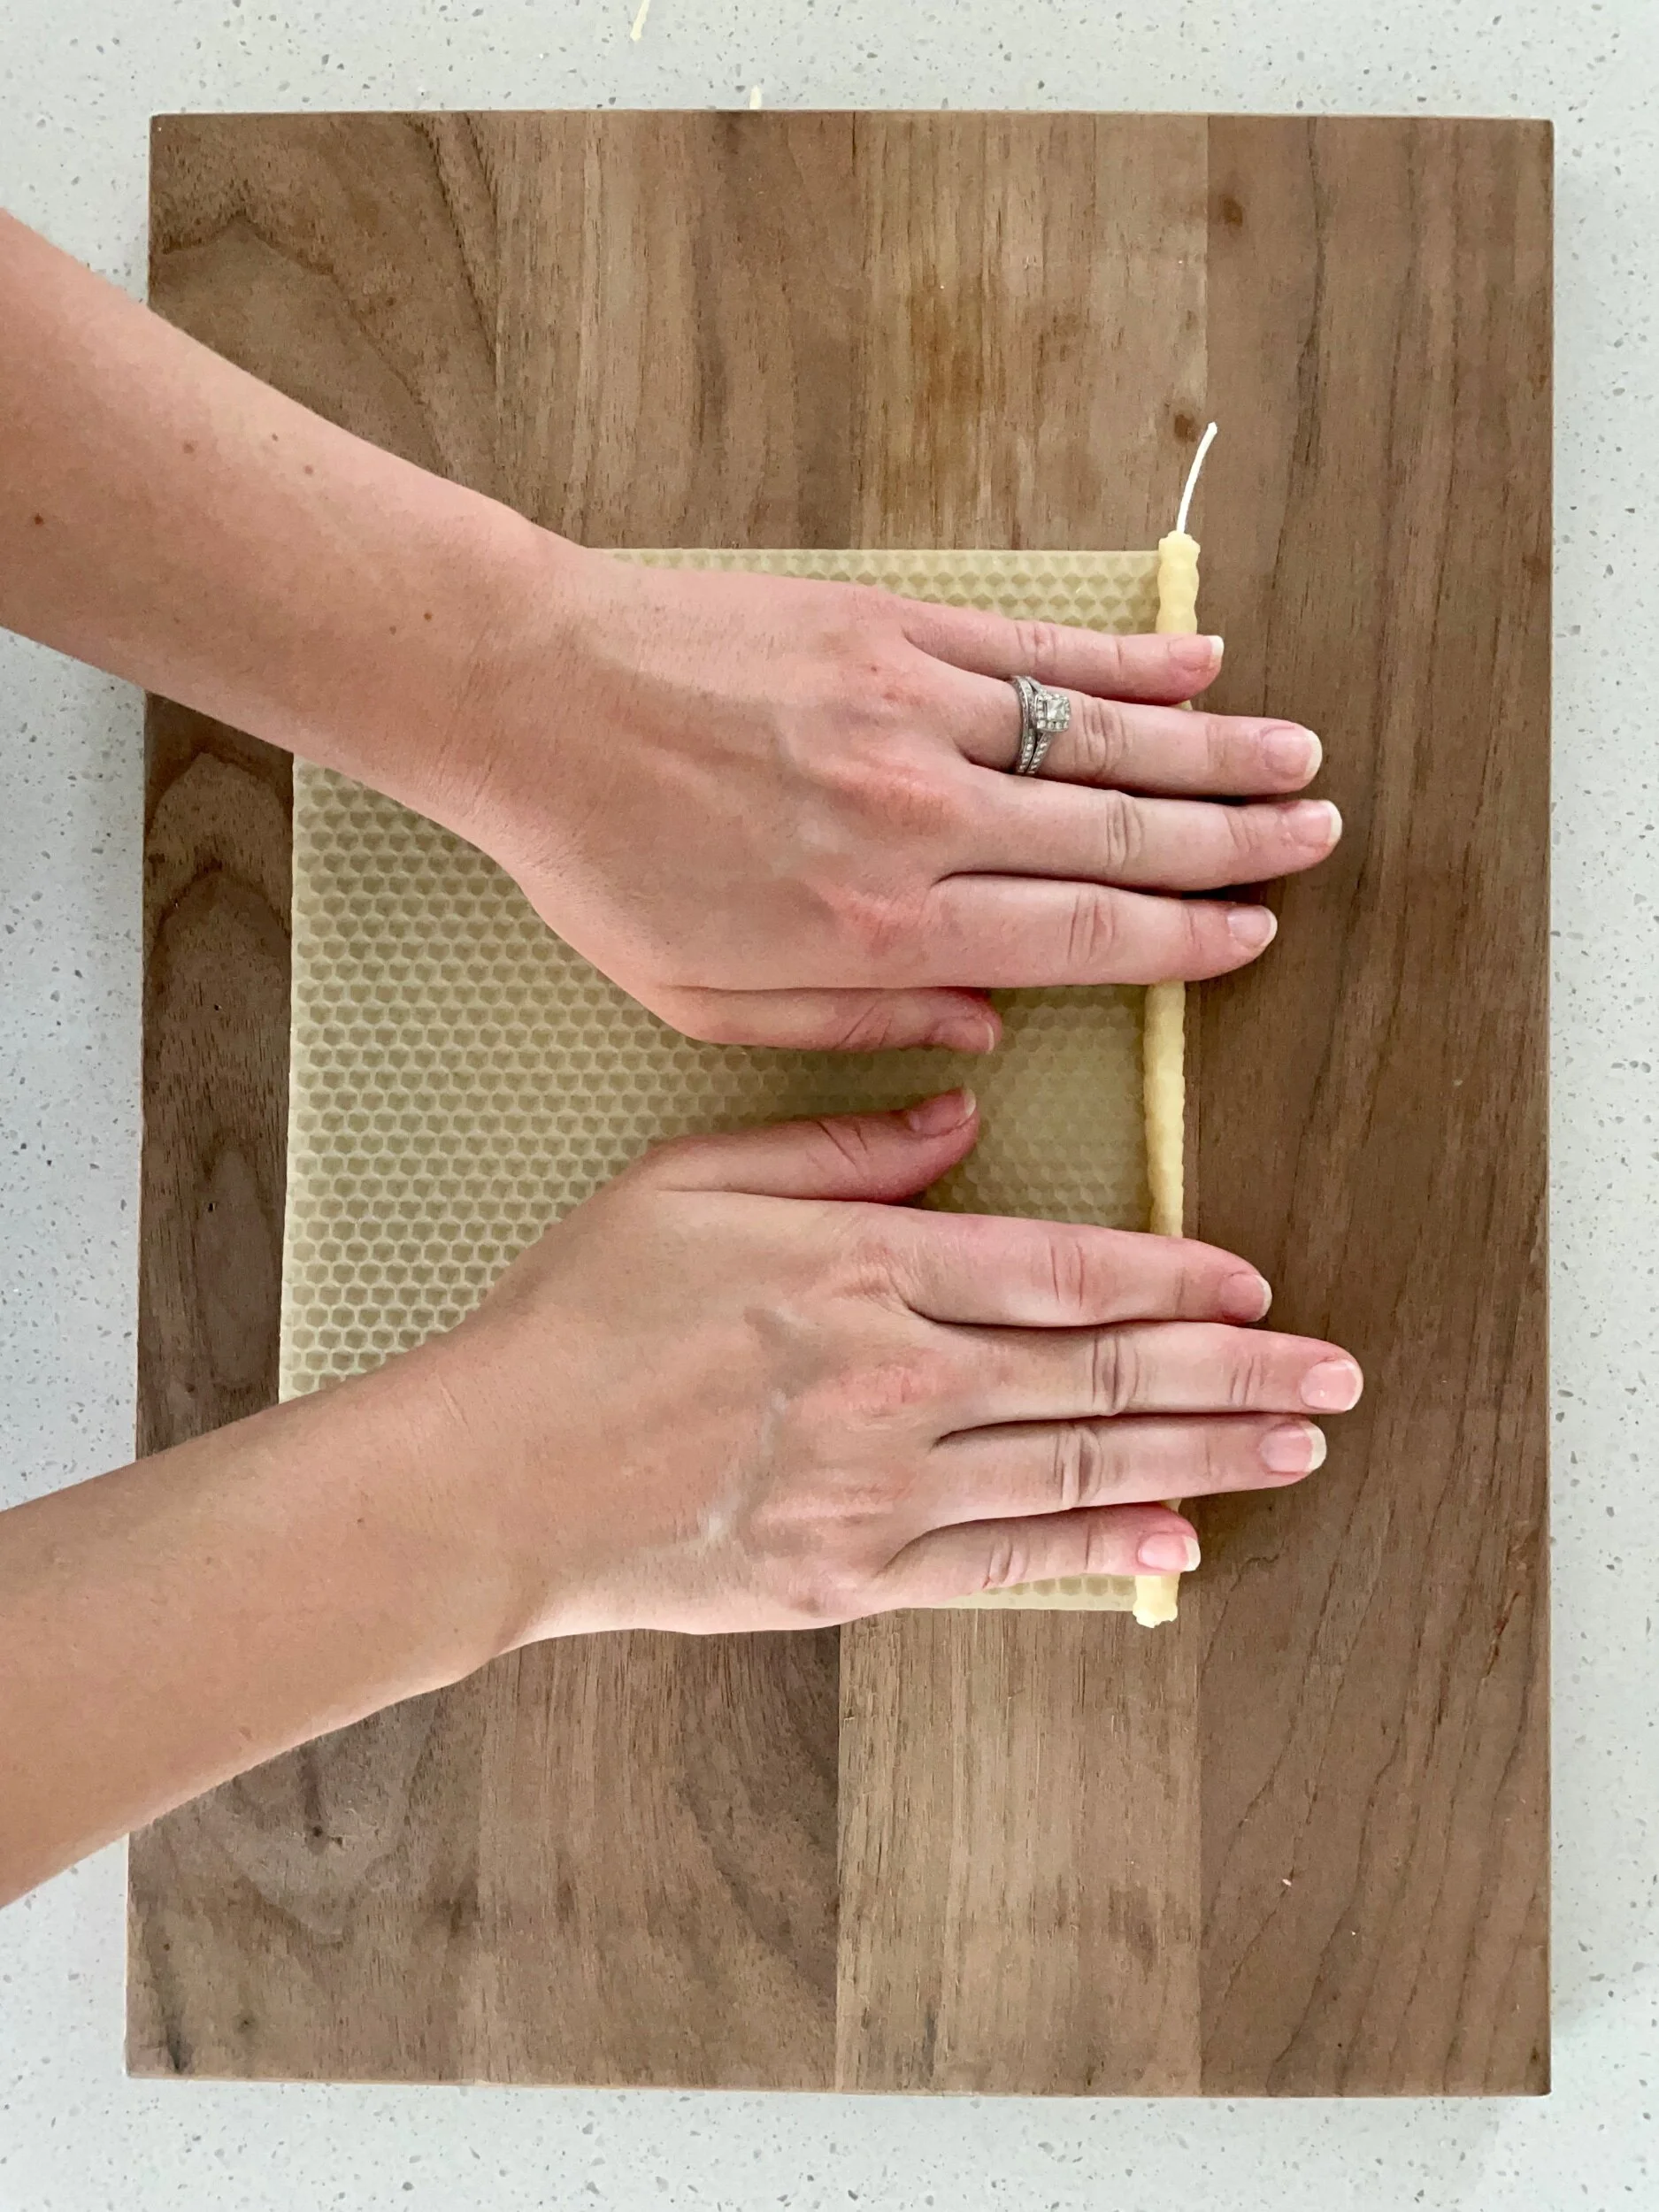
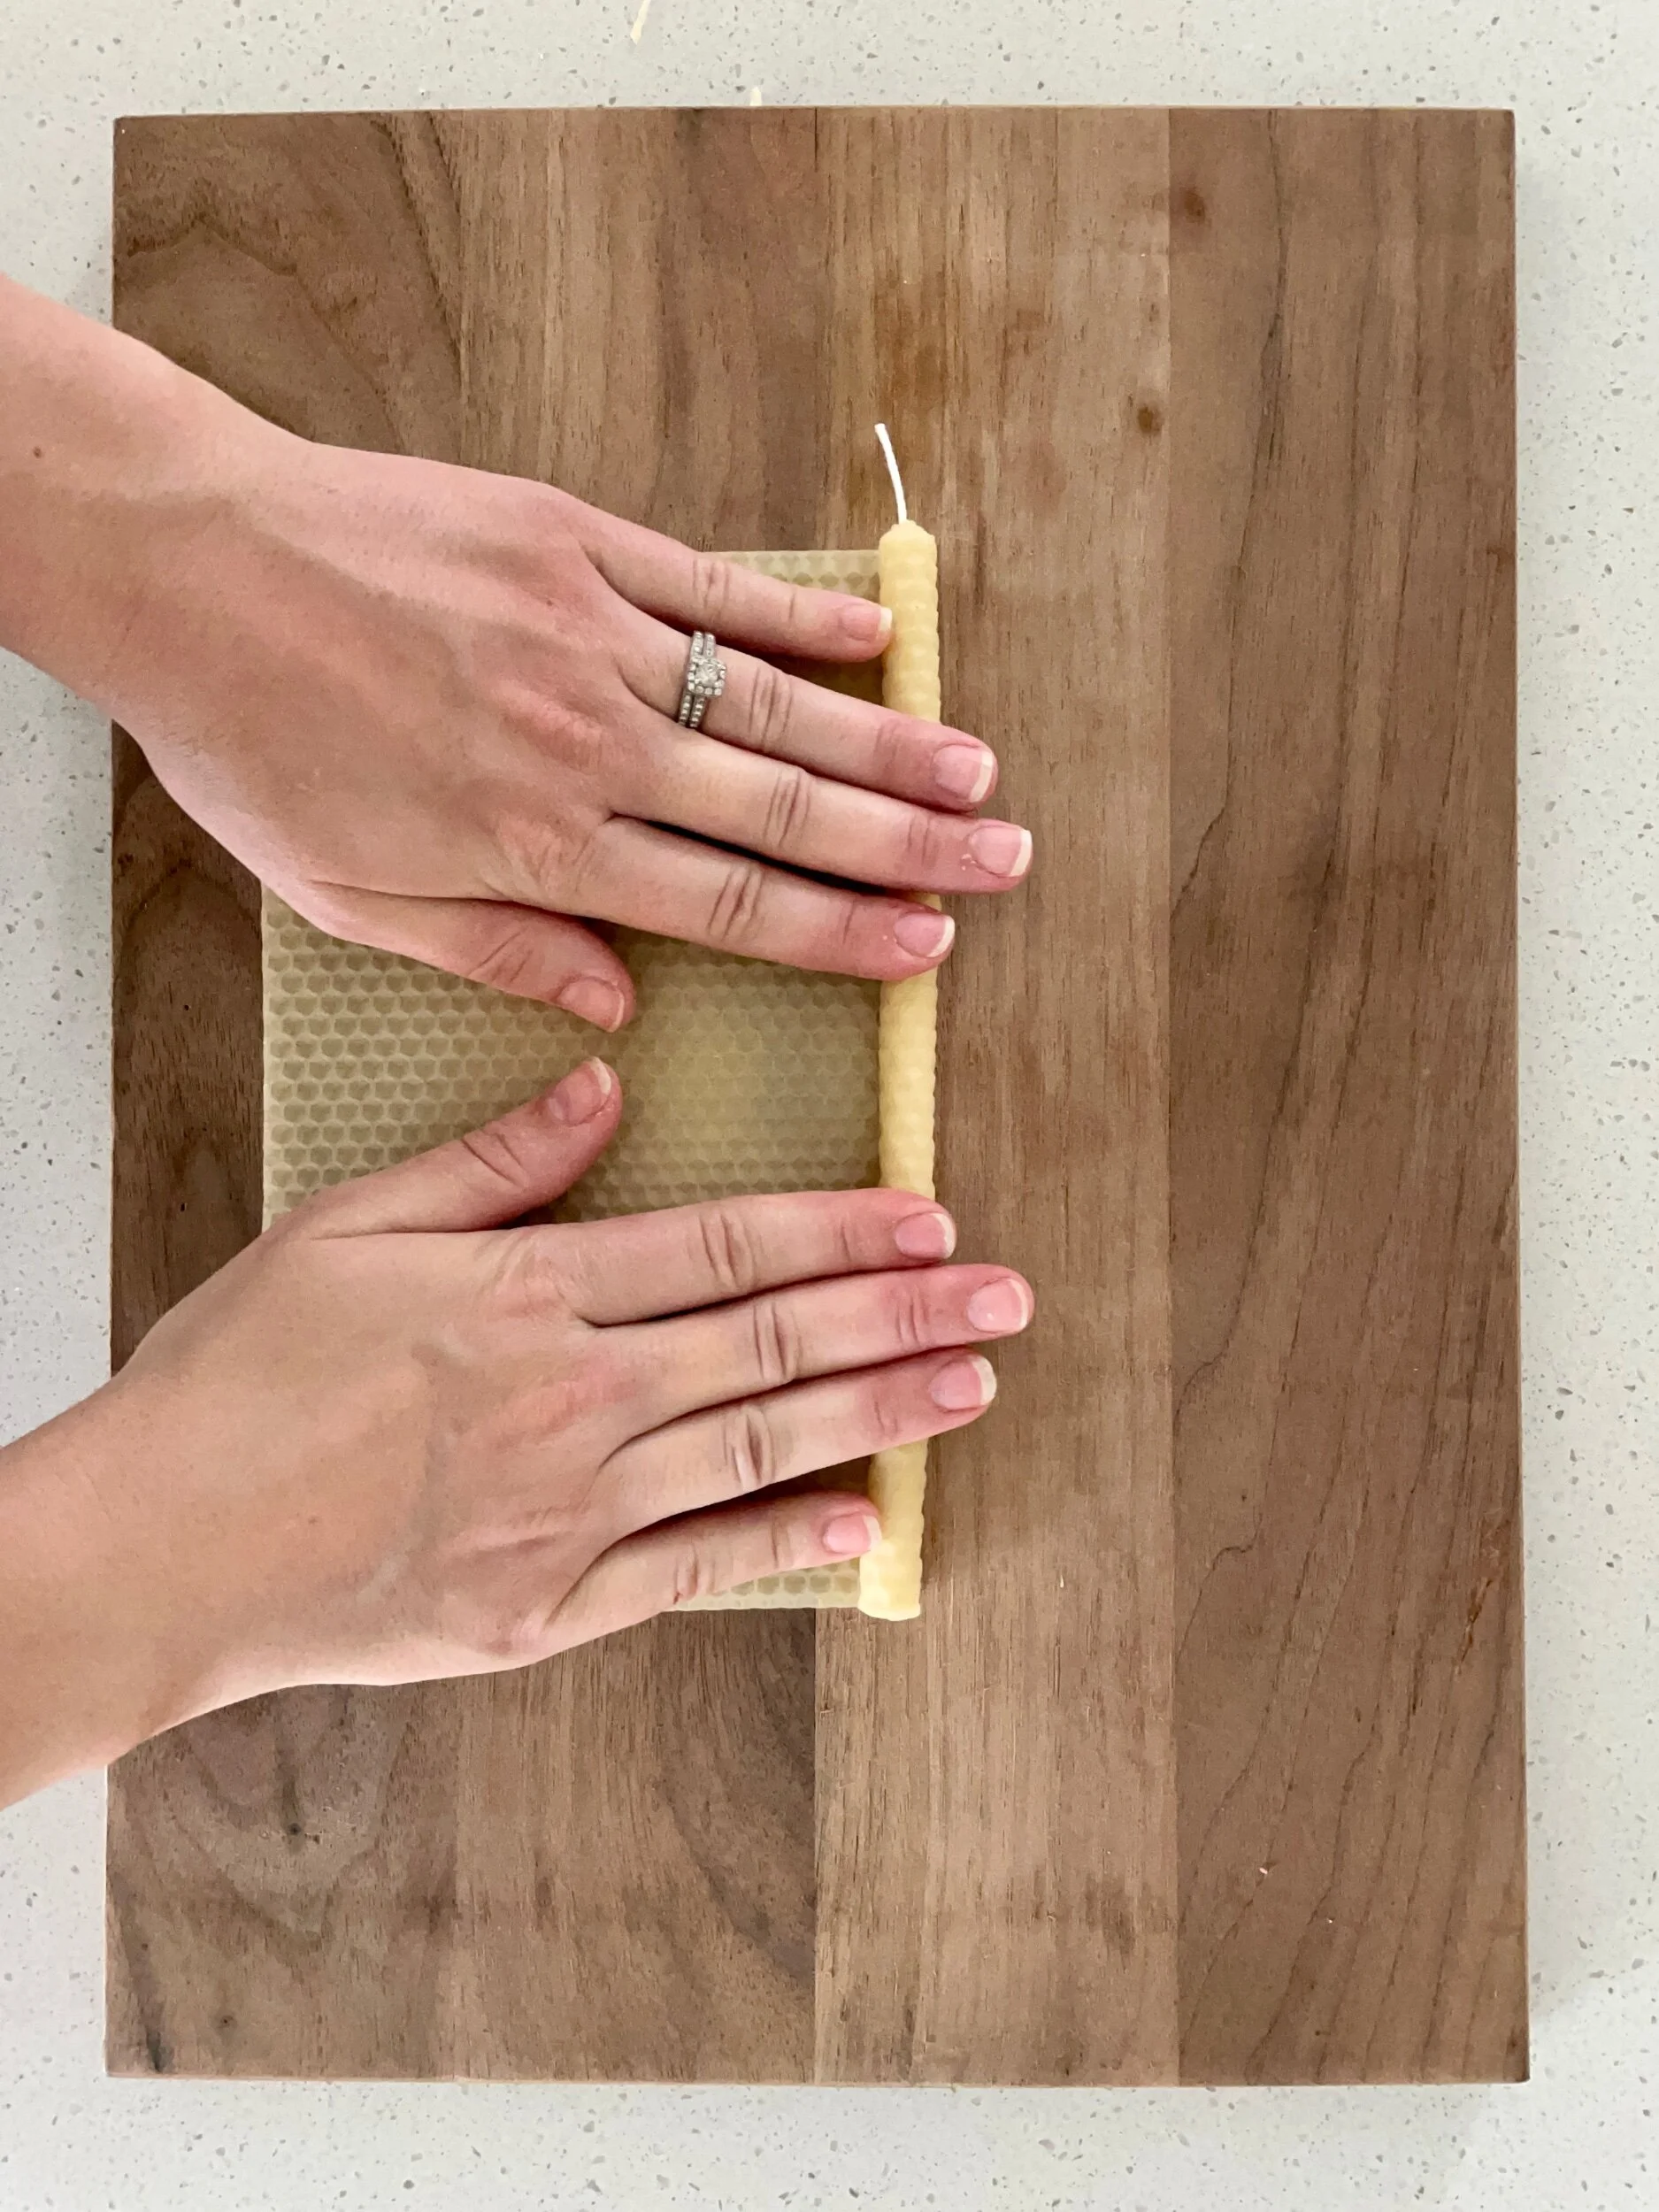
Now, use your fingers to roll the wax tightly around the wick. I pressed the wax down a little to be sure the wick wouldn’t slip out. The tighter you roll your candle, the longer your candle will burn.
Just keep rolling, rolling…
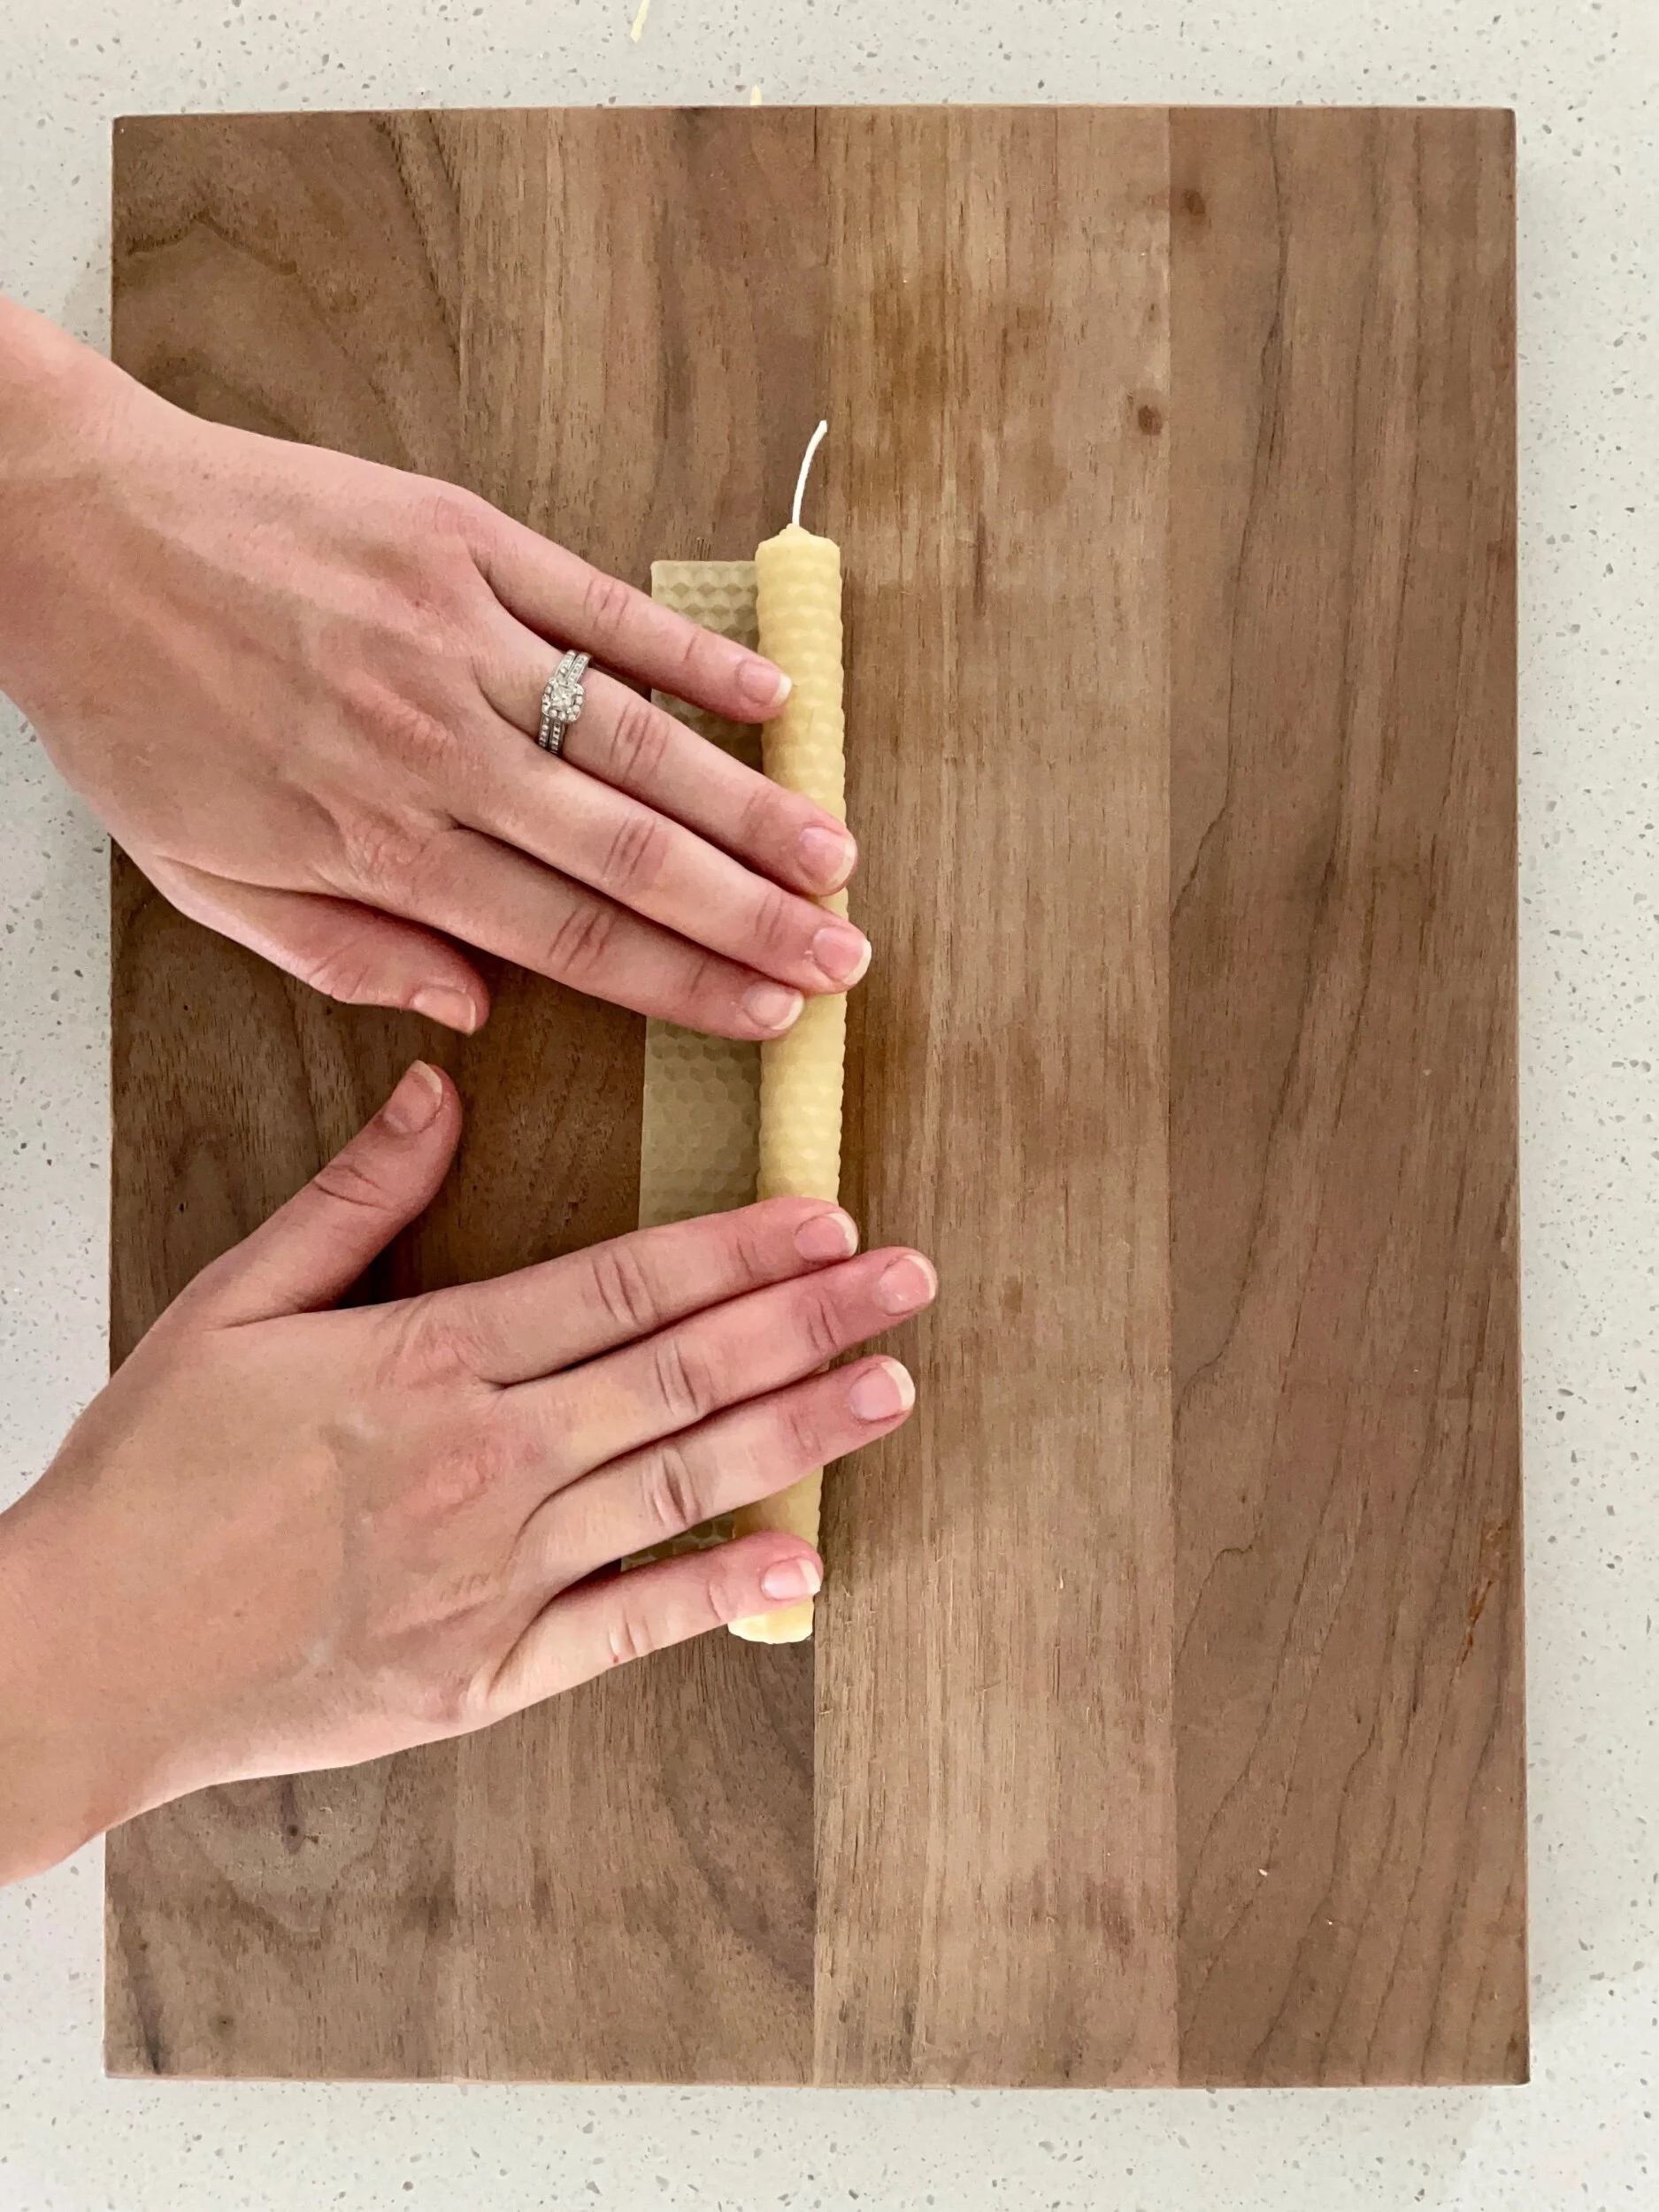
Just keep rolling, rolling…
Continue to roll up until you reach the end of the wax sheet. The tackiness of the wax helps to keep it rolled. I found rolling towards me gave me a tighter, more even roll.
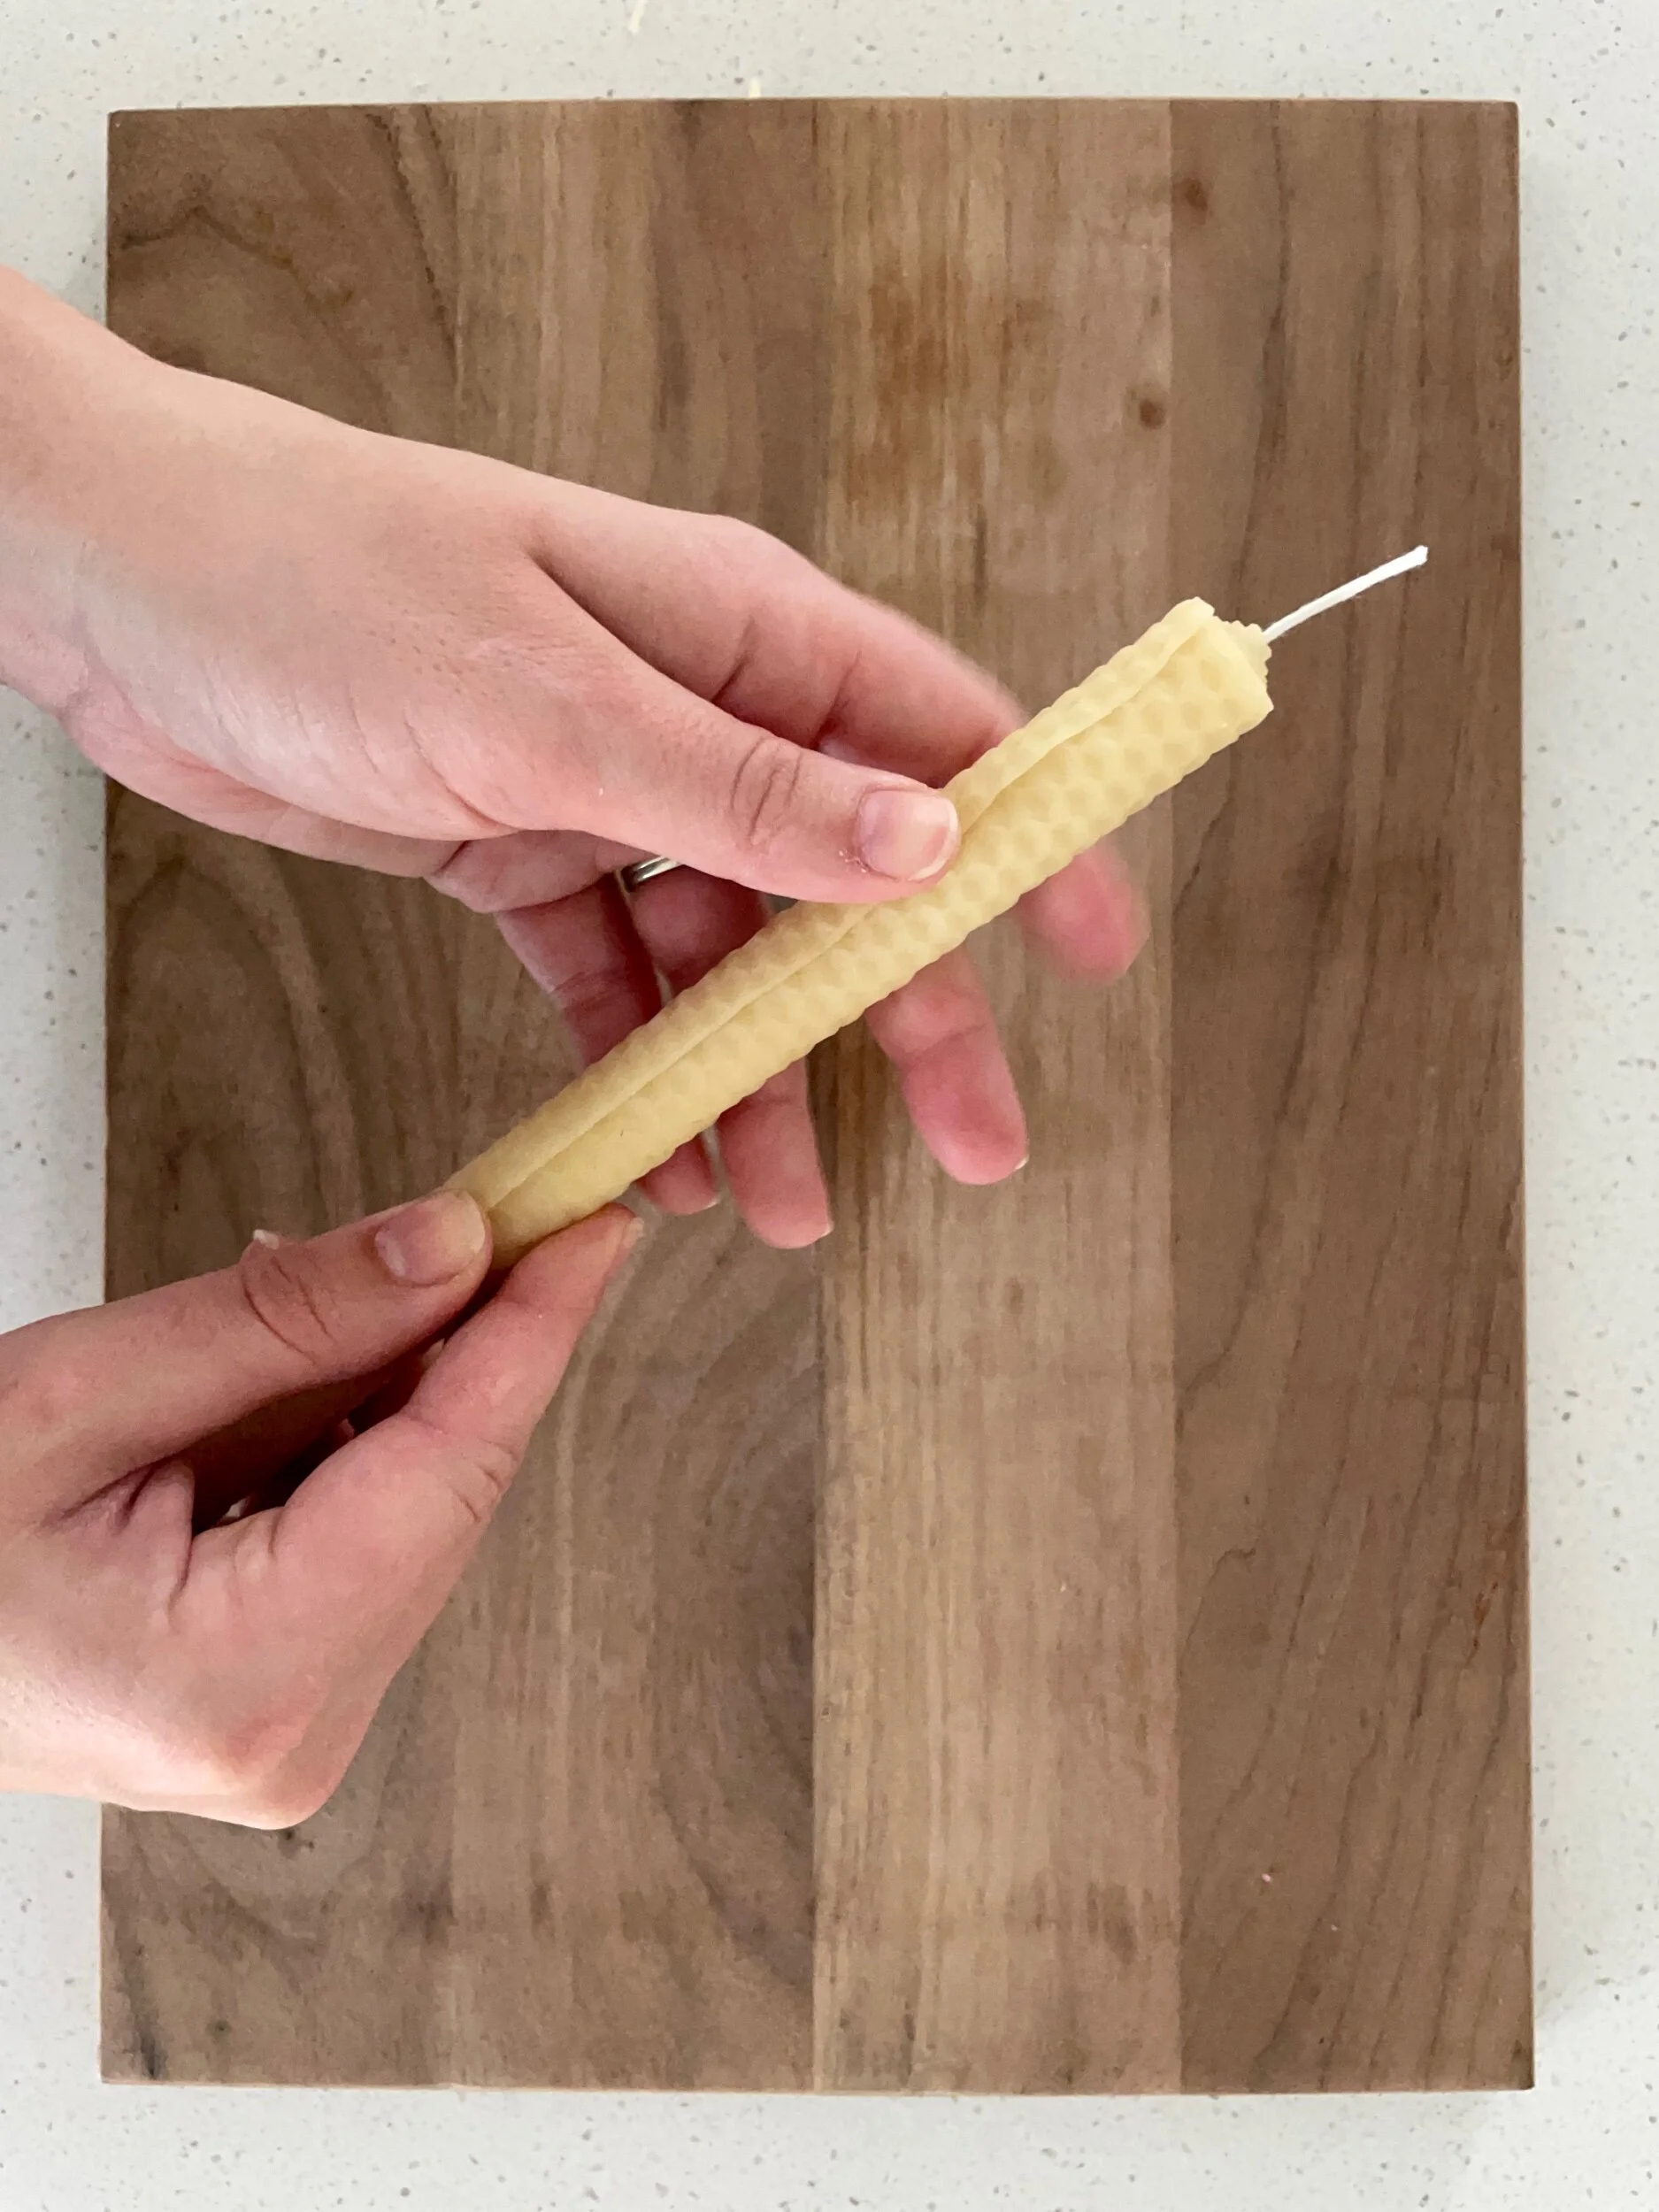
Once I reach the end, I like to press the edge of the wax seam into itself to be sure the tactiness holds its place.
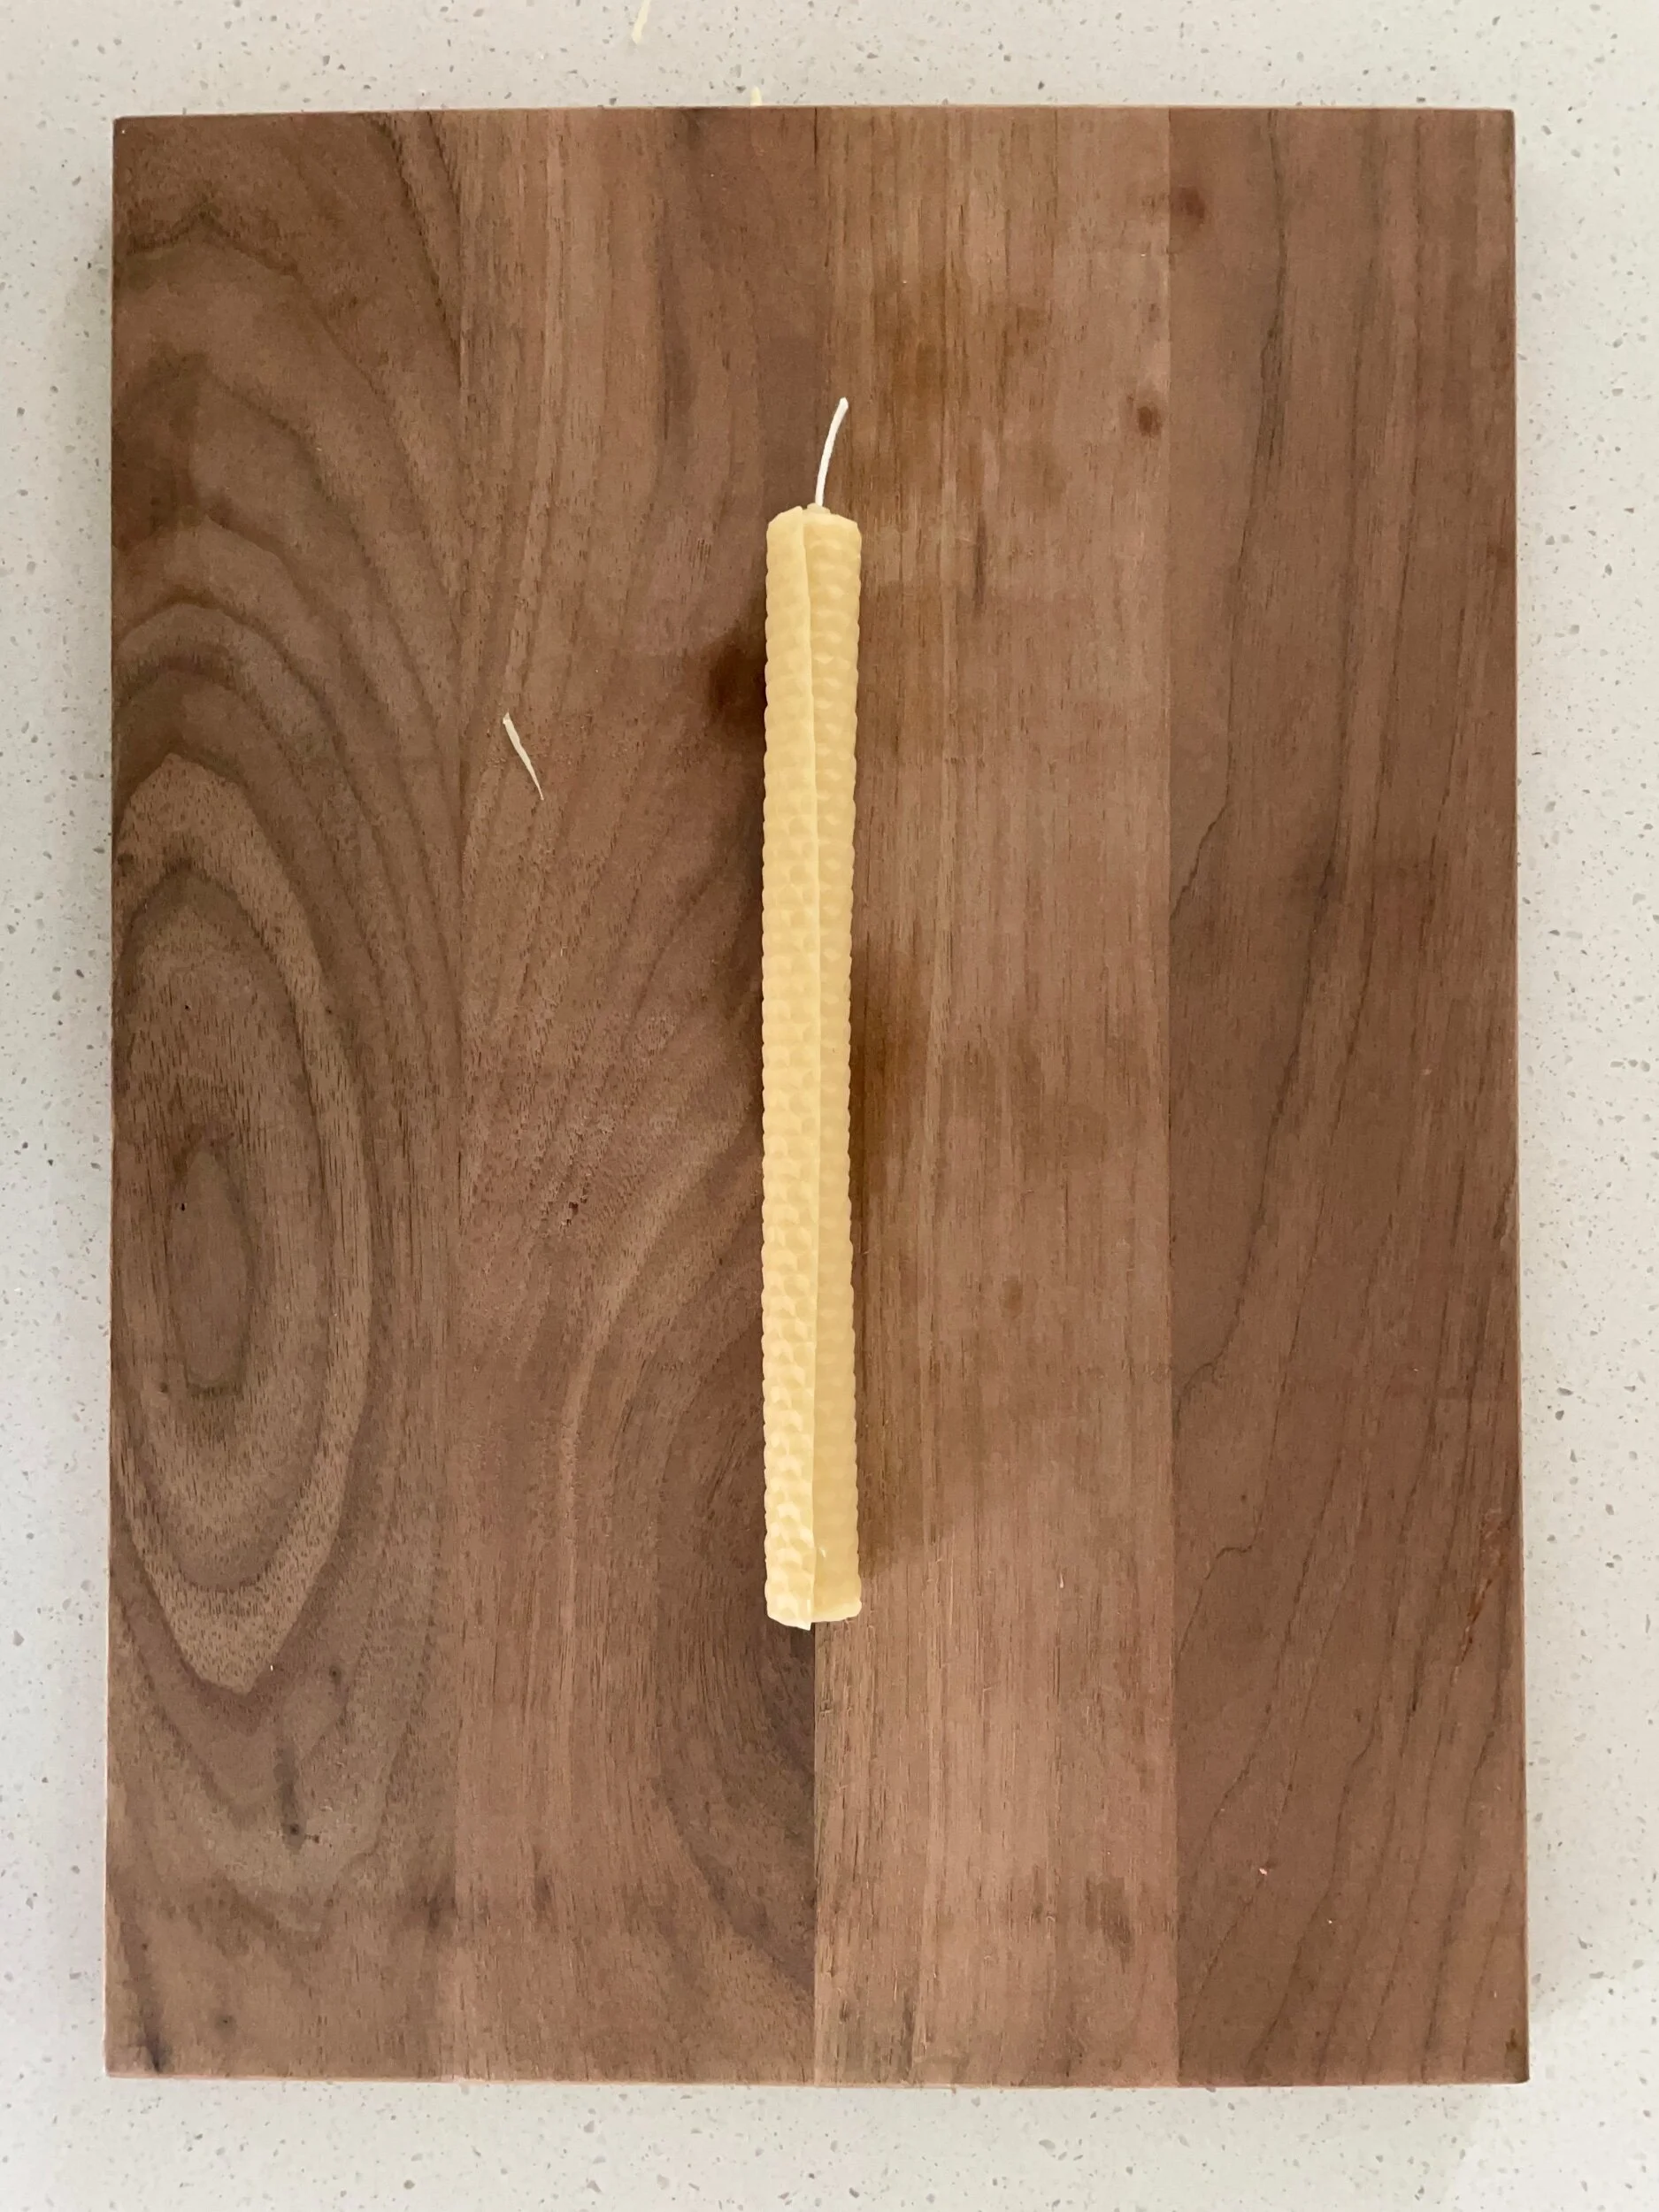
Now, its ready to be placed in a holder and lit. That was so easy you will want to do it 19 more times!
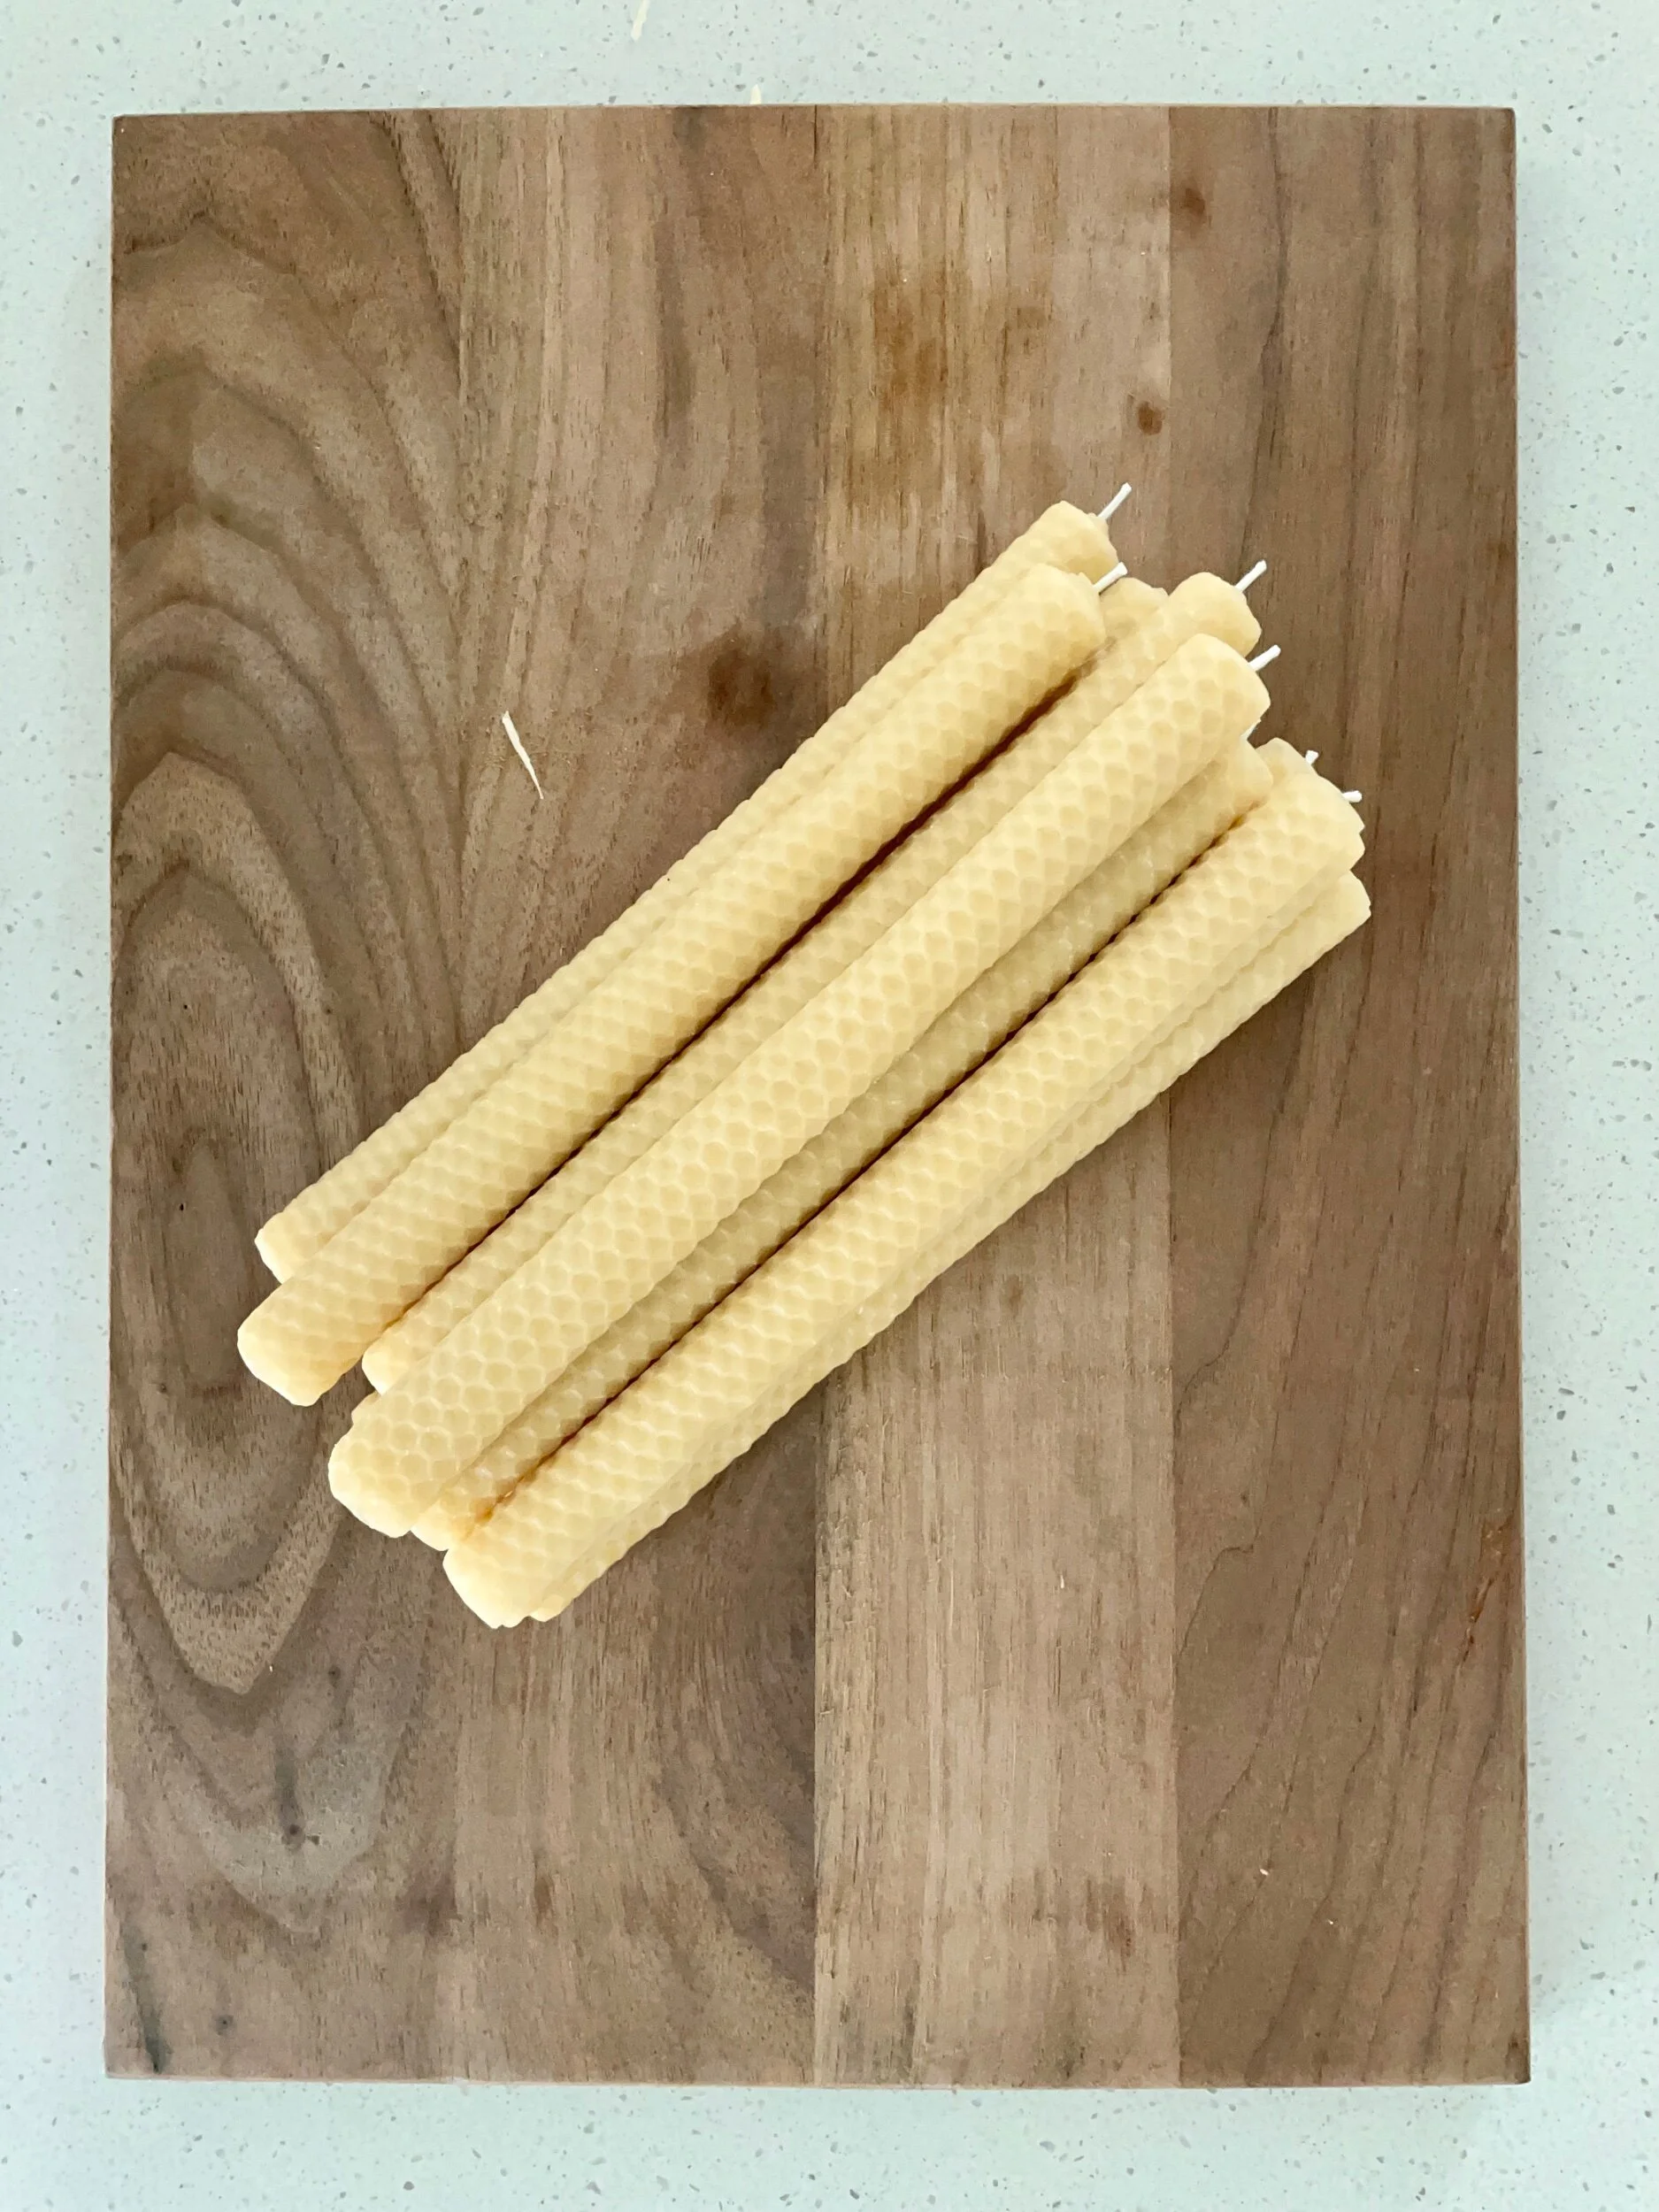
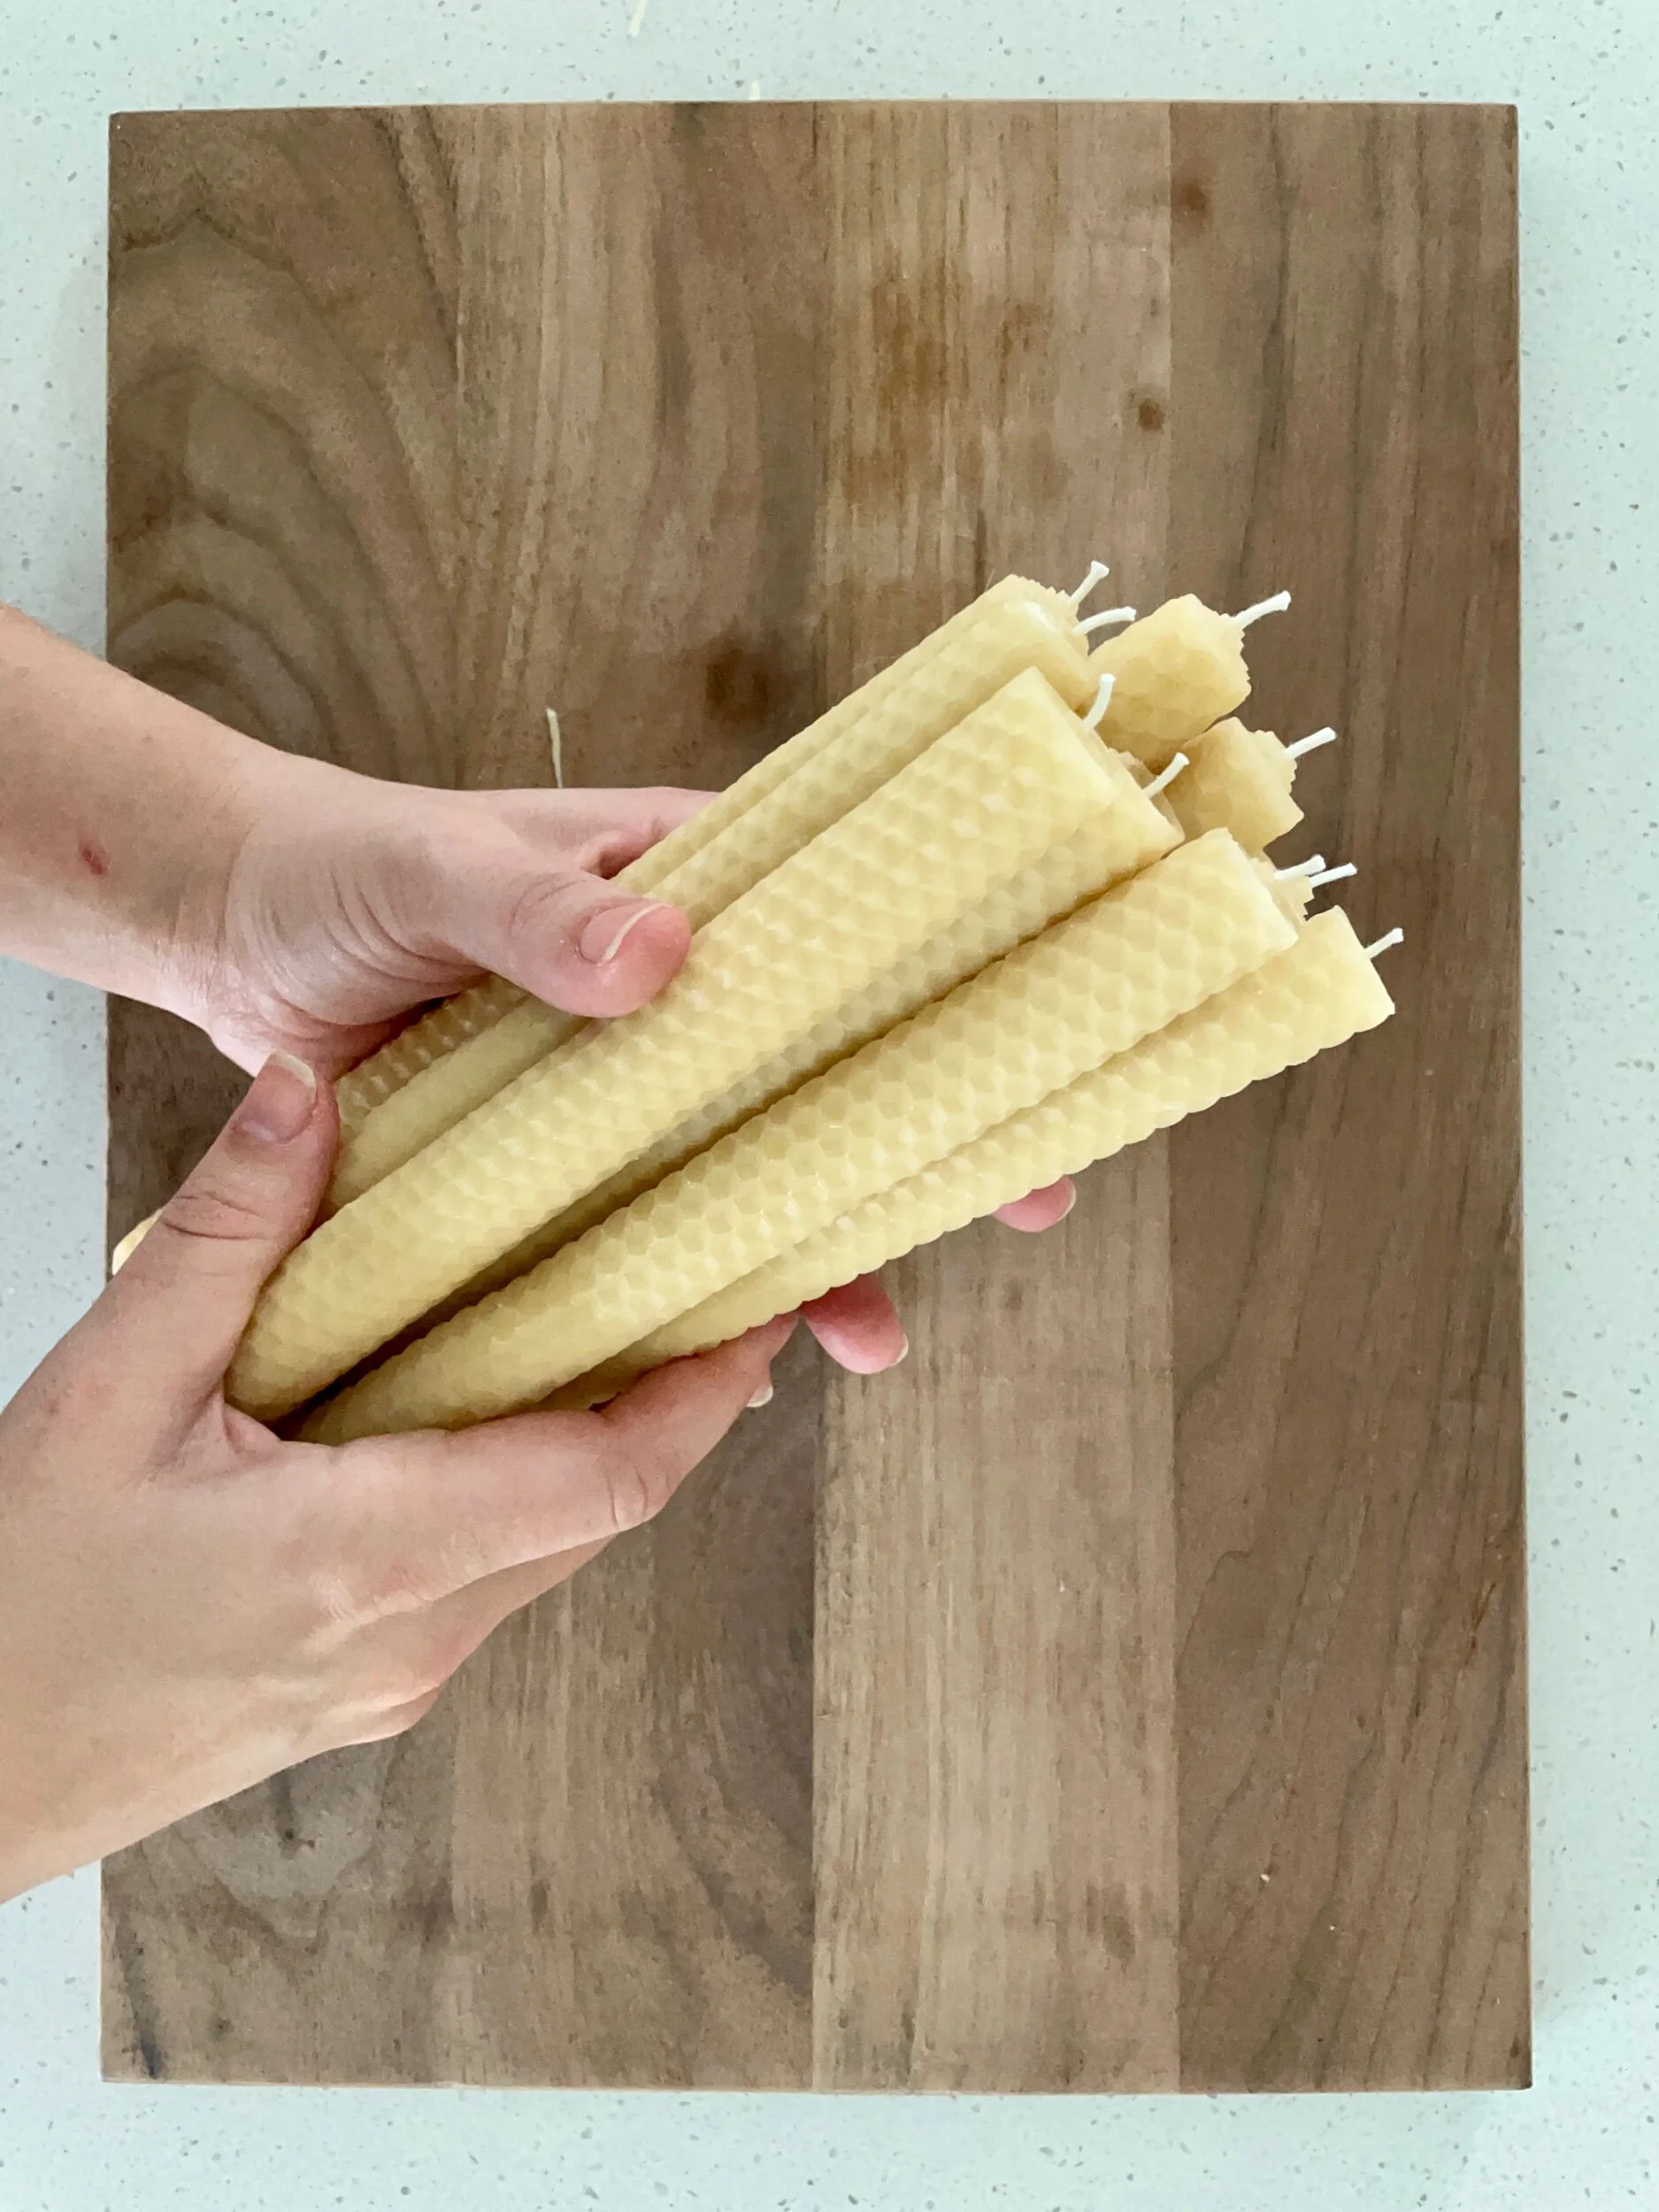
I took a picture of my project when I got to 9 candles completed.
Aren’t they so pretty? Did I mention you can cut your wax sheets in half lengthwise (or keep the sheets full sized) to make other sized candles?? Now you can enjoy candles all over your home without breaking the bank.
Please be responsible when burning your candles and never leave them left unattended.
Quick Gift For Less Than $4 A Person
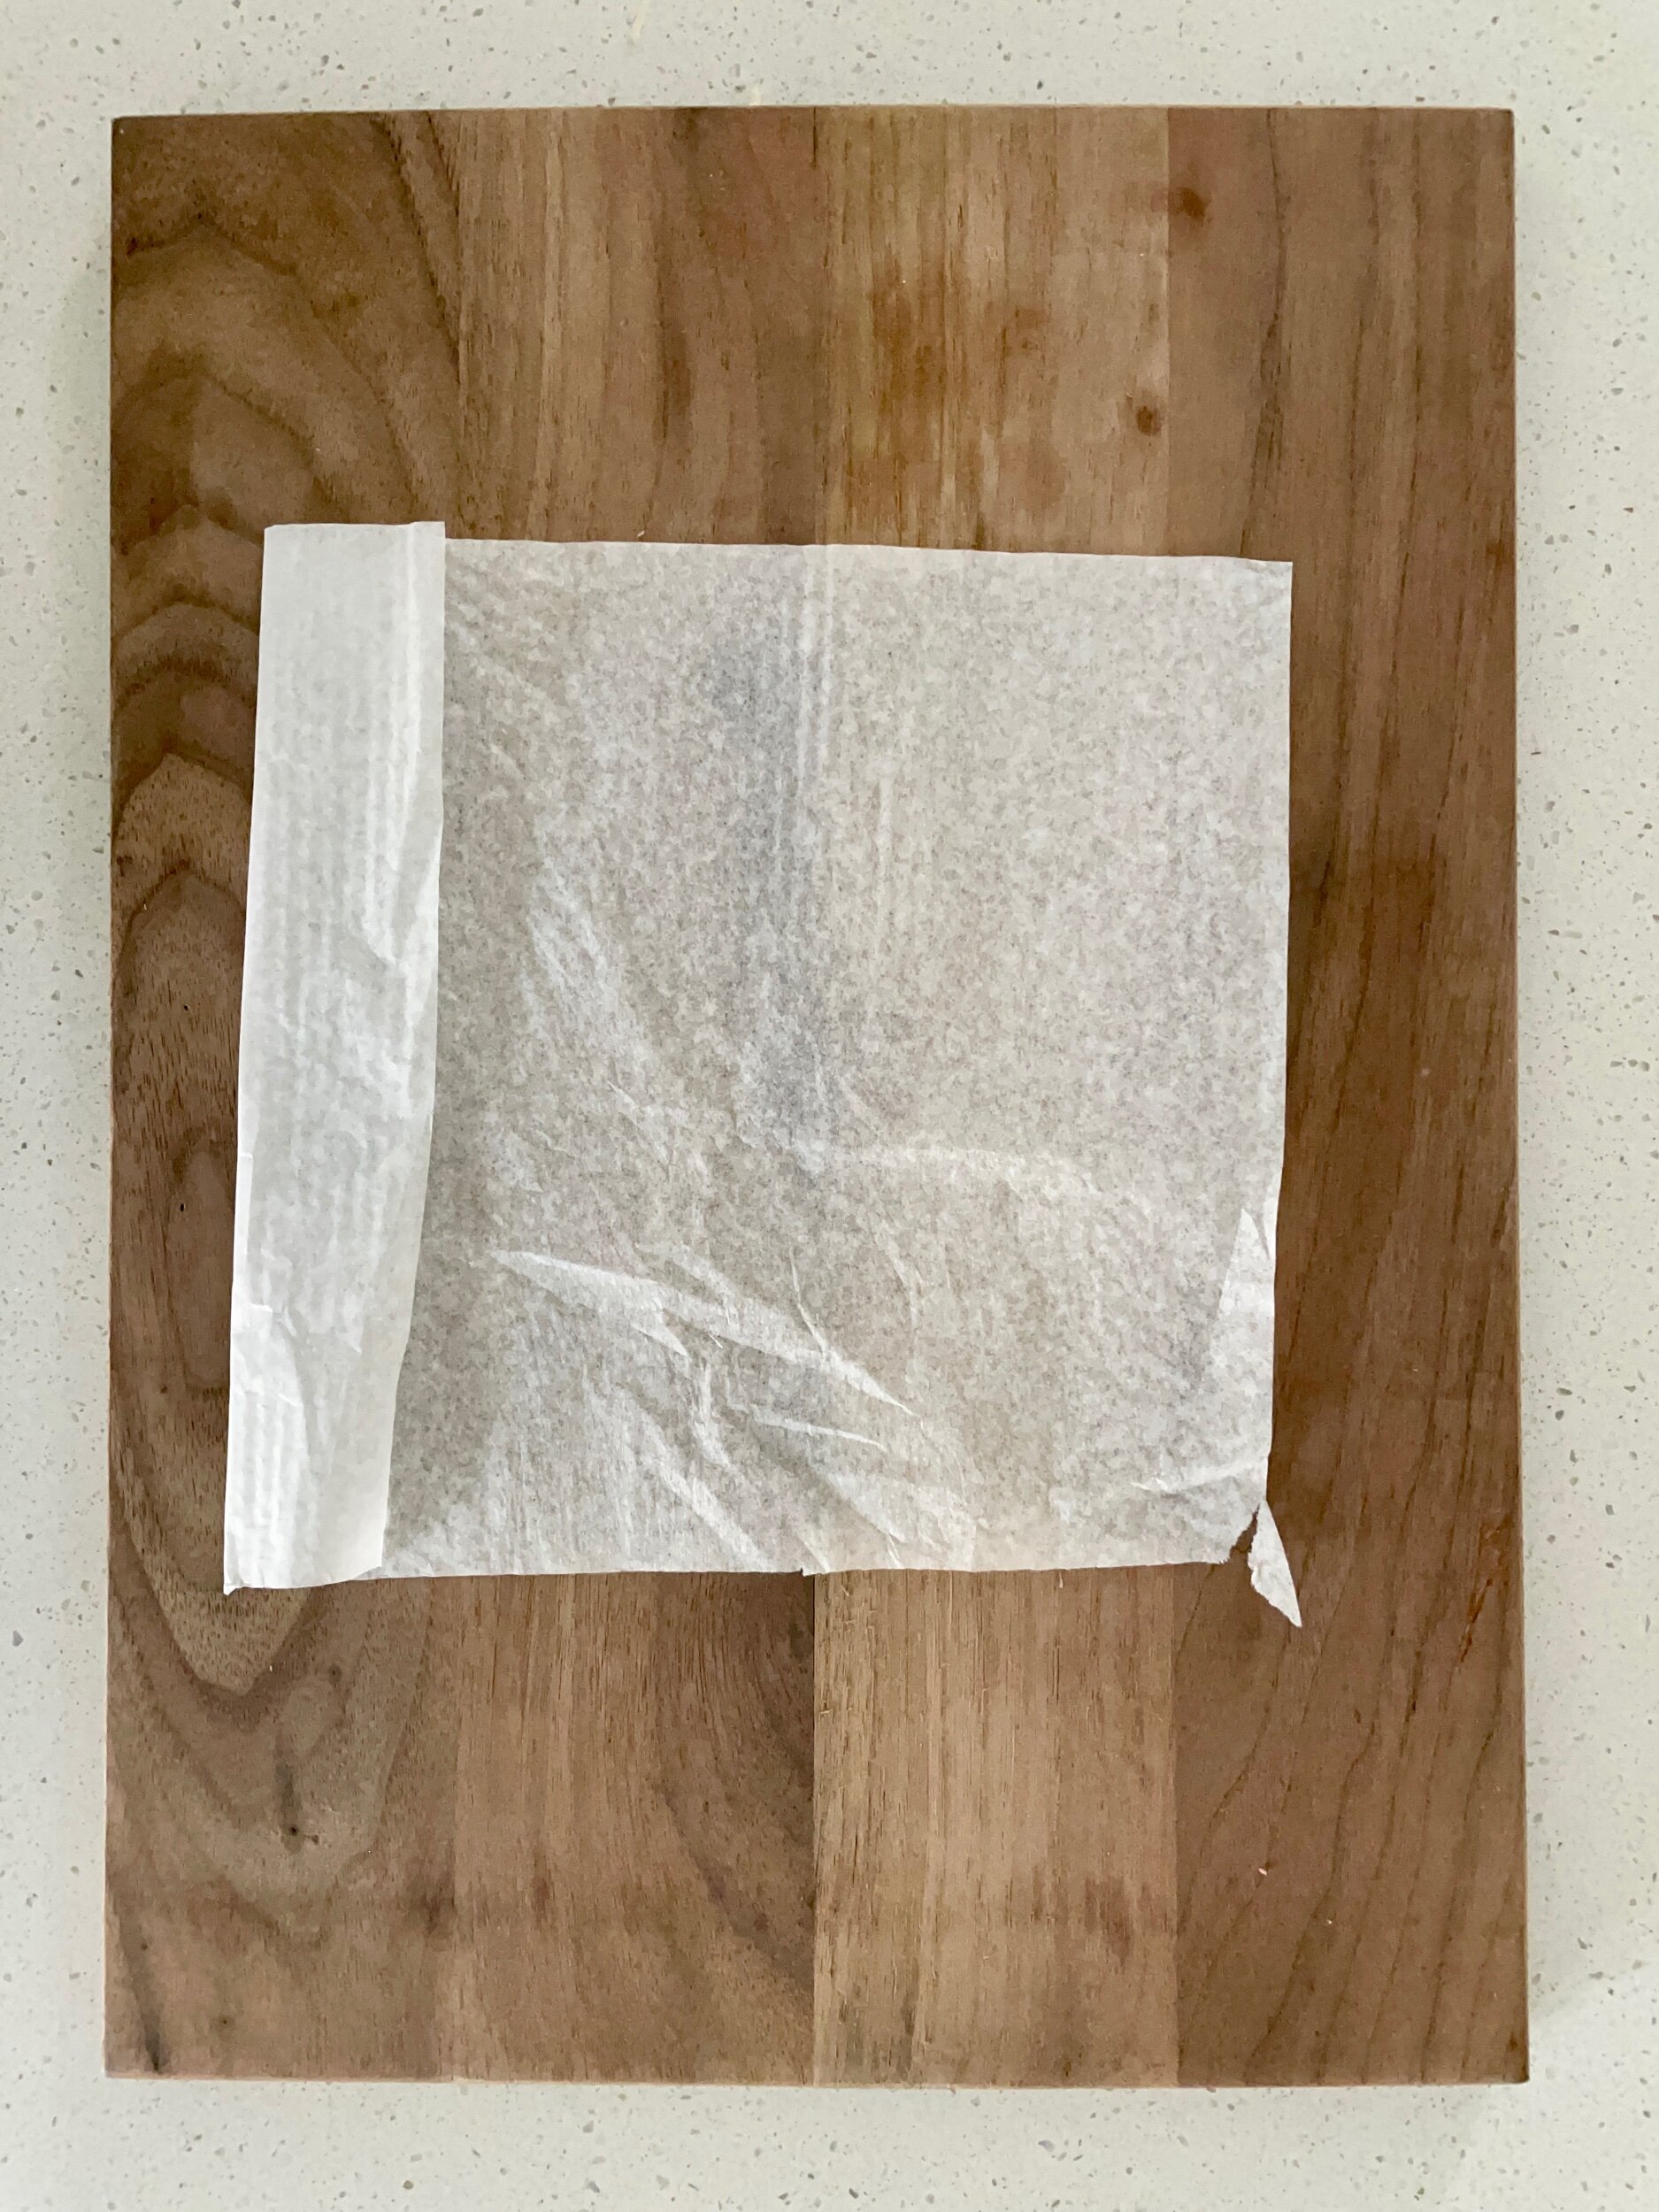
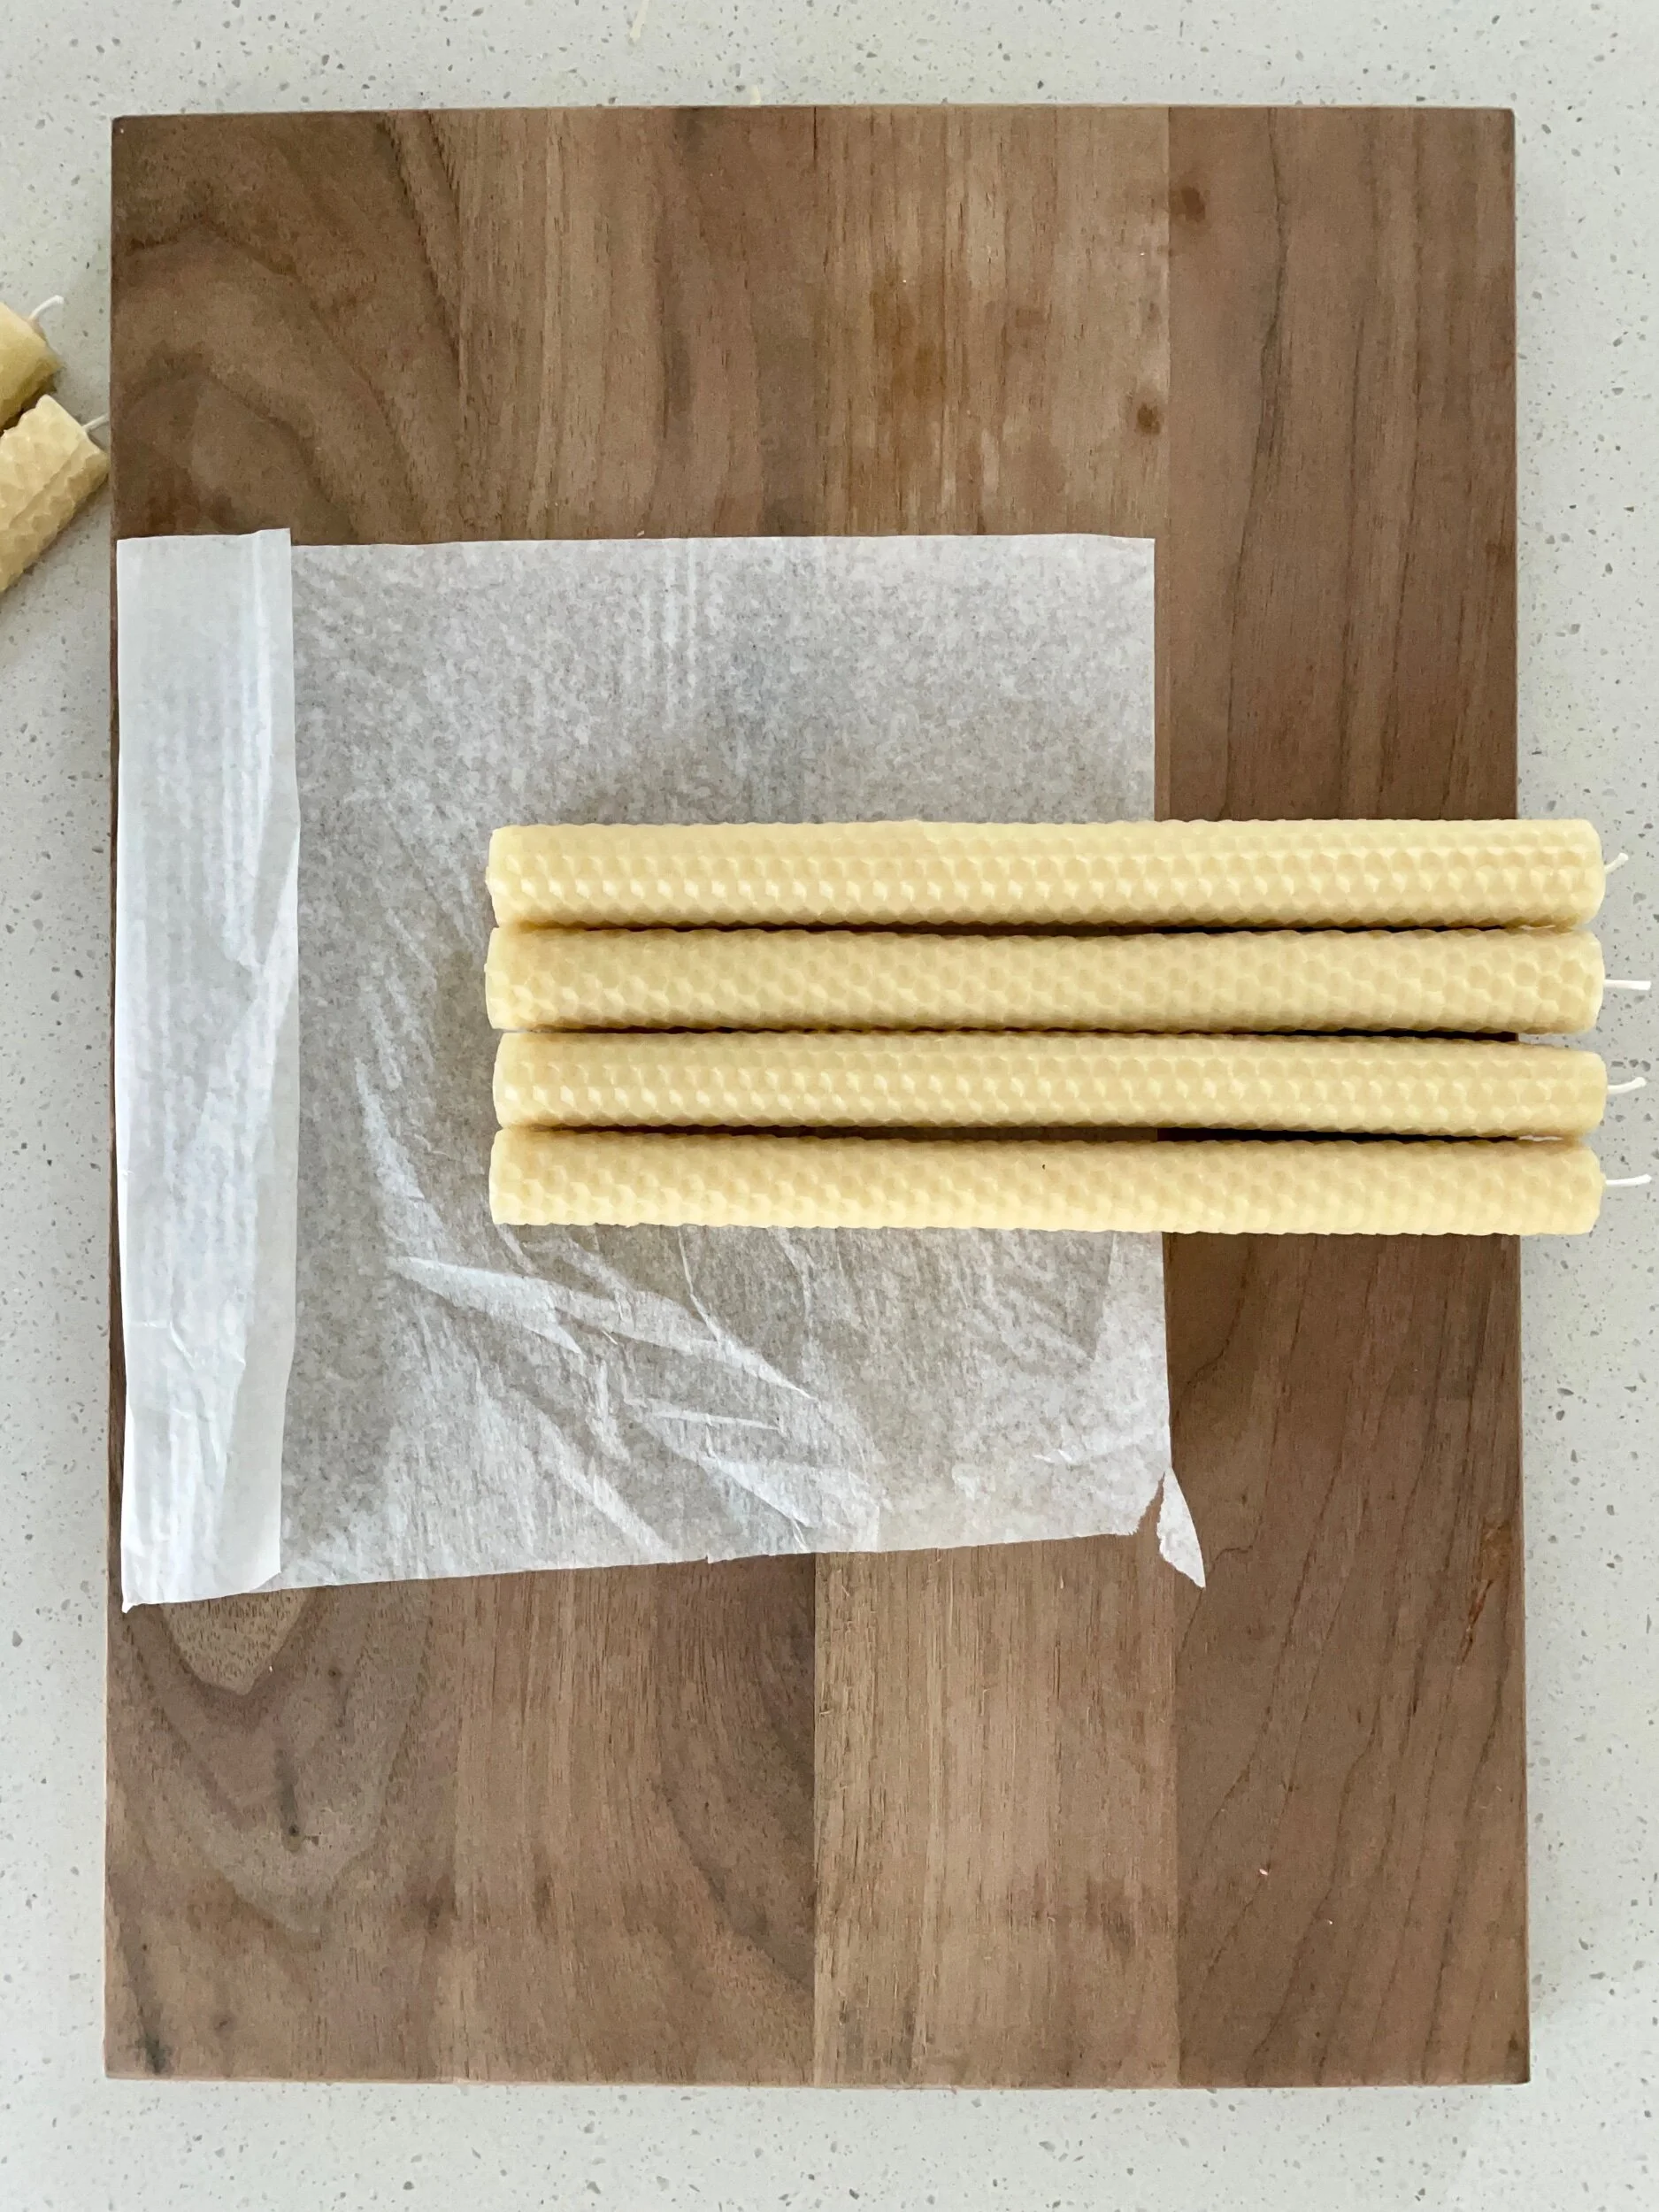
As promised, here is a way to use your newly crafted beeswax candles for sweet gifts. Grab two (or more if you choose) candles, 8x8” square tissue paper (or craft paper) and some string (or ribbon).
Place your paper down on your surface. If you have a patterned paper, be sure the print is facing the surface and not you as that will be the front side.
Ignore my messy tissue paper. I save and recycle gift bags and tissue paper.
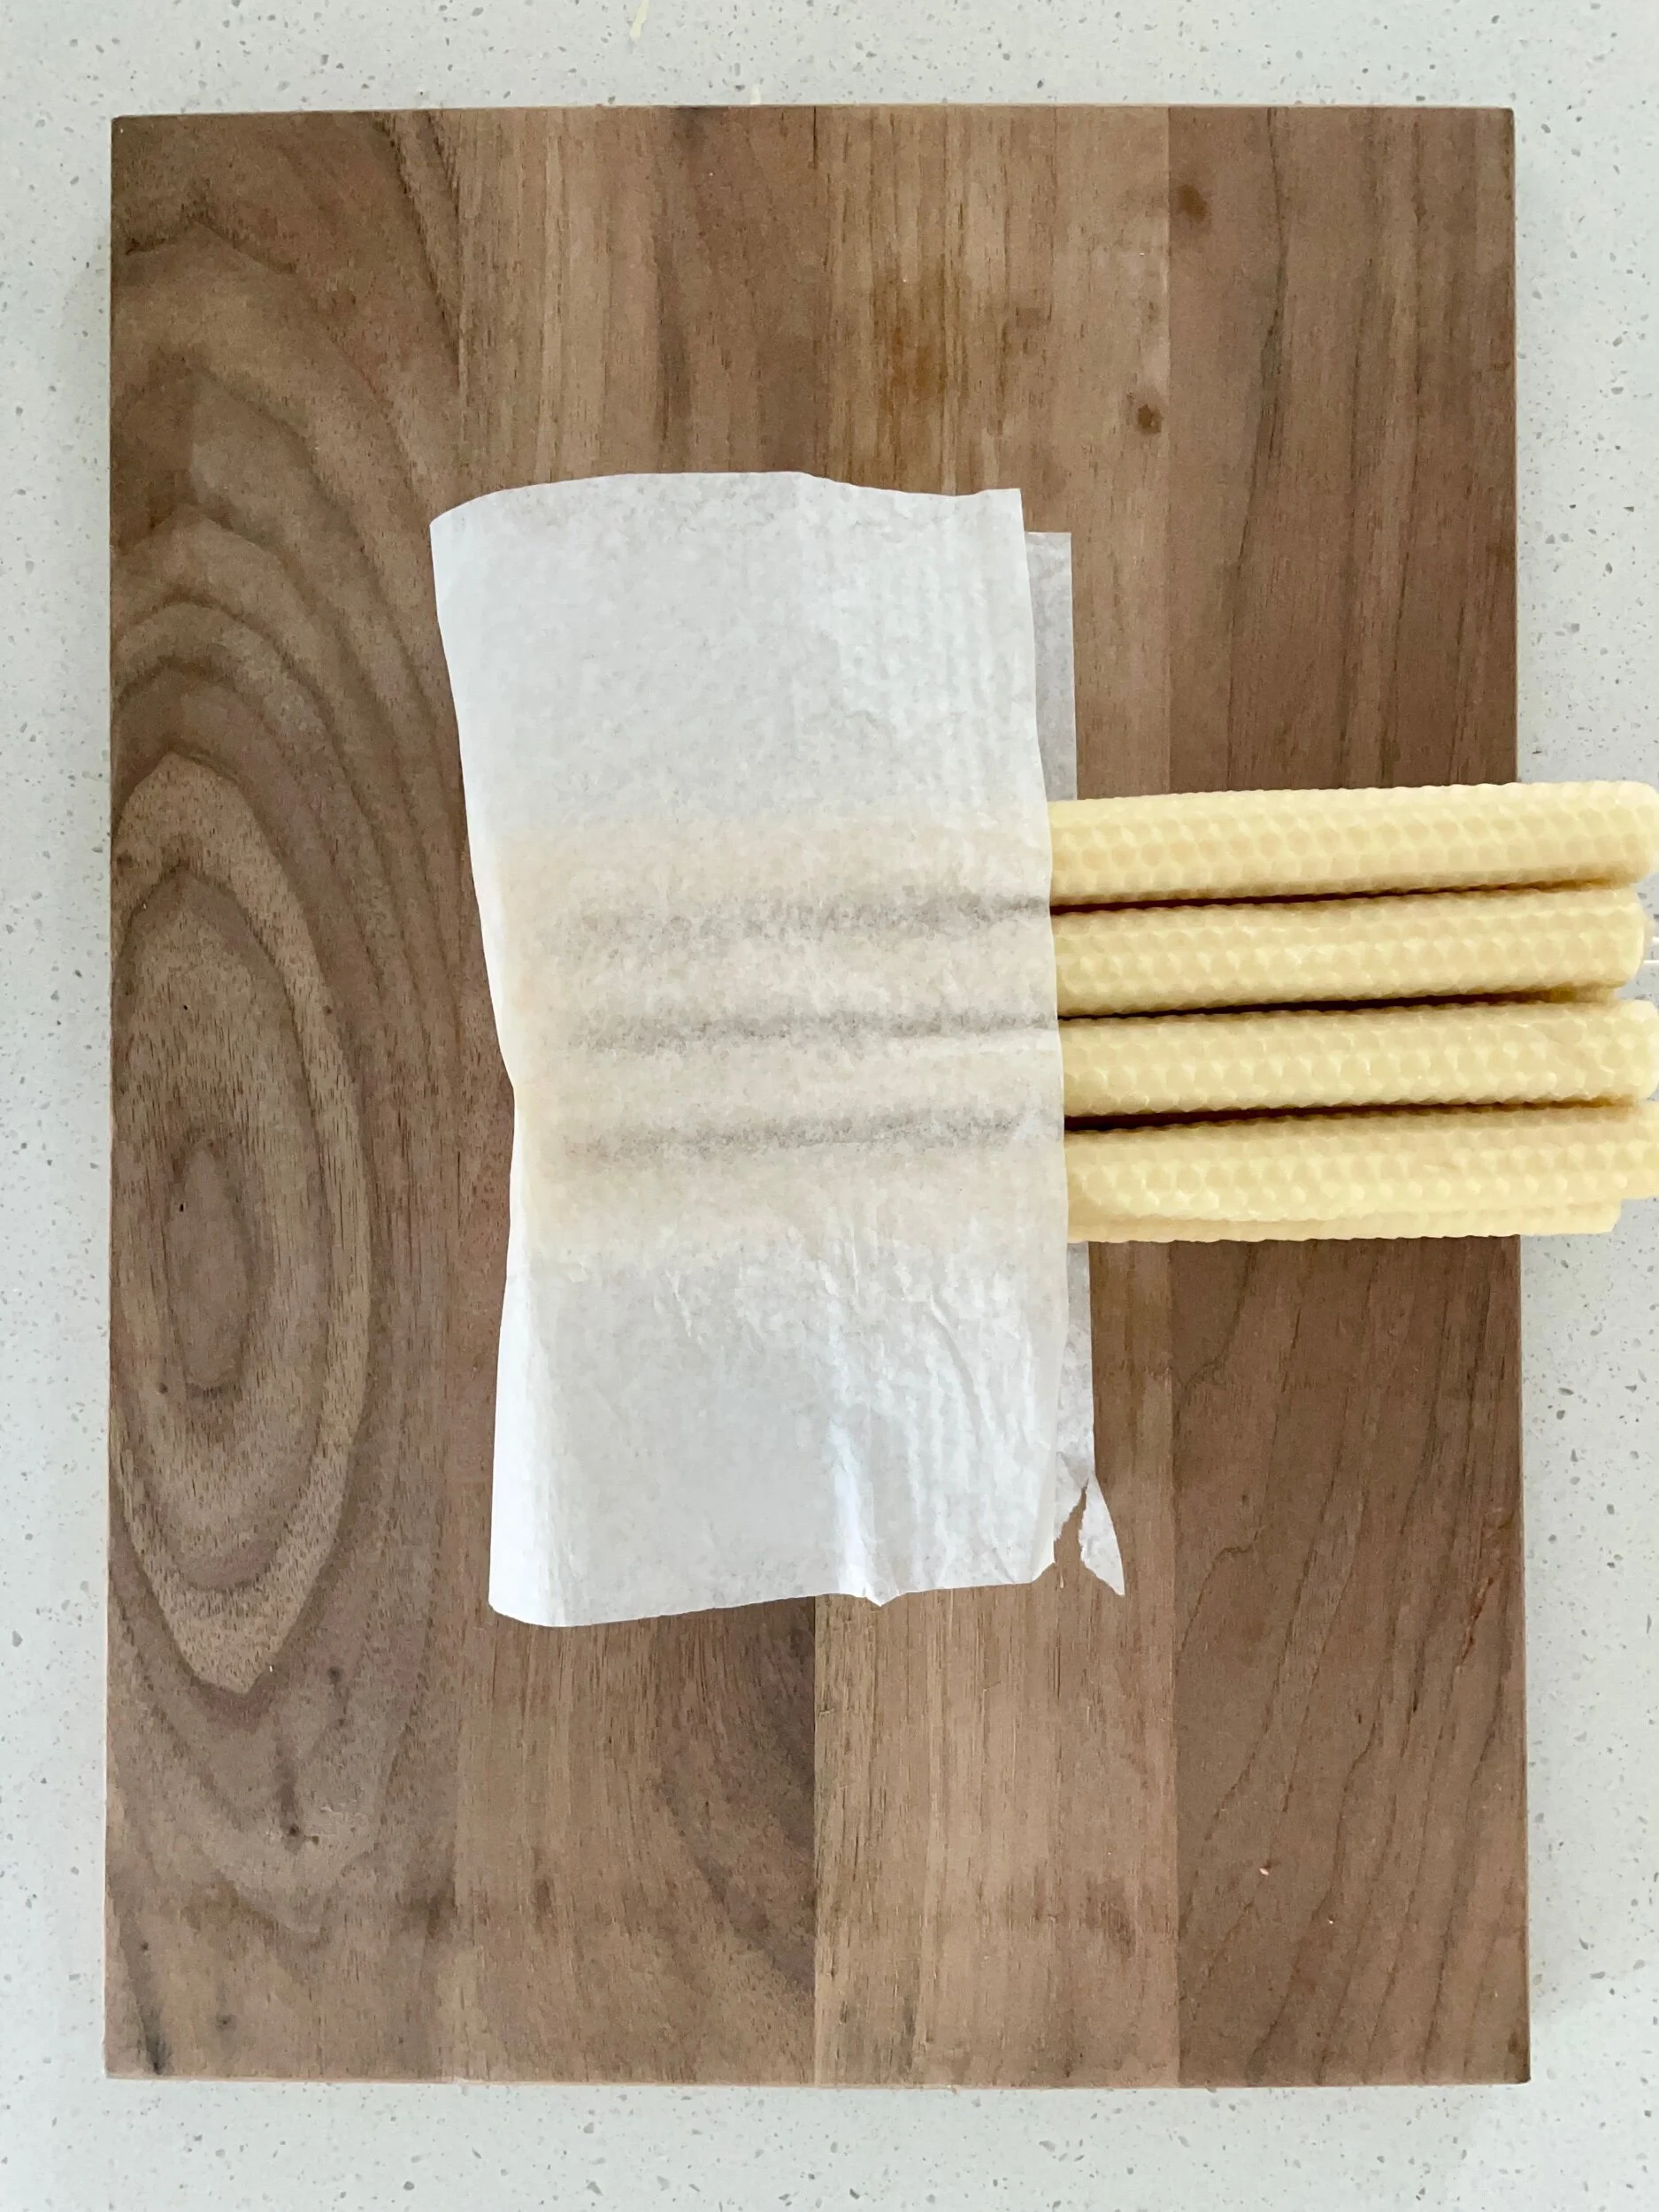
I used a total of 8 candles for the tutorial but you will use the same steps for any amount you choose. Place your candles seam ends towards each other so they look pretty from every angle. I place my first layer with seams facing up and the following layer facing down (like a seam sandwich). For two candles, the seams will face each other.
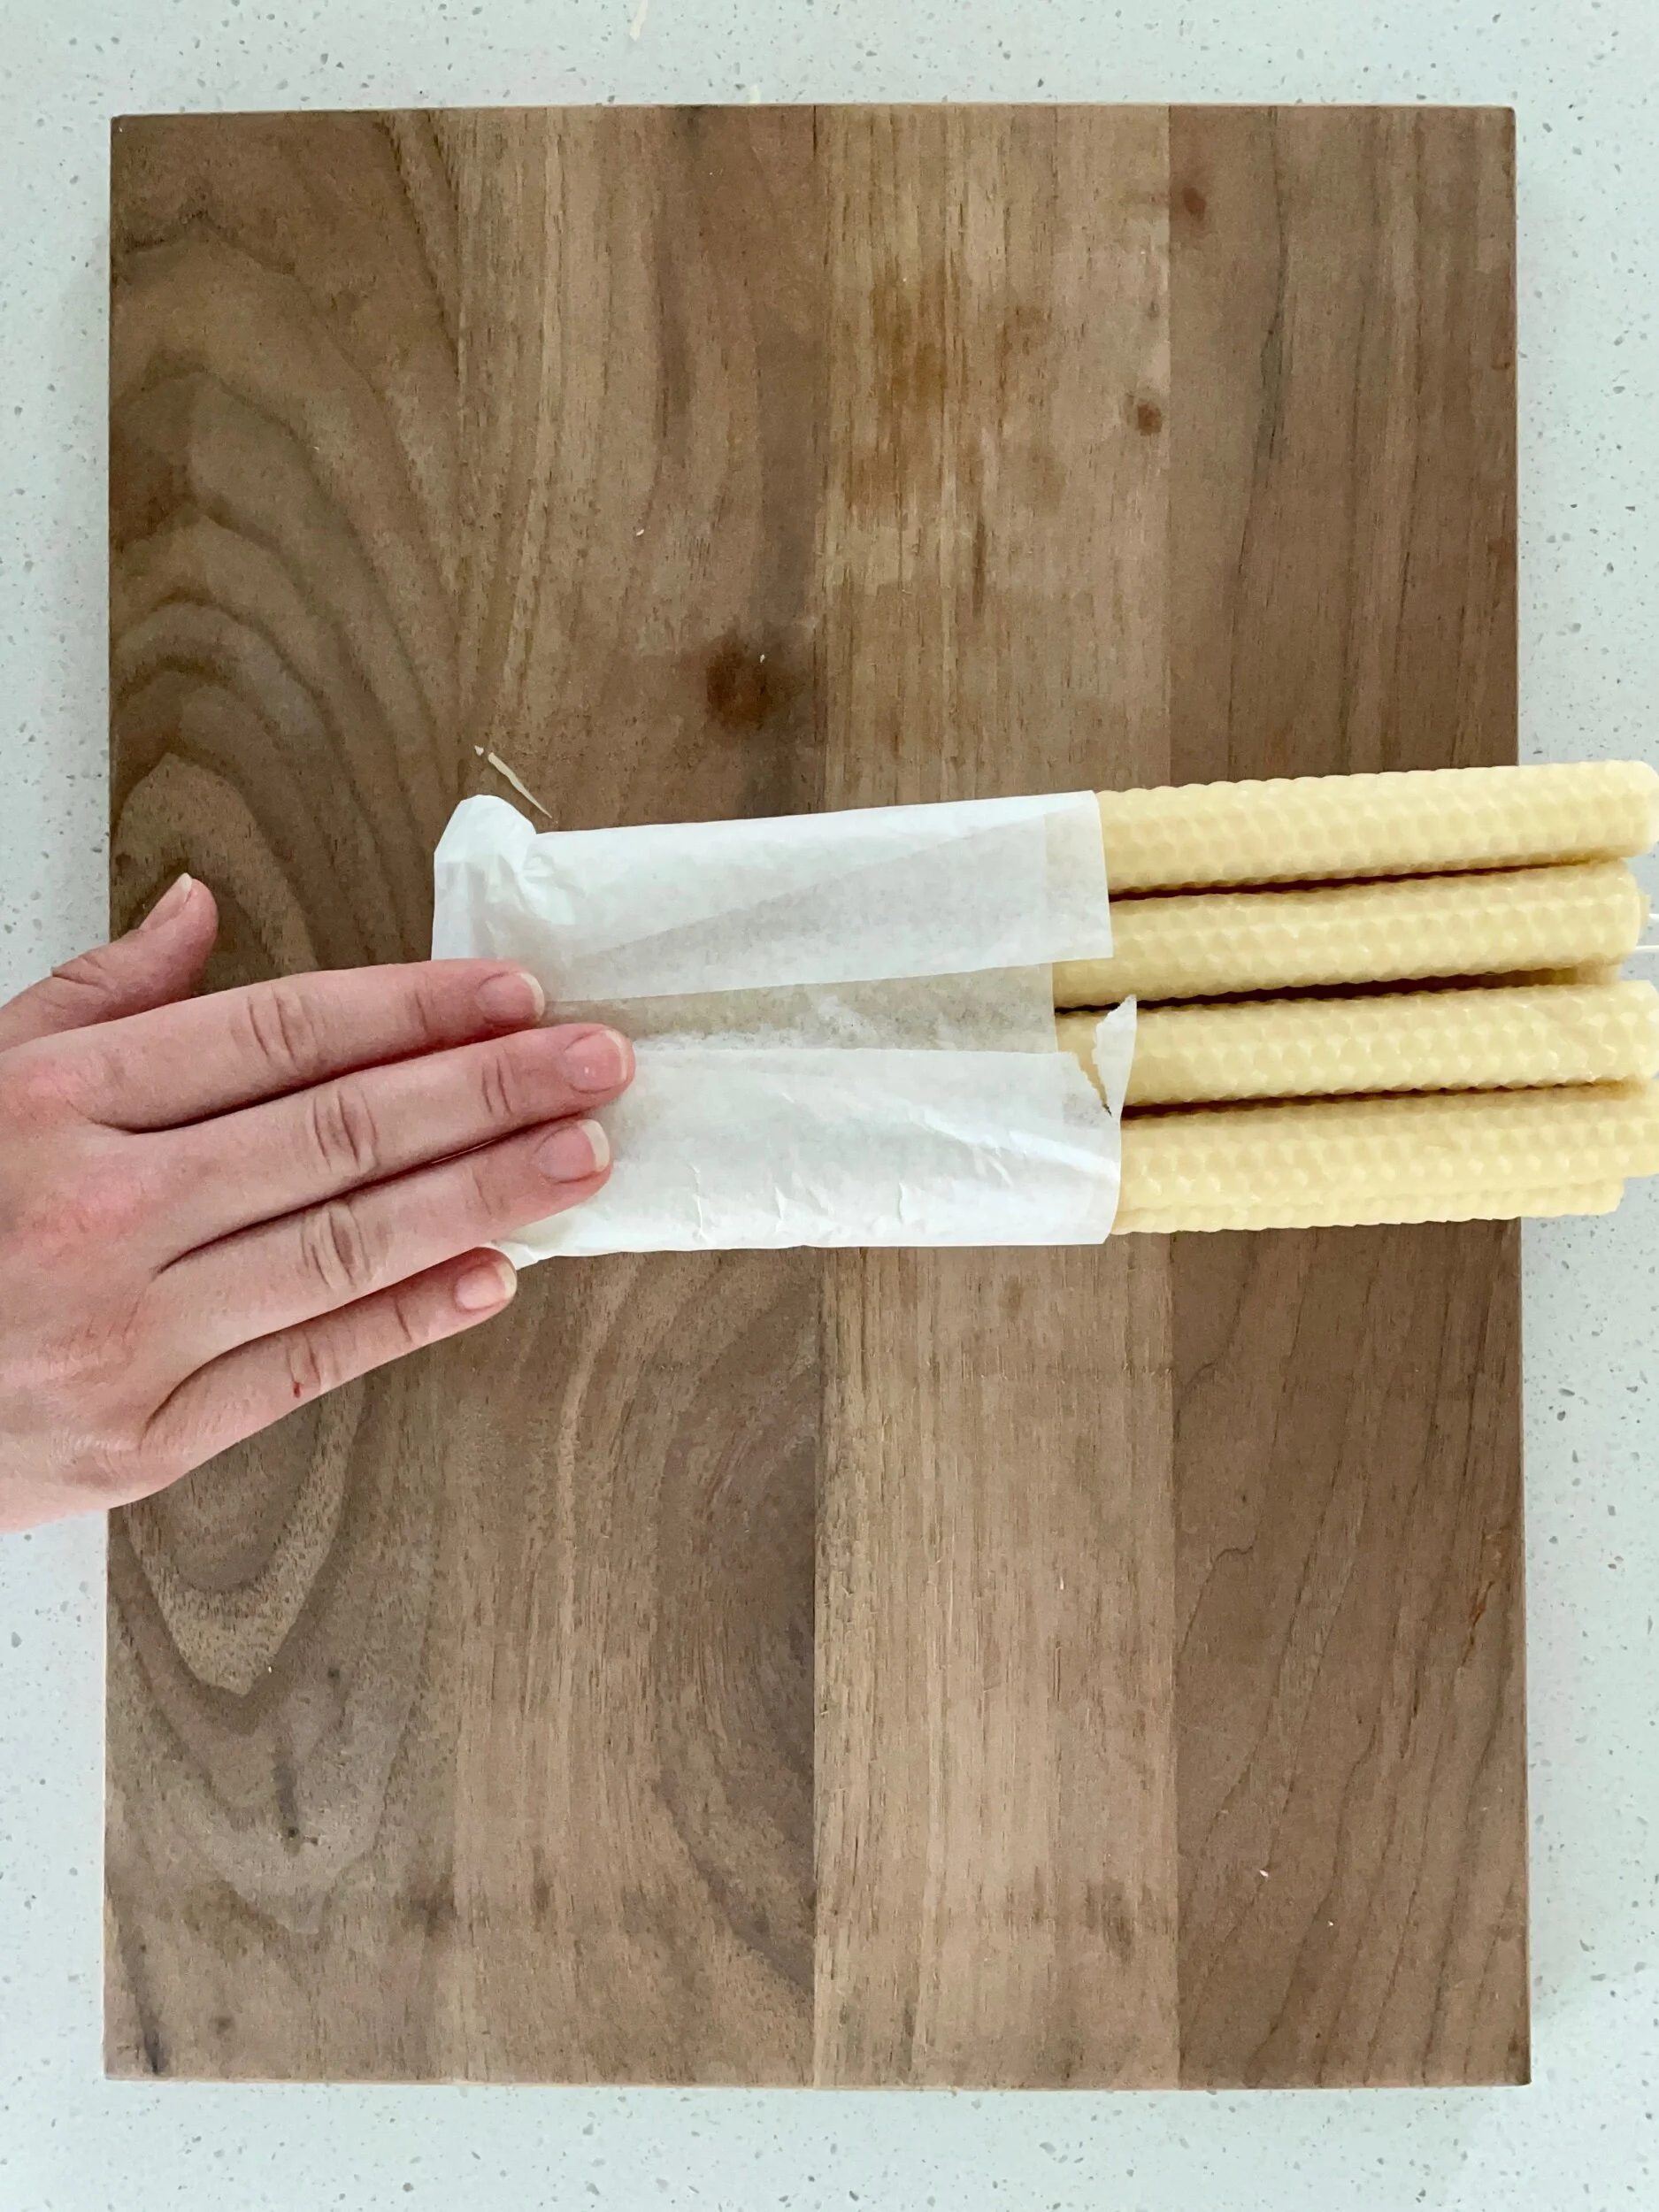
Your candle ends should be half way up the paper so you can fold the leftover half over the candle bottoms like you see here.
Now, fold over the sides. You can be as fussy as you want to make the fold look pretty but I went for “rushed chic”.
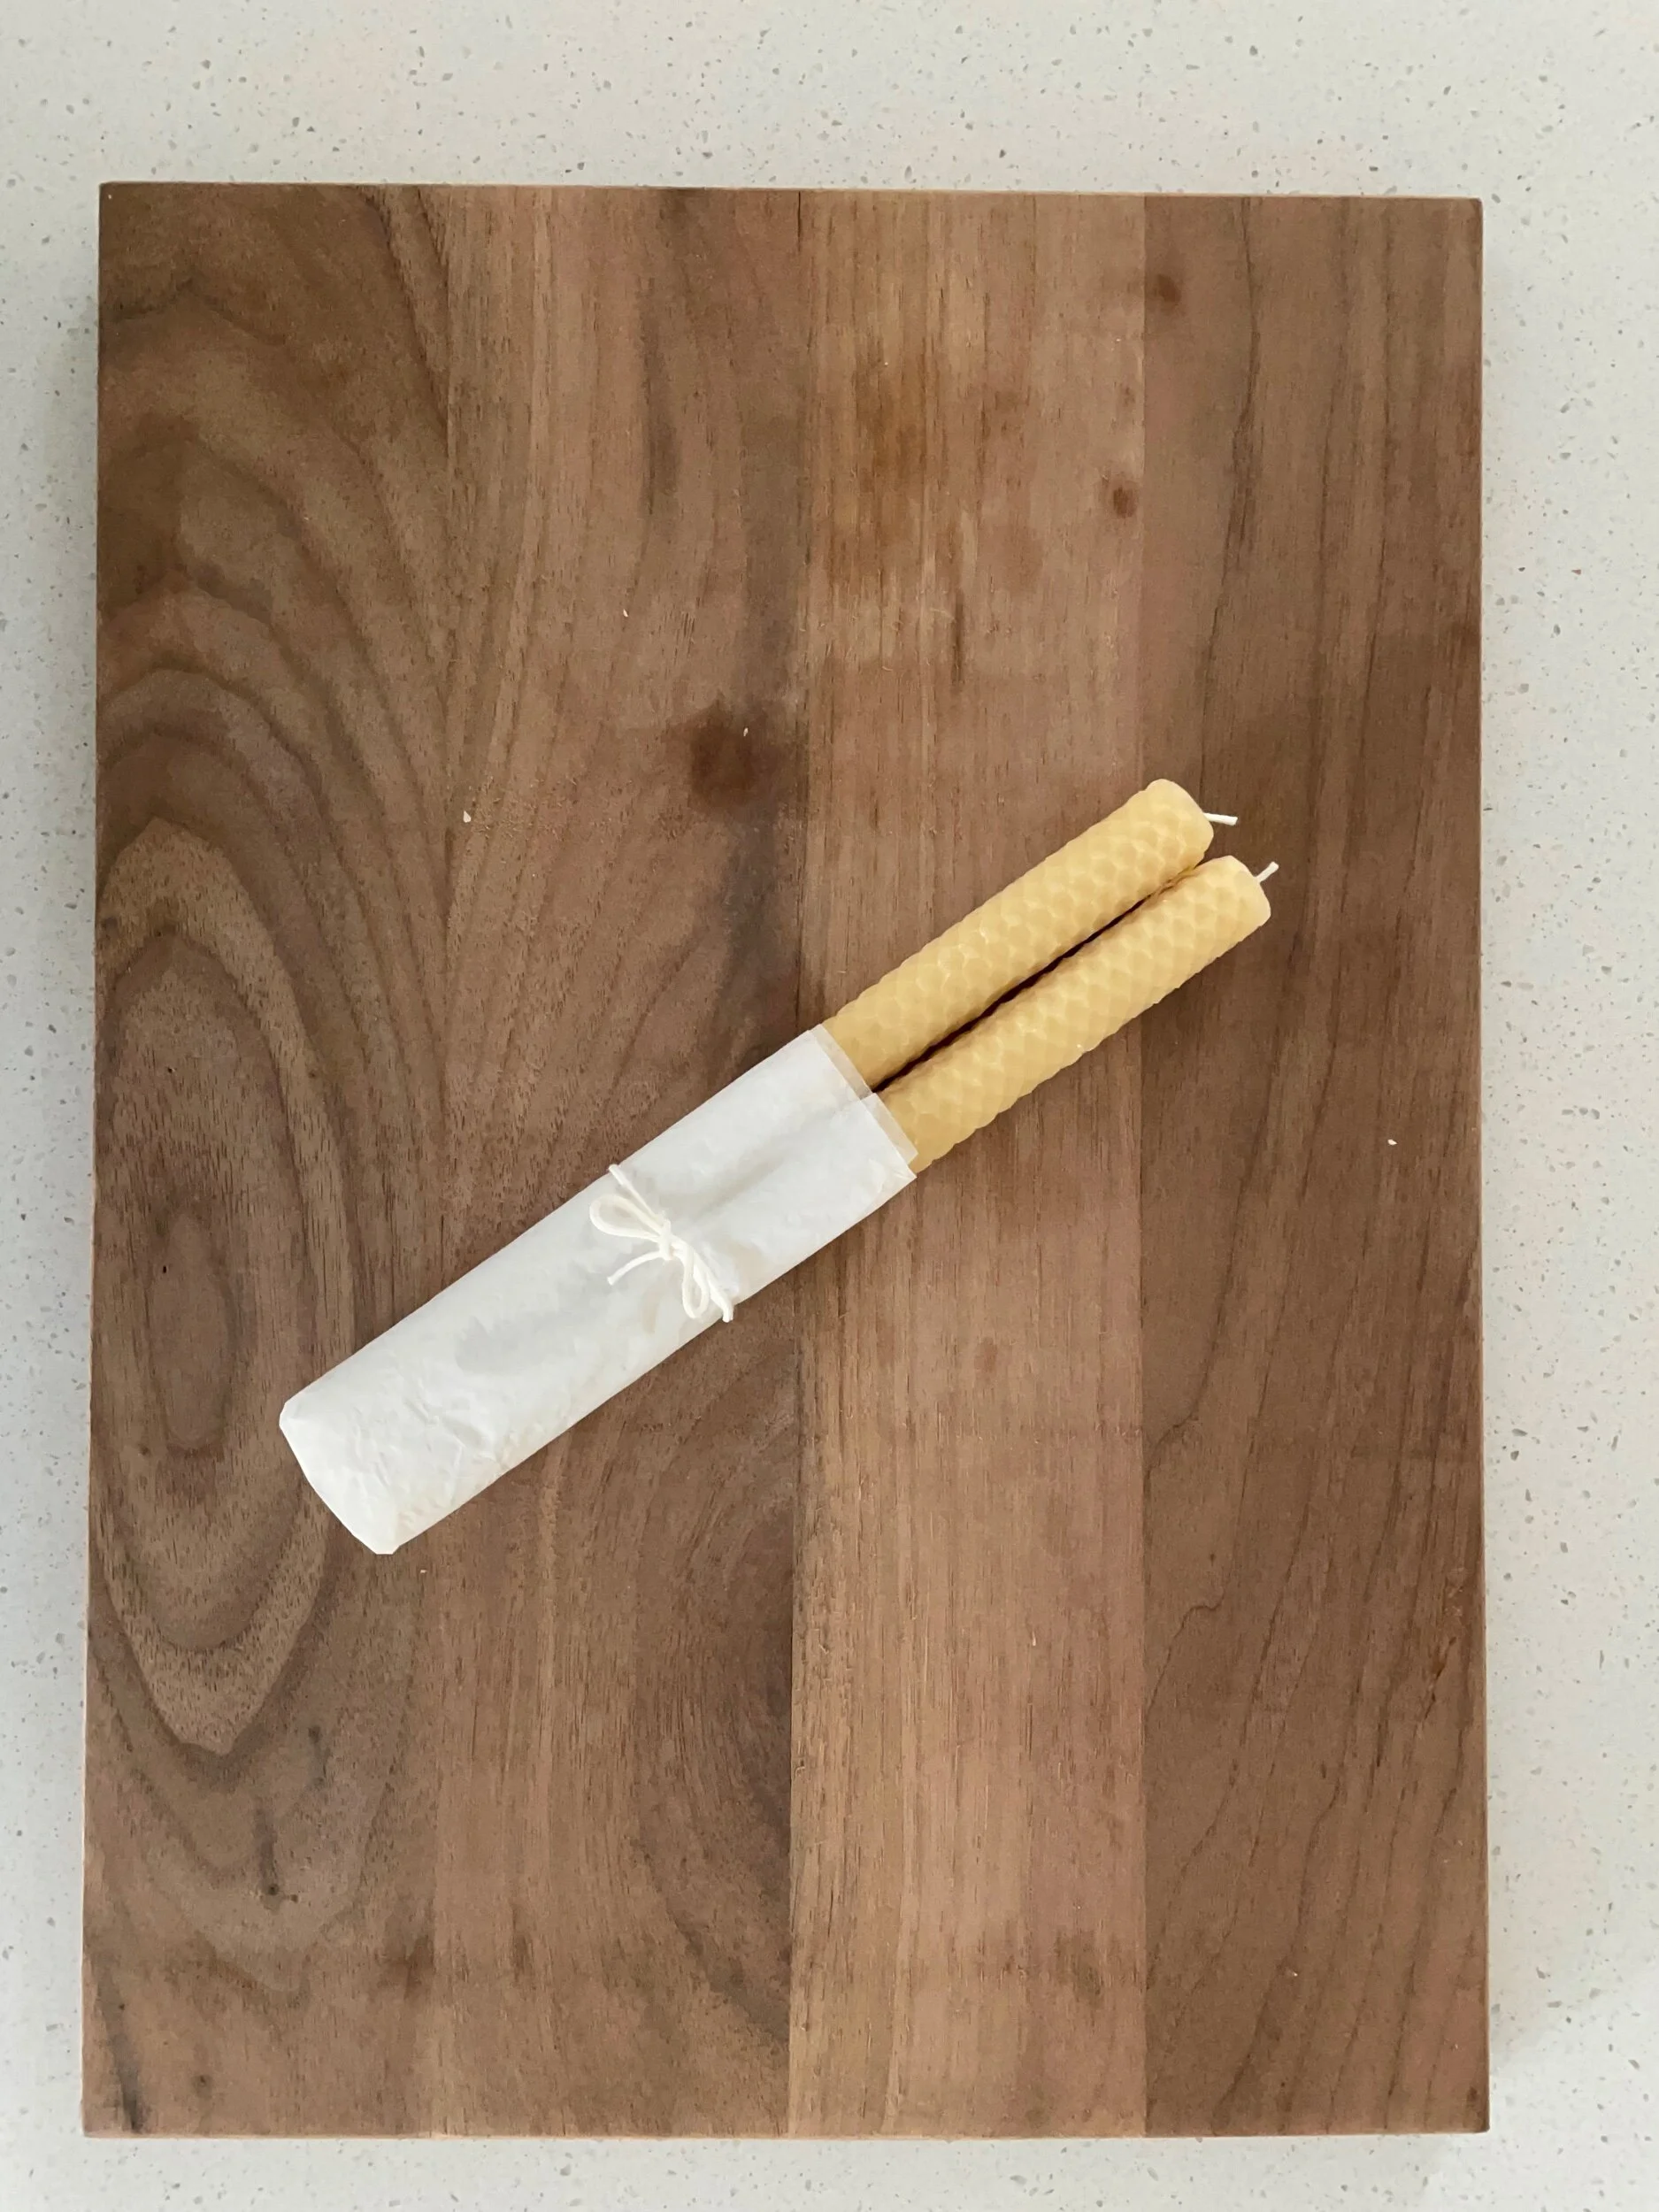
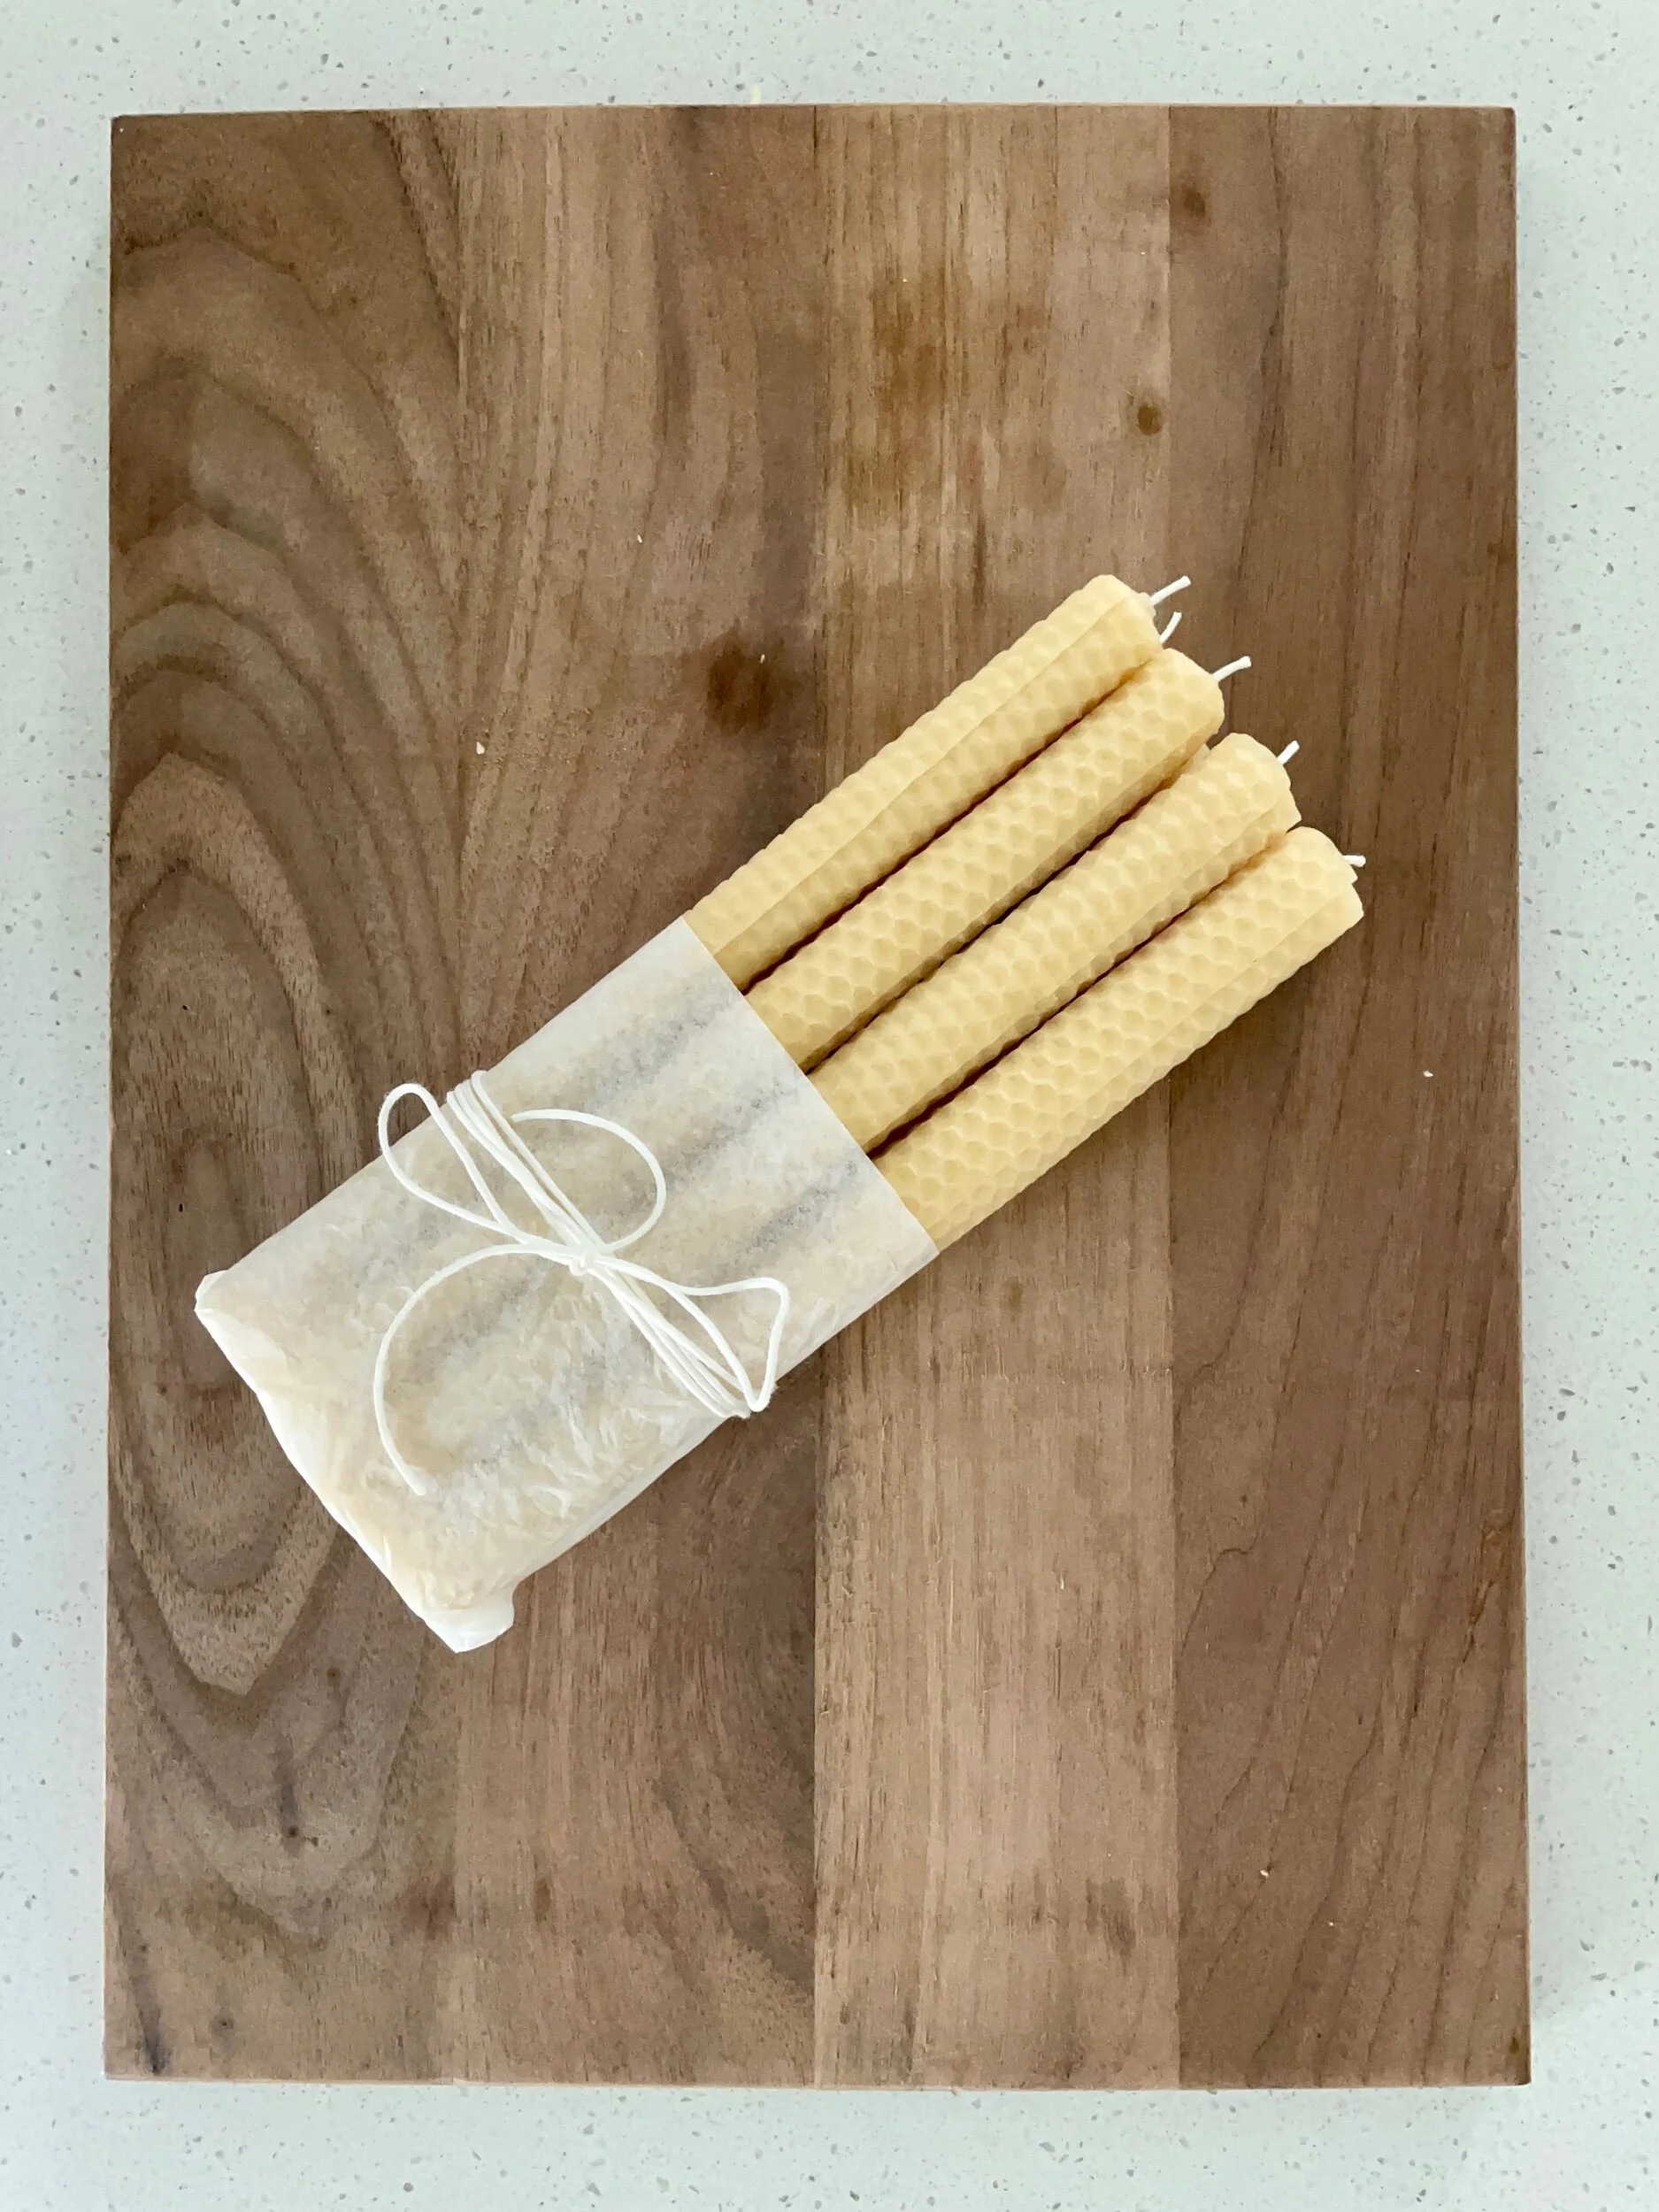
Finish off the package by tying a string or ribbon around the paper to hold it in place and you are done! Isn’t it the sweetest gift that you can literally put together in minutes?? You could use them for almost any occasion. Who wouldn’t want to recieve these in their stockings??
