Its time to finally reveal my secret project Ive been working on (Drumroll please).
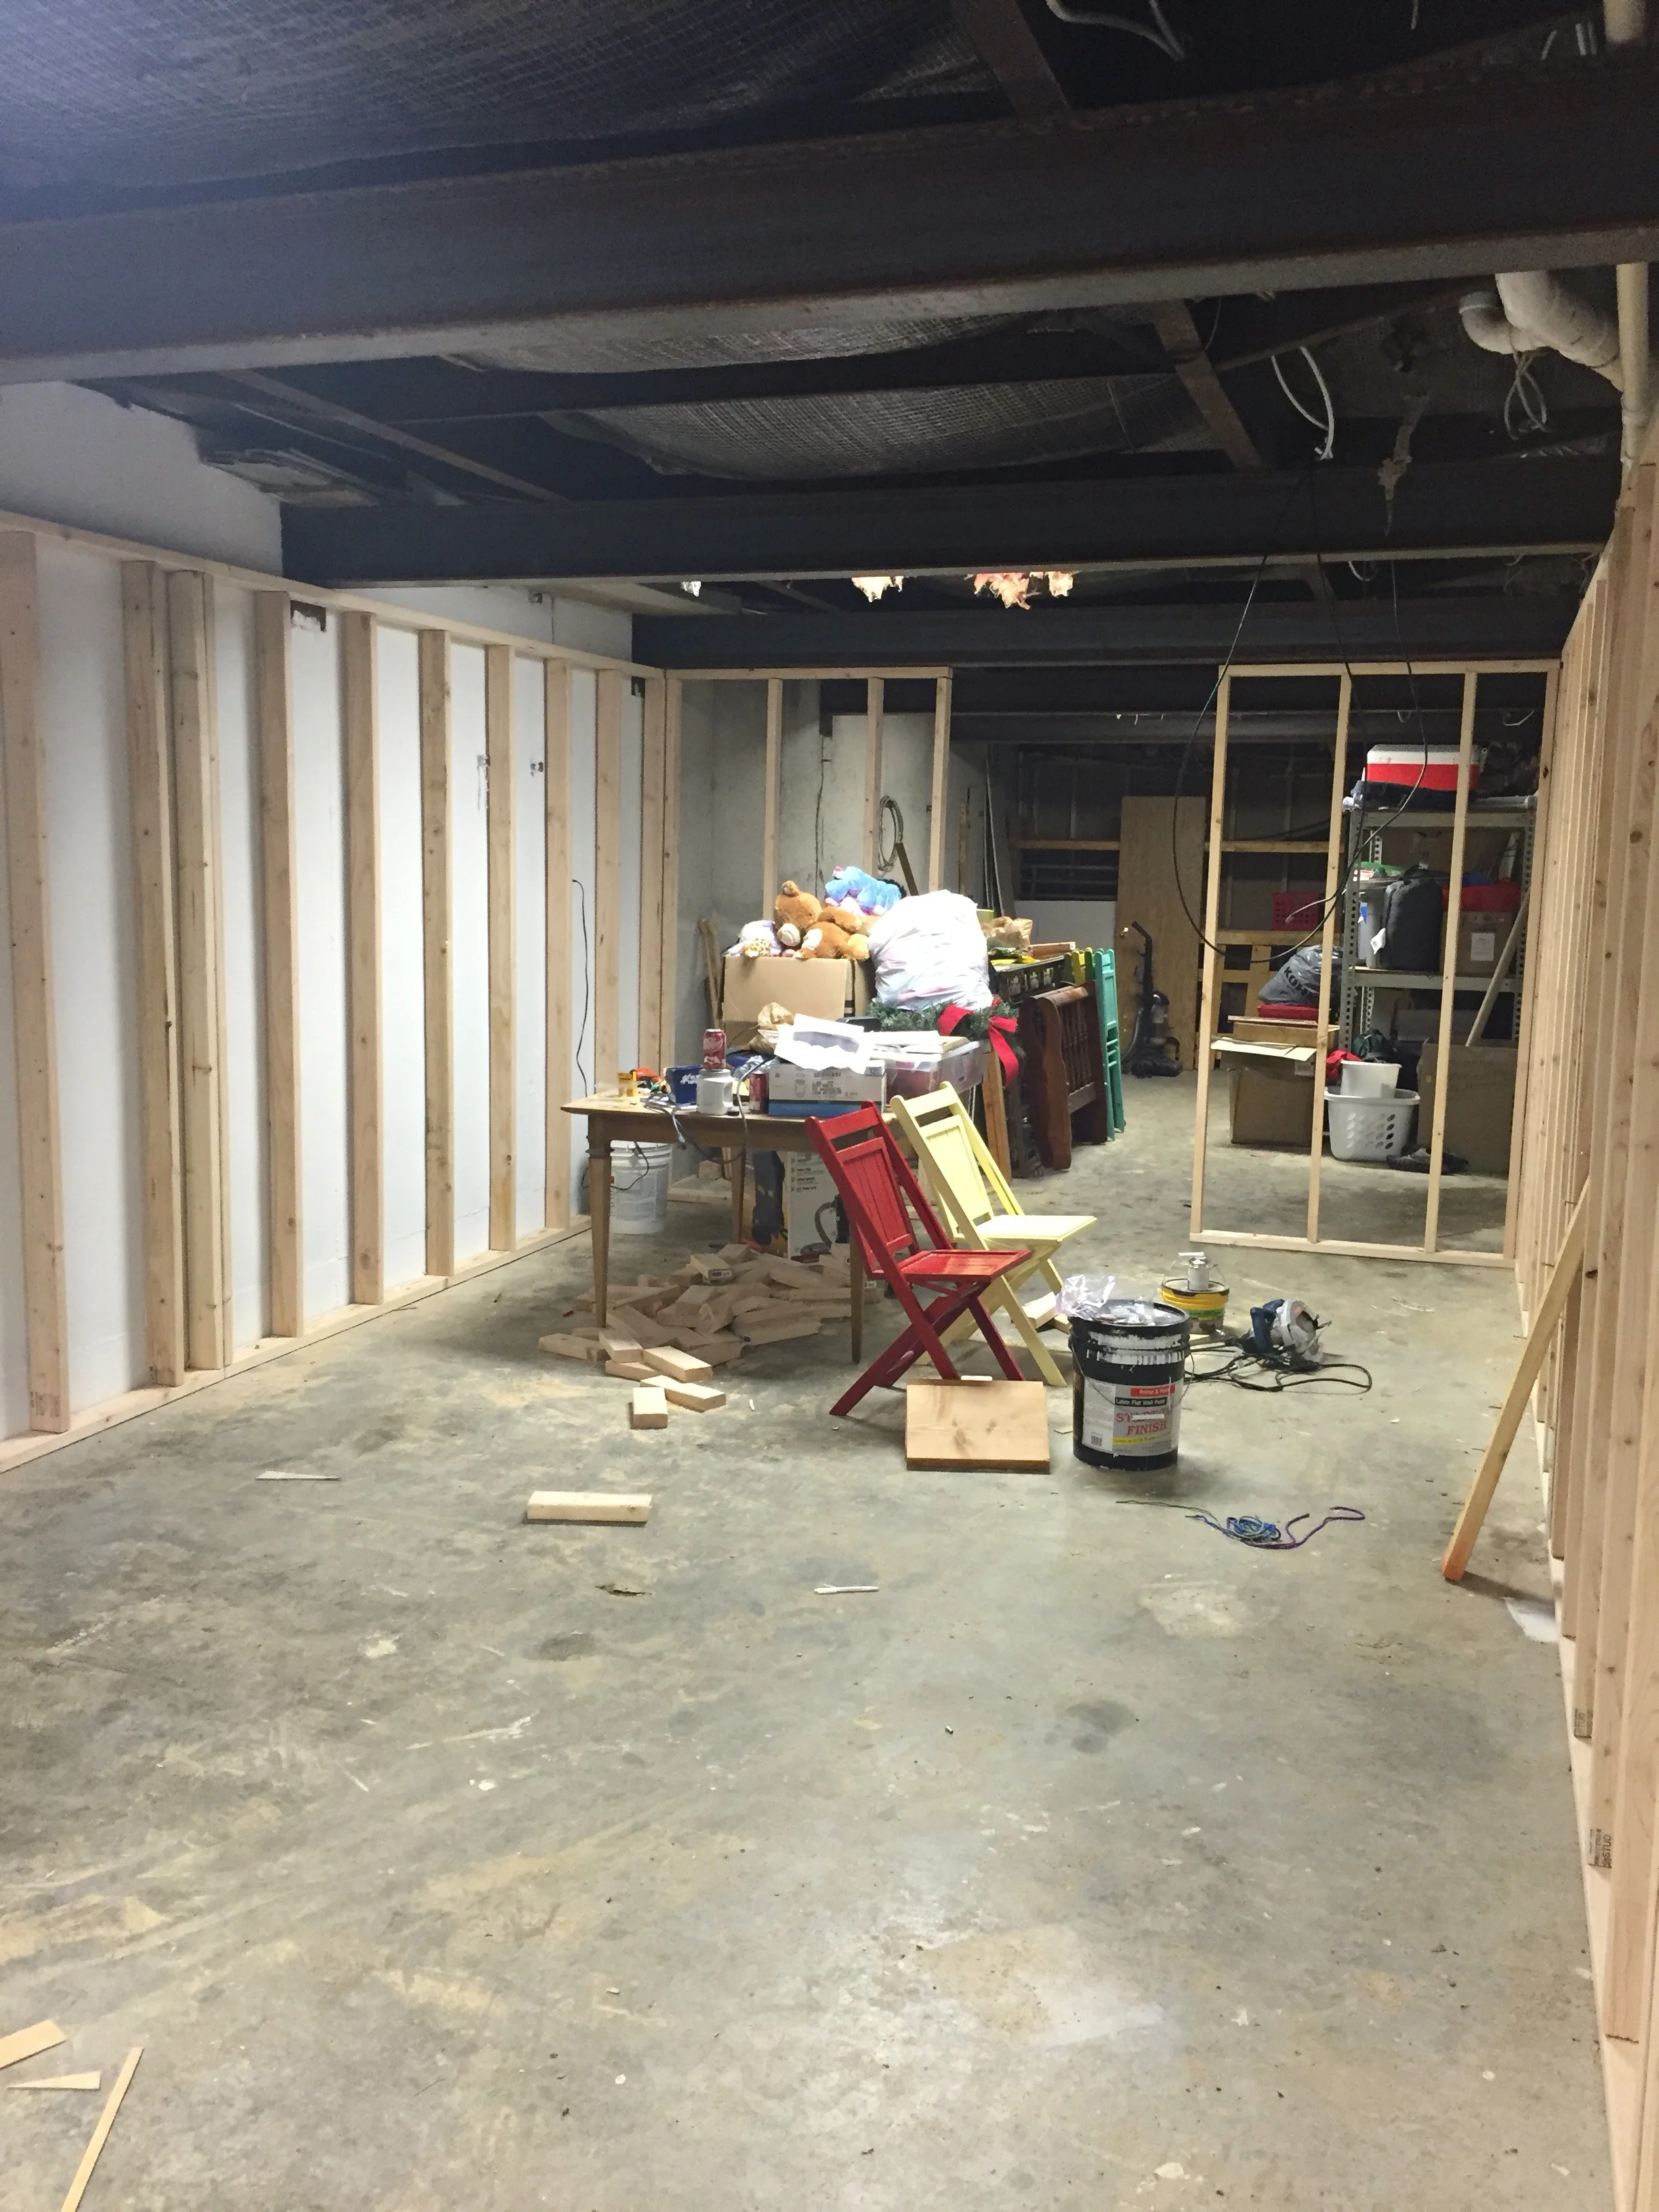
I am finishing off part of our basement to make a family room!!! It will be a little over 24ft long and 12 feet wide. Upstairs we ate at the kitchen counter with three barstool, but now we are making the old living room into a dining room. I can finally (finish and) bring up my beautiful dining room table.
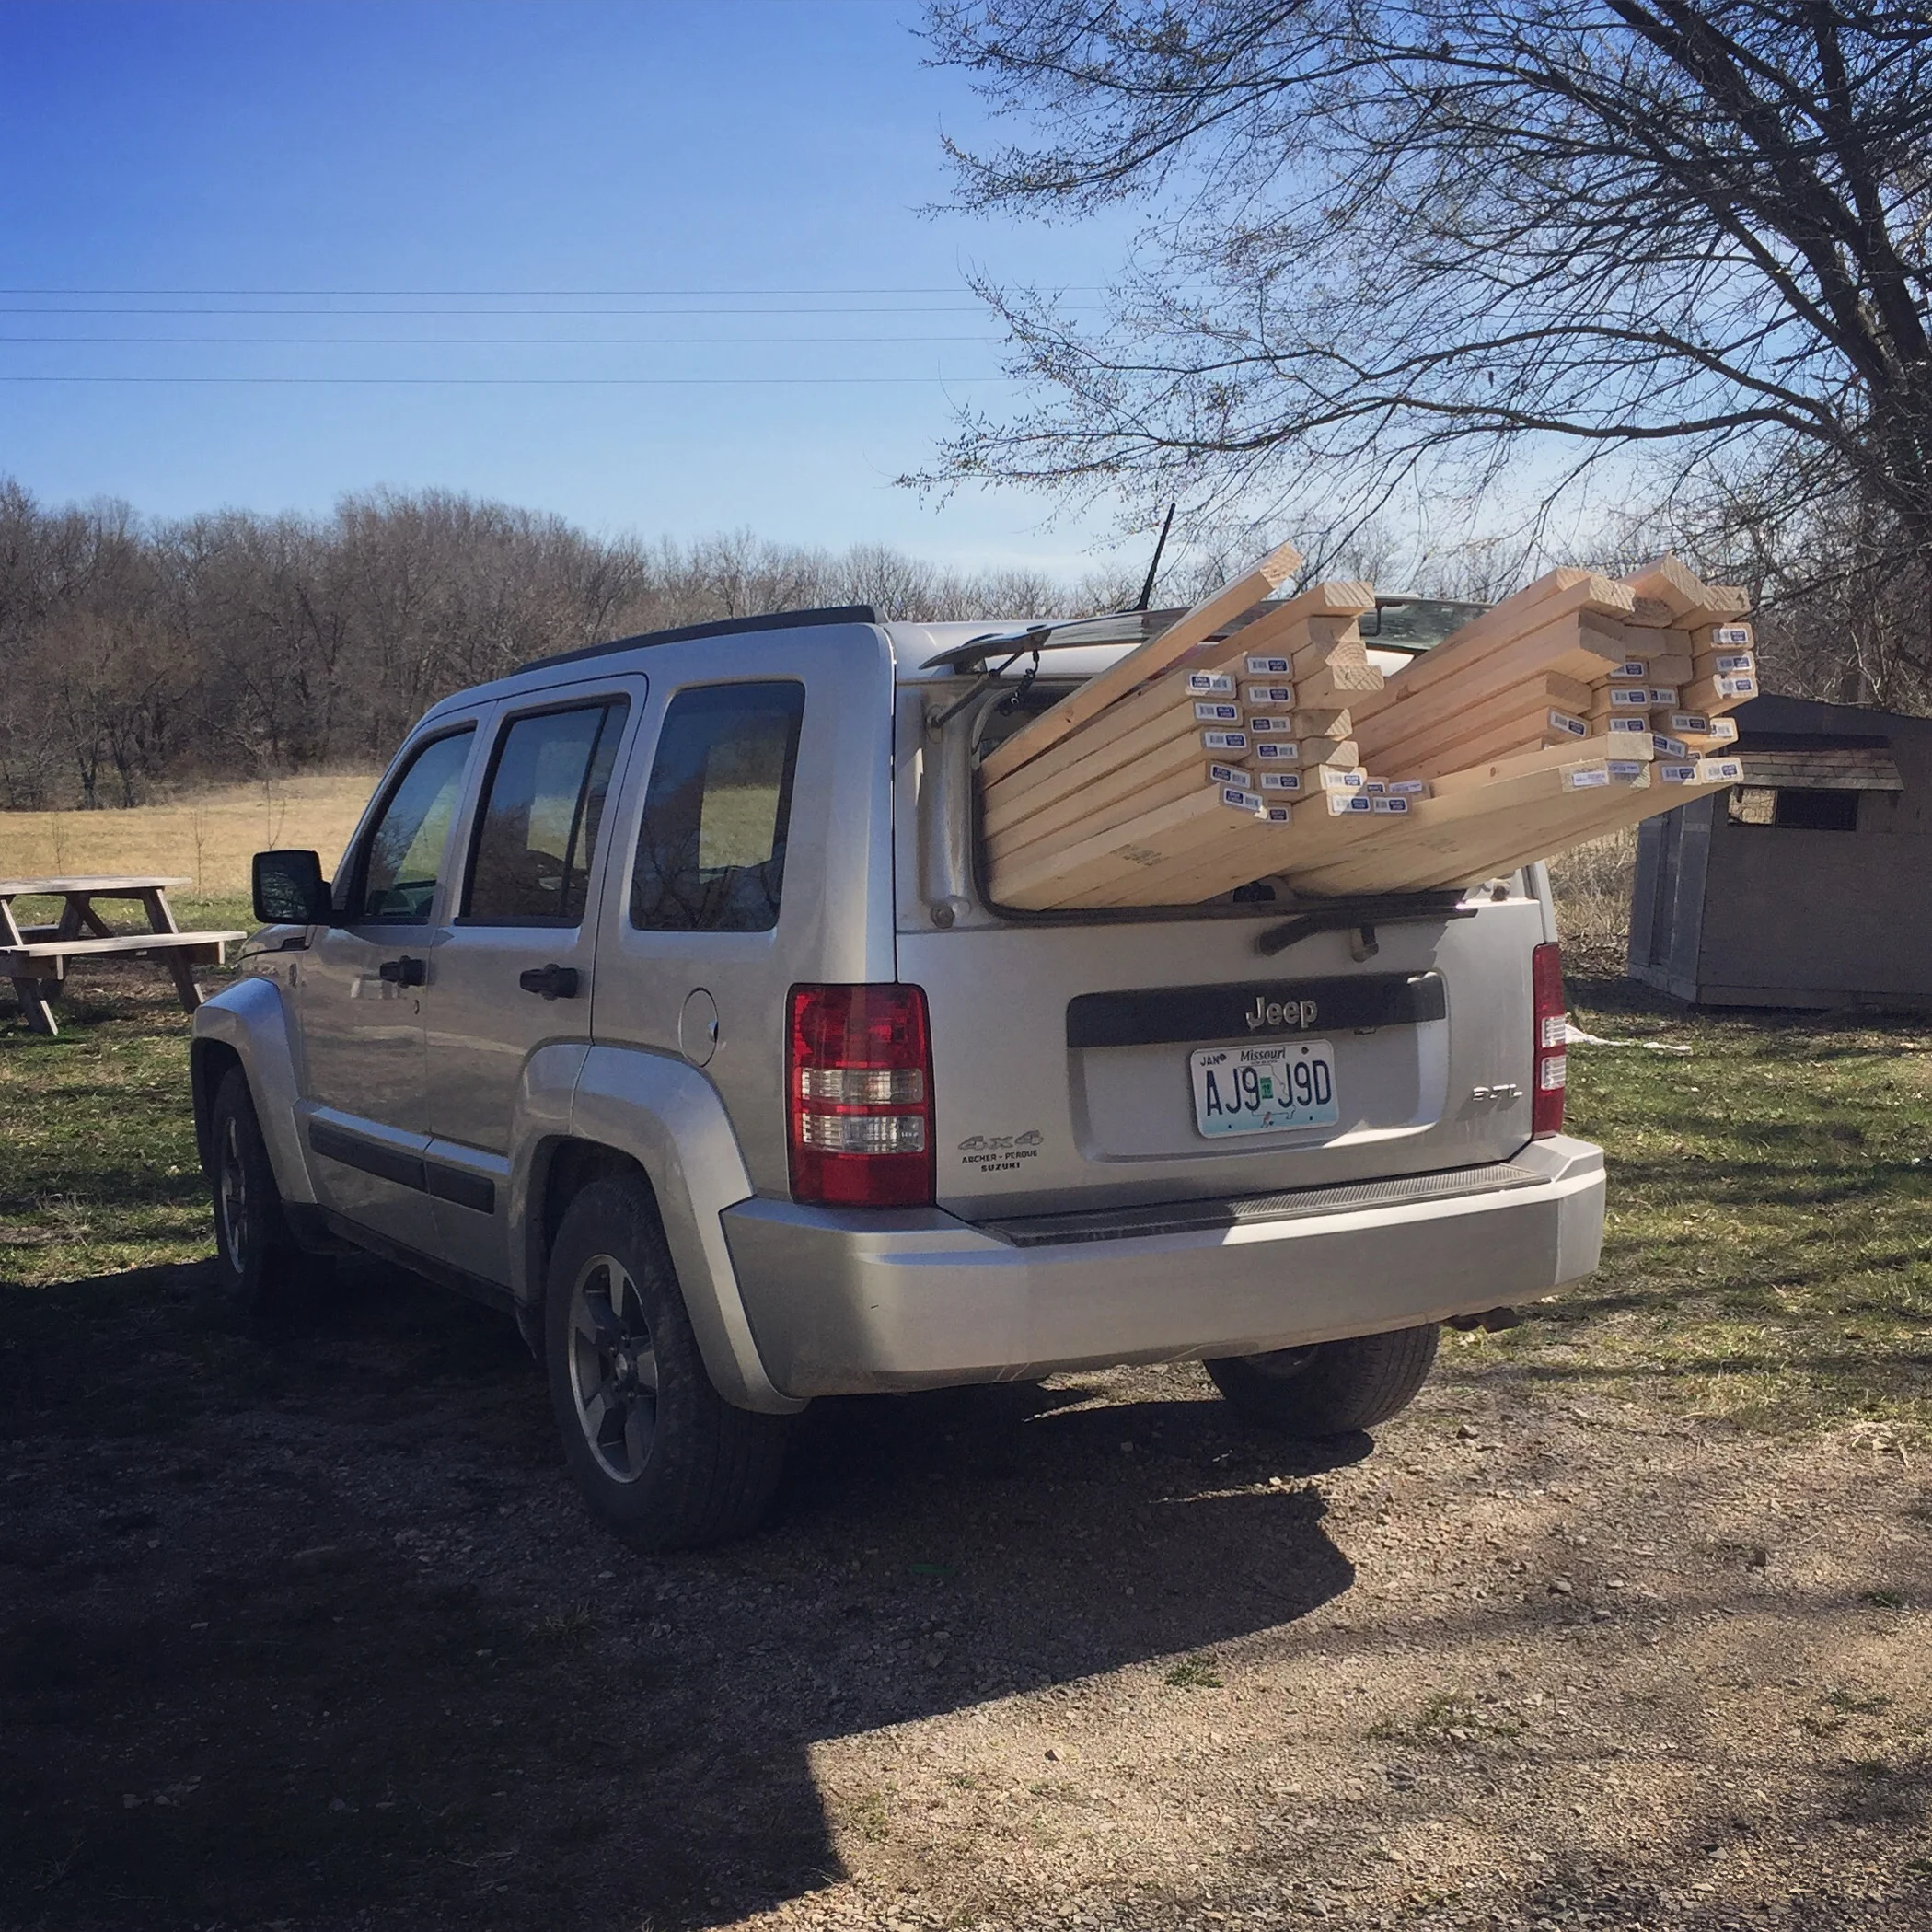
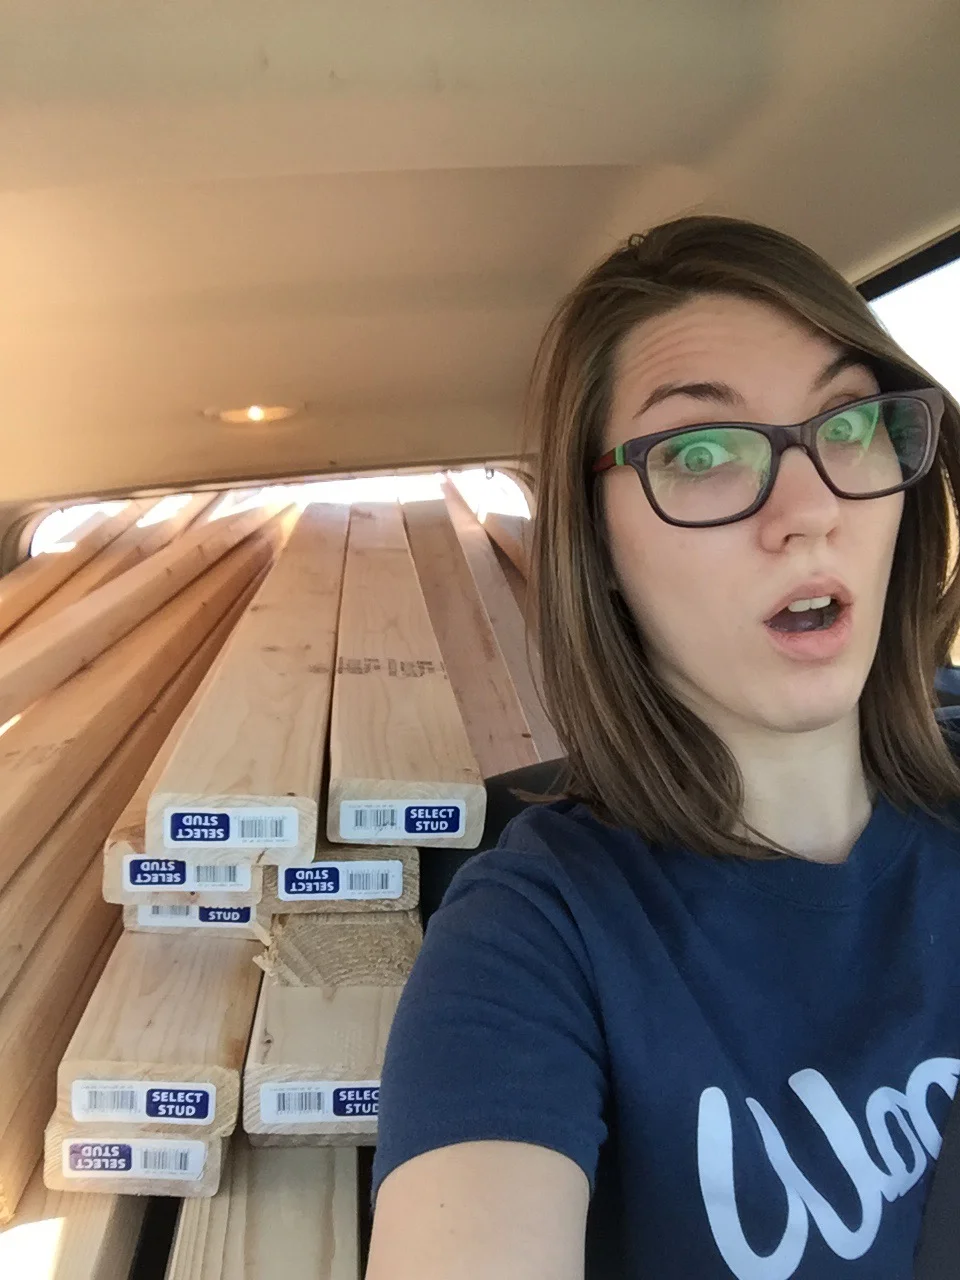
I was so excited to get started with this big project that I headed over to my local Lowes and filled the jeep with studs, 70 to be exact.
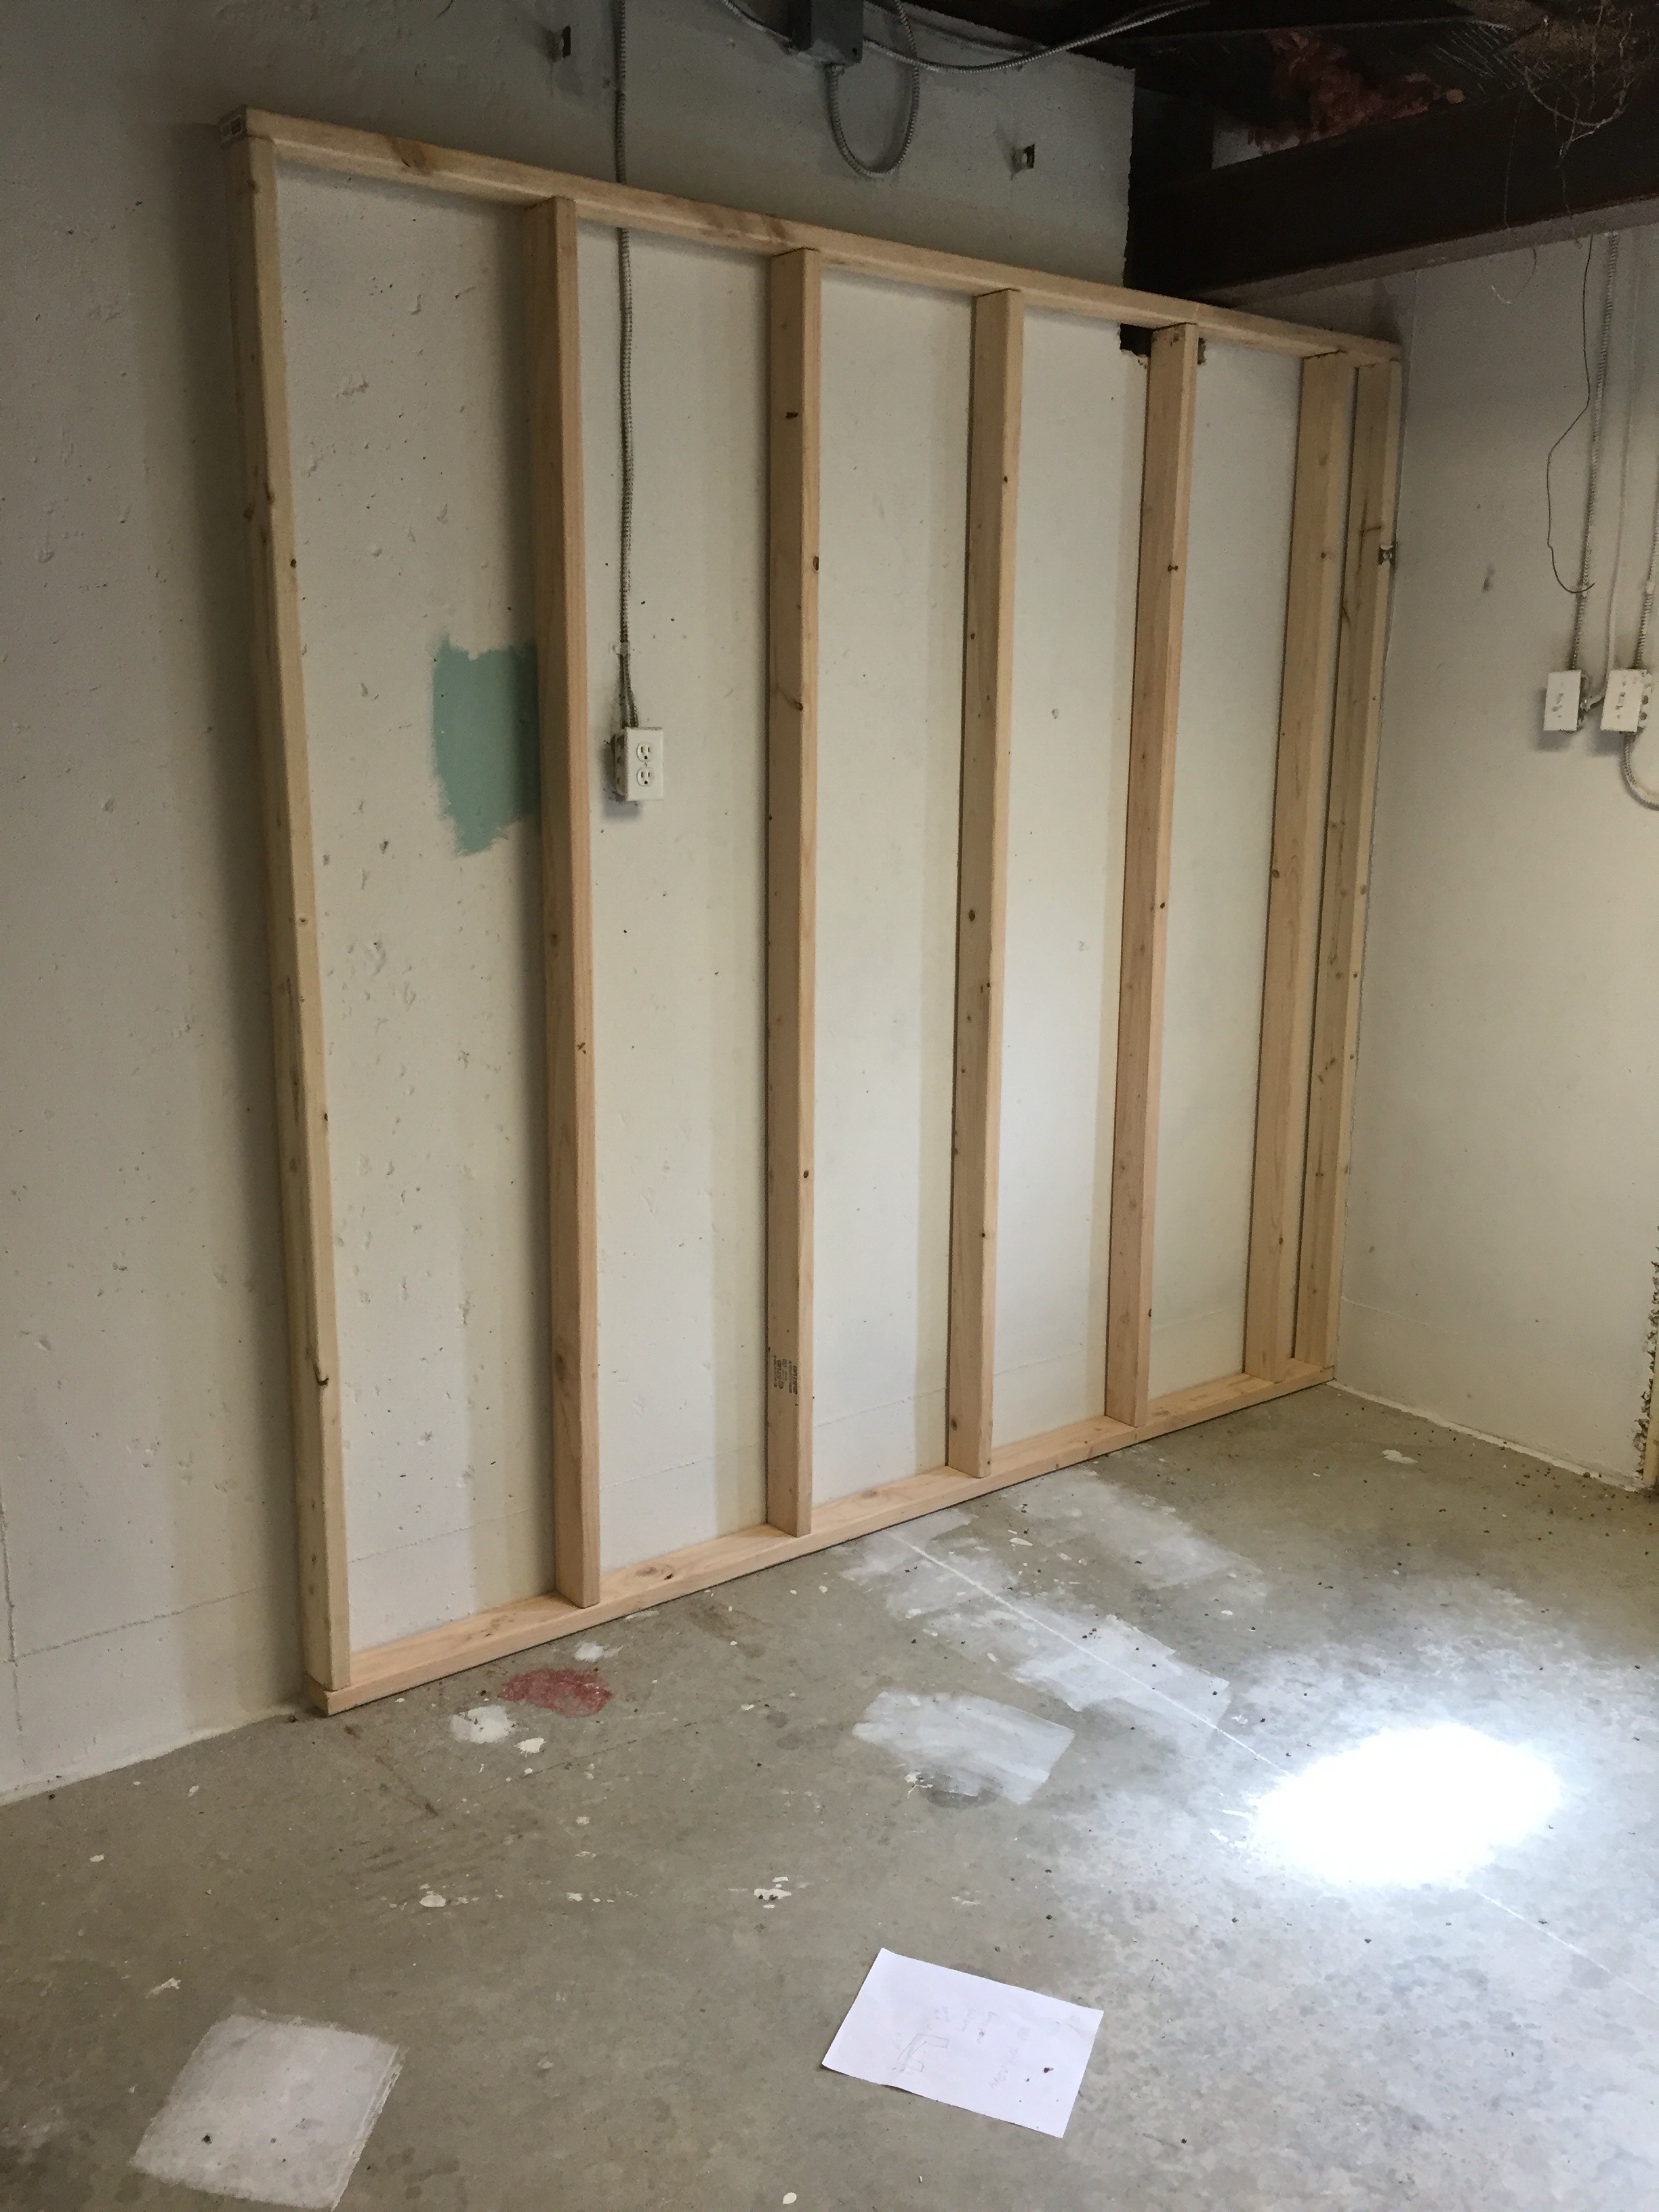
I got to work immediately when I got home unloading all the studs into the basement. Then I started measuring and marking the studs for my first 8ft section of wall. It came along really fast.
After the first wall section was done I took a break to see the new wall color. I painted a sample on the wall and I really like it. It's Sherwin Williams Celadon Pottery. Part of me wants to do a neutral paint and I still may, but for now here is a peak at the color.
Once my paint break was over I leaned the wall up against the basements cement wall and then started on the next piece. This piece needed some extra attention to fit around a plumbing pipe so it took a bit more time.
You may notice I'm not going all the way up past the beams. It would be lovely to have all that extra ceiling space but I don't want to mess with the pipes, vents, or electrical that will be hiding up there.
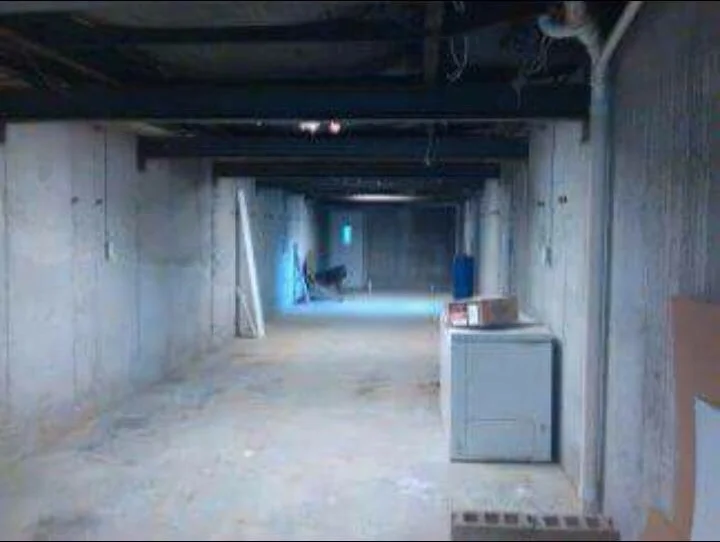
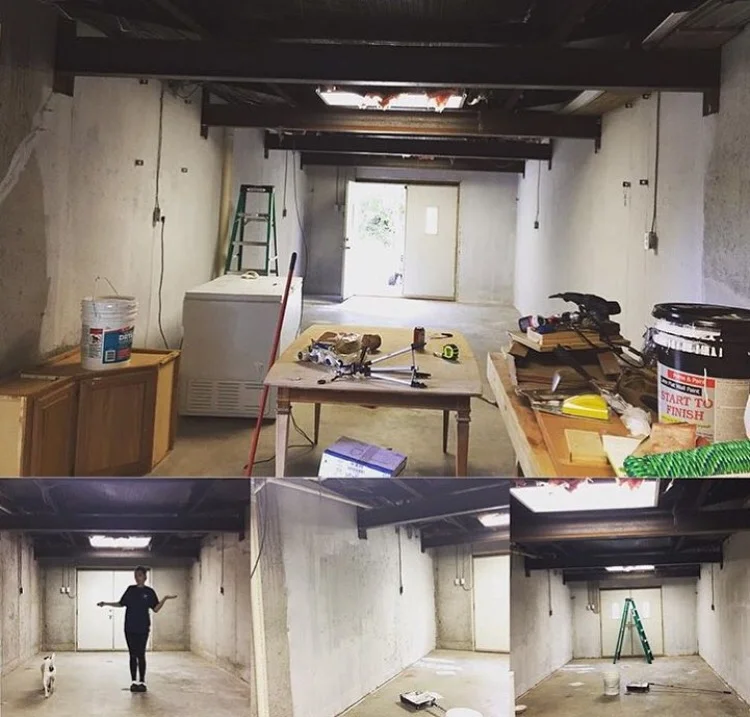
I completely forgot to add before pics in that post so here they are.
The first picture is actually the other side of the basement but you can see how dark and basementy (may not be a real word) it was. In the second picture you can see i painted Dry Lock on the walls. I applied two coats to help seal the cement.
After this(many months later), I bought the studs and framed 4 of the 8ft wall sections...
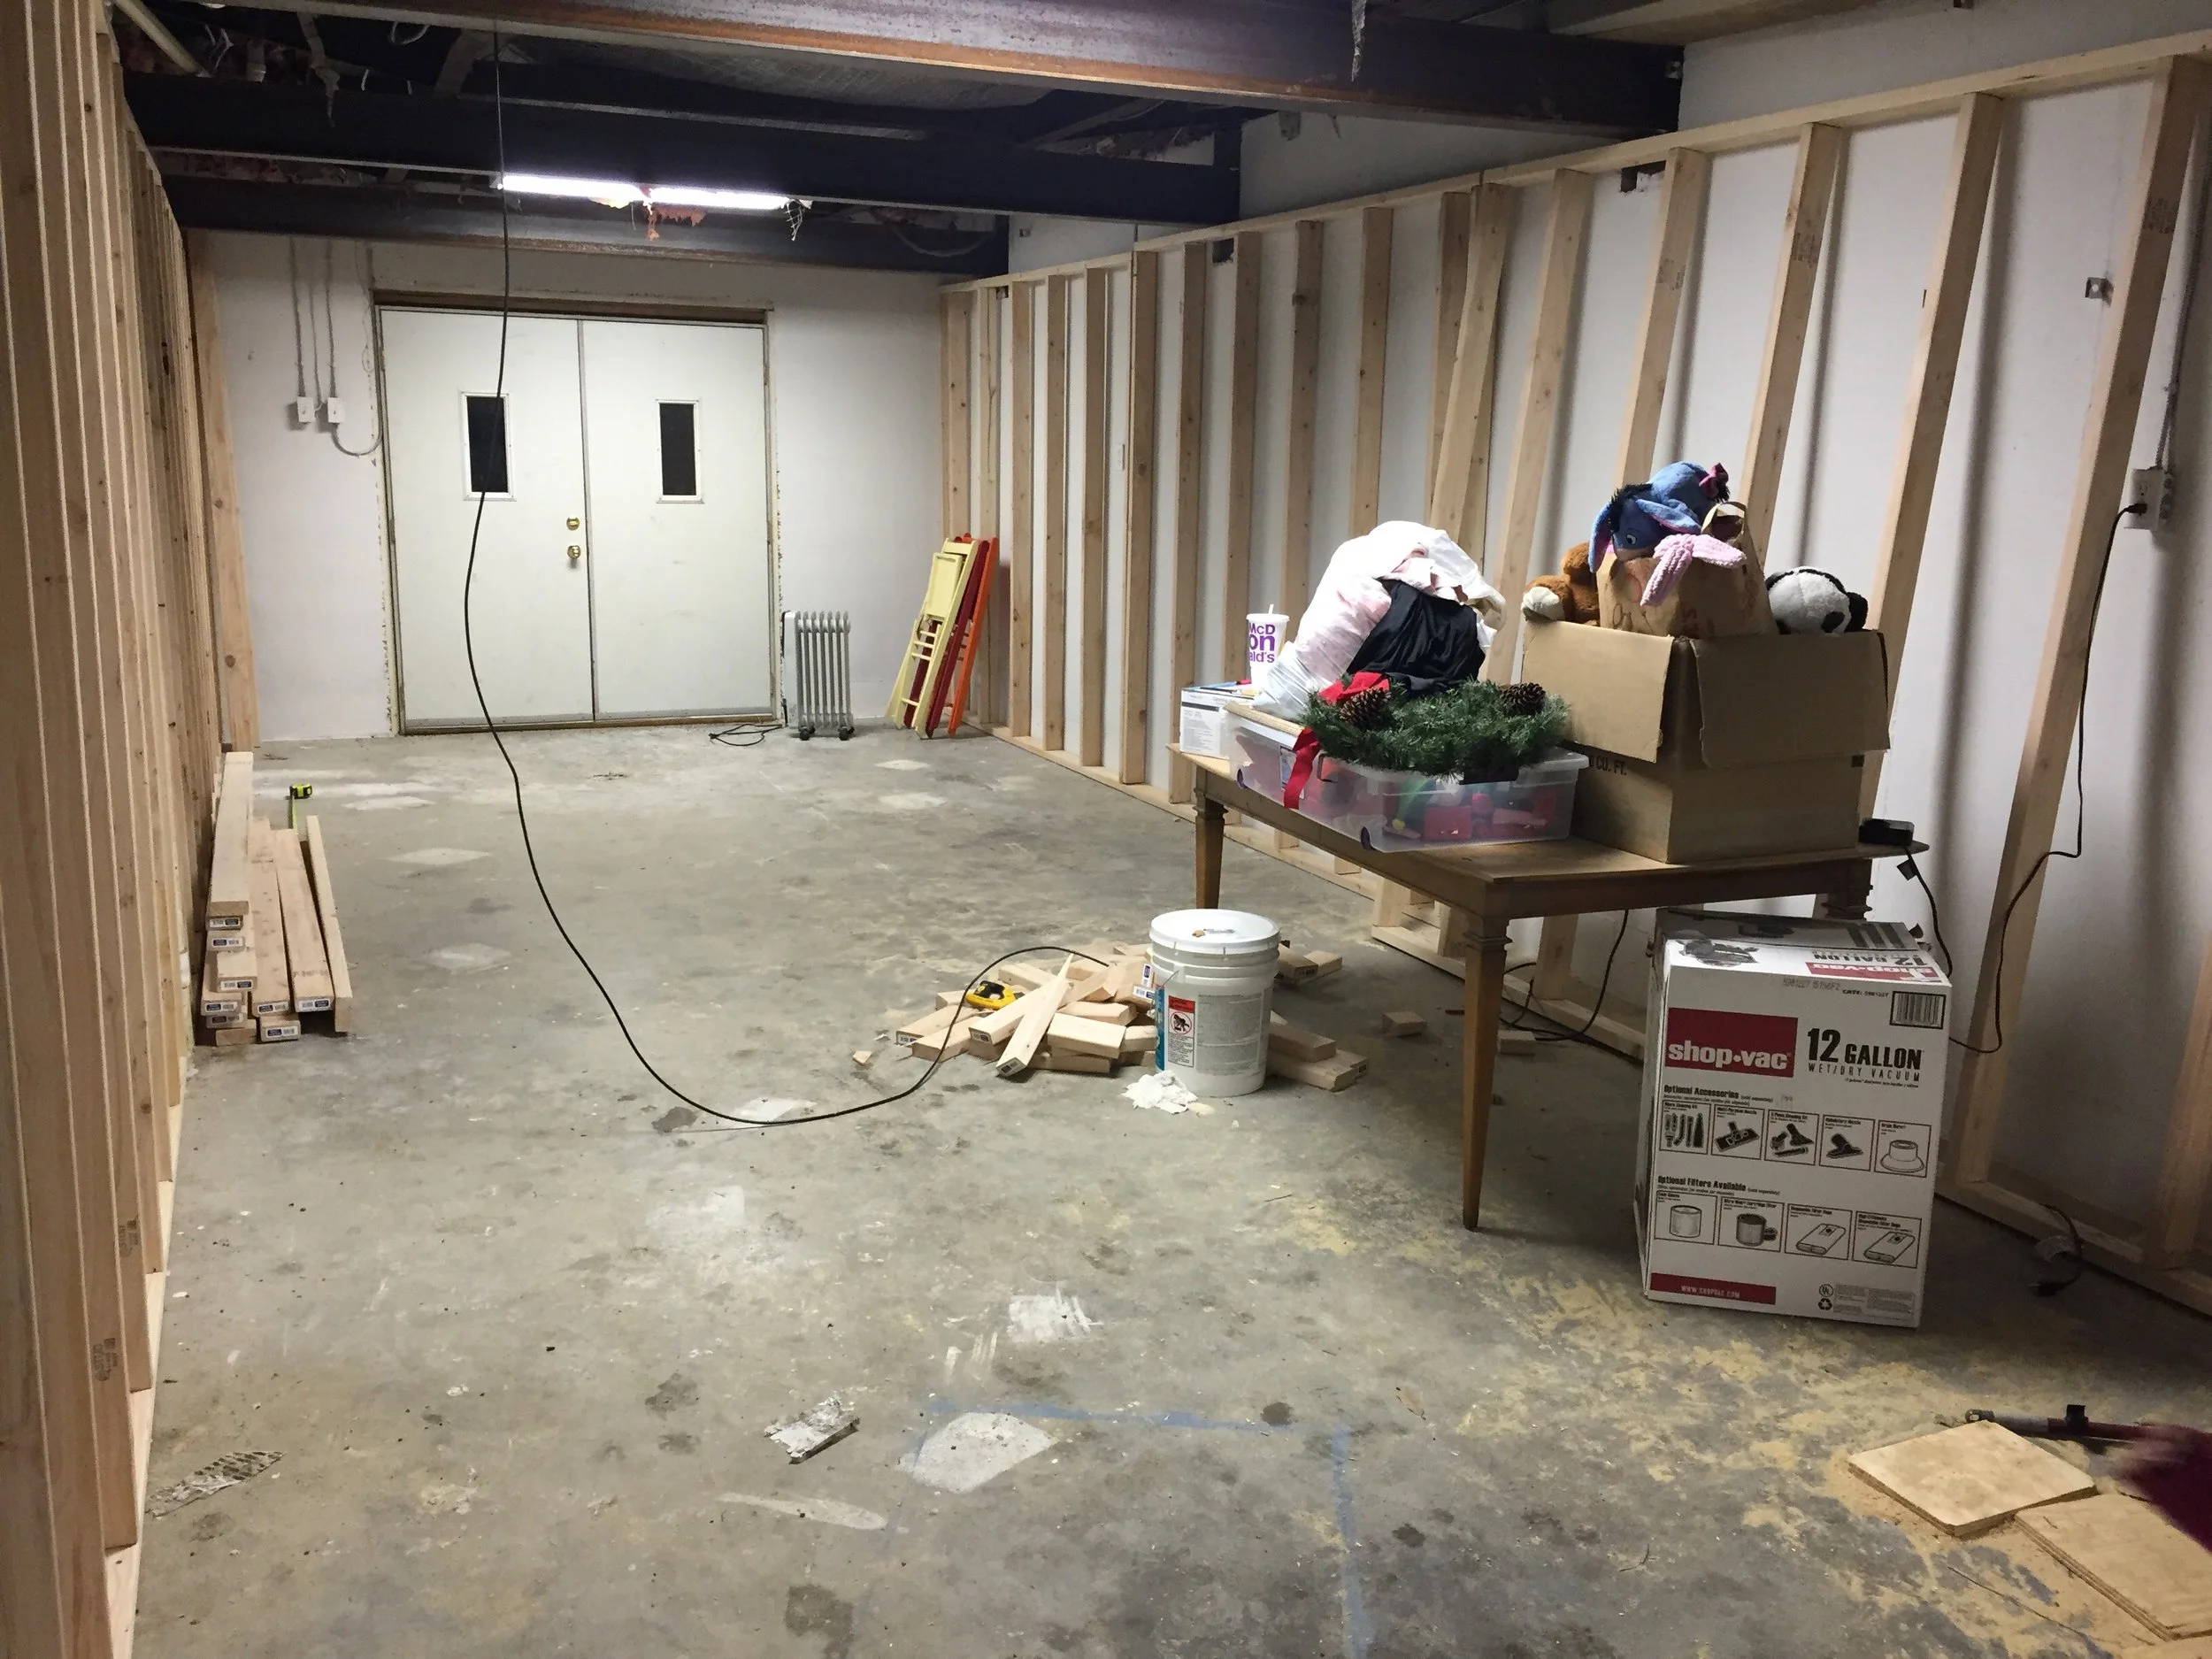
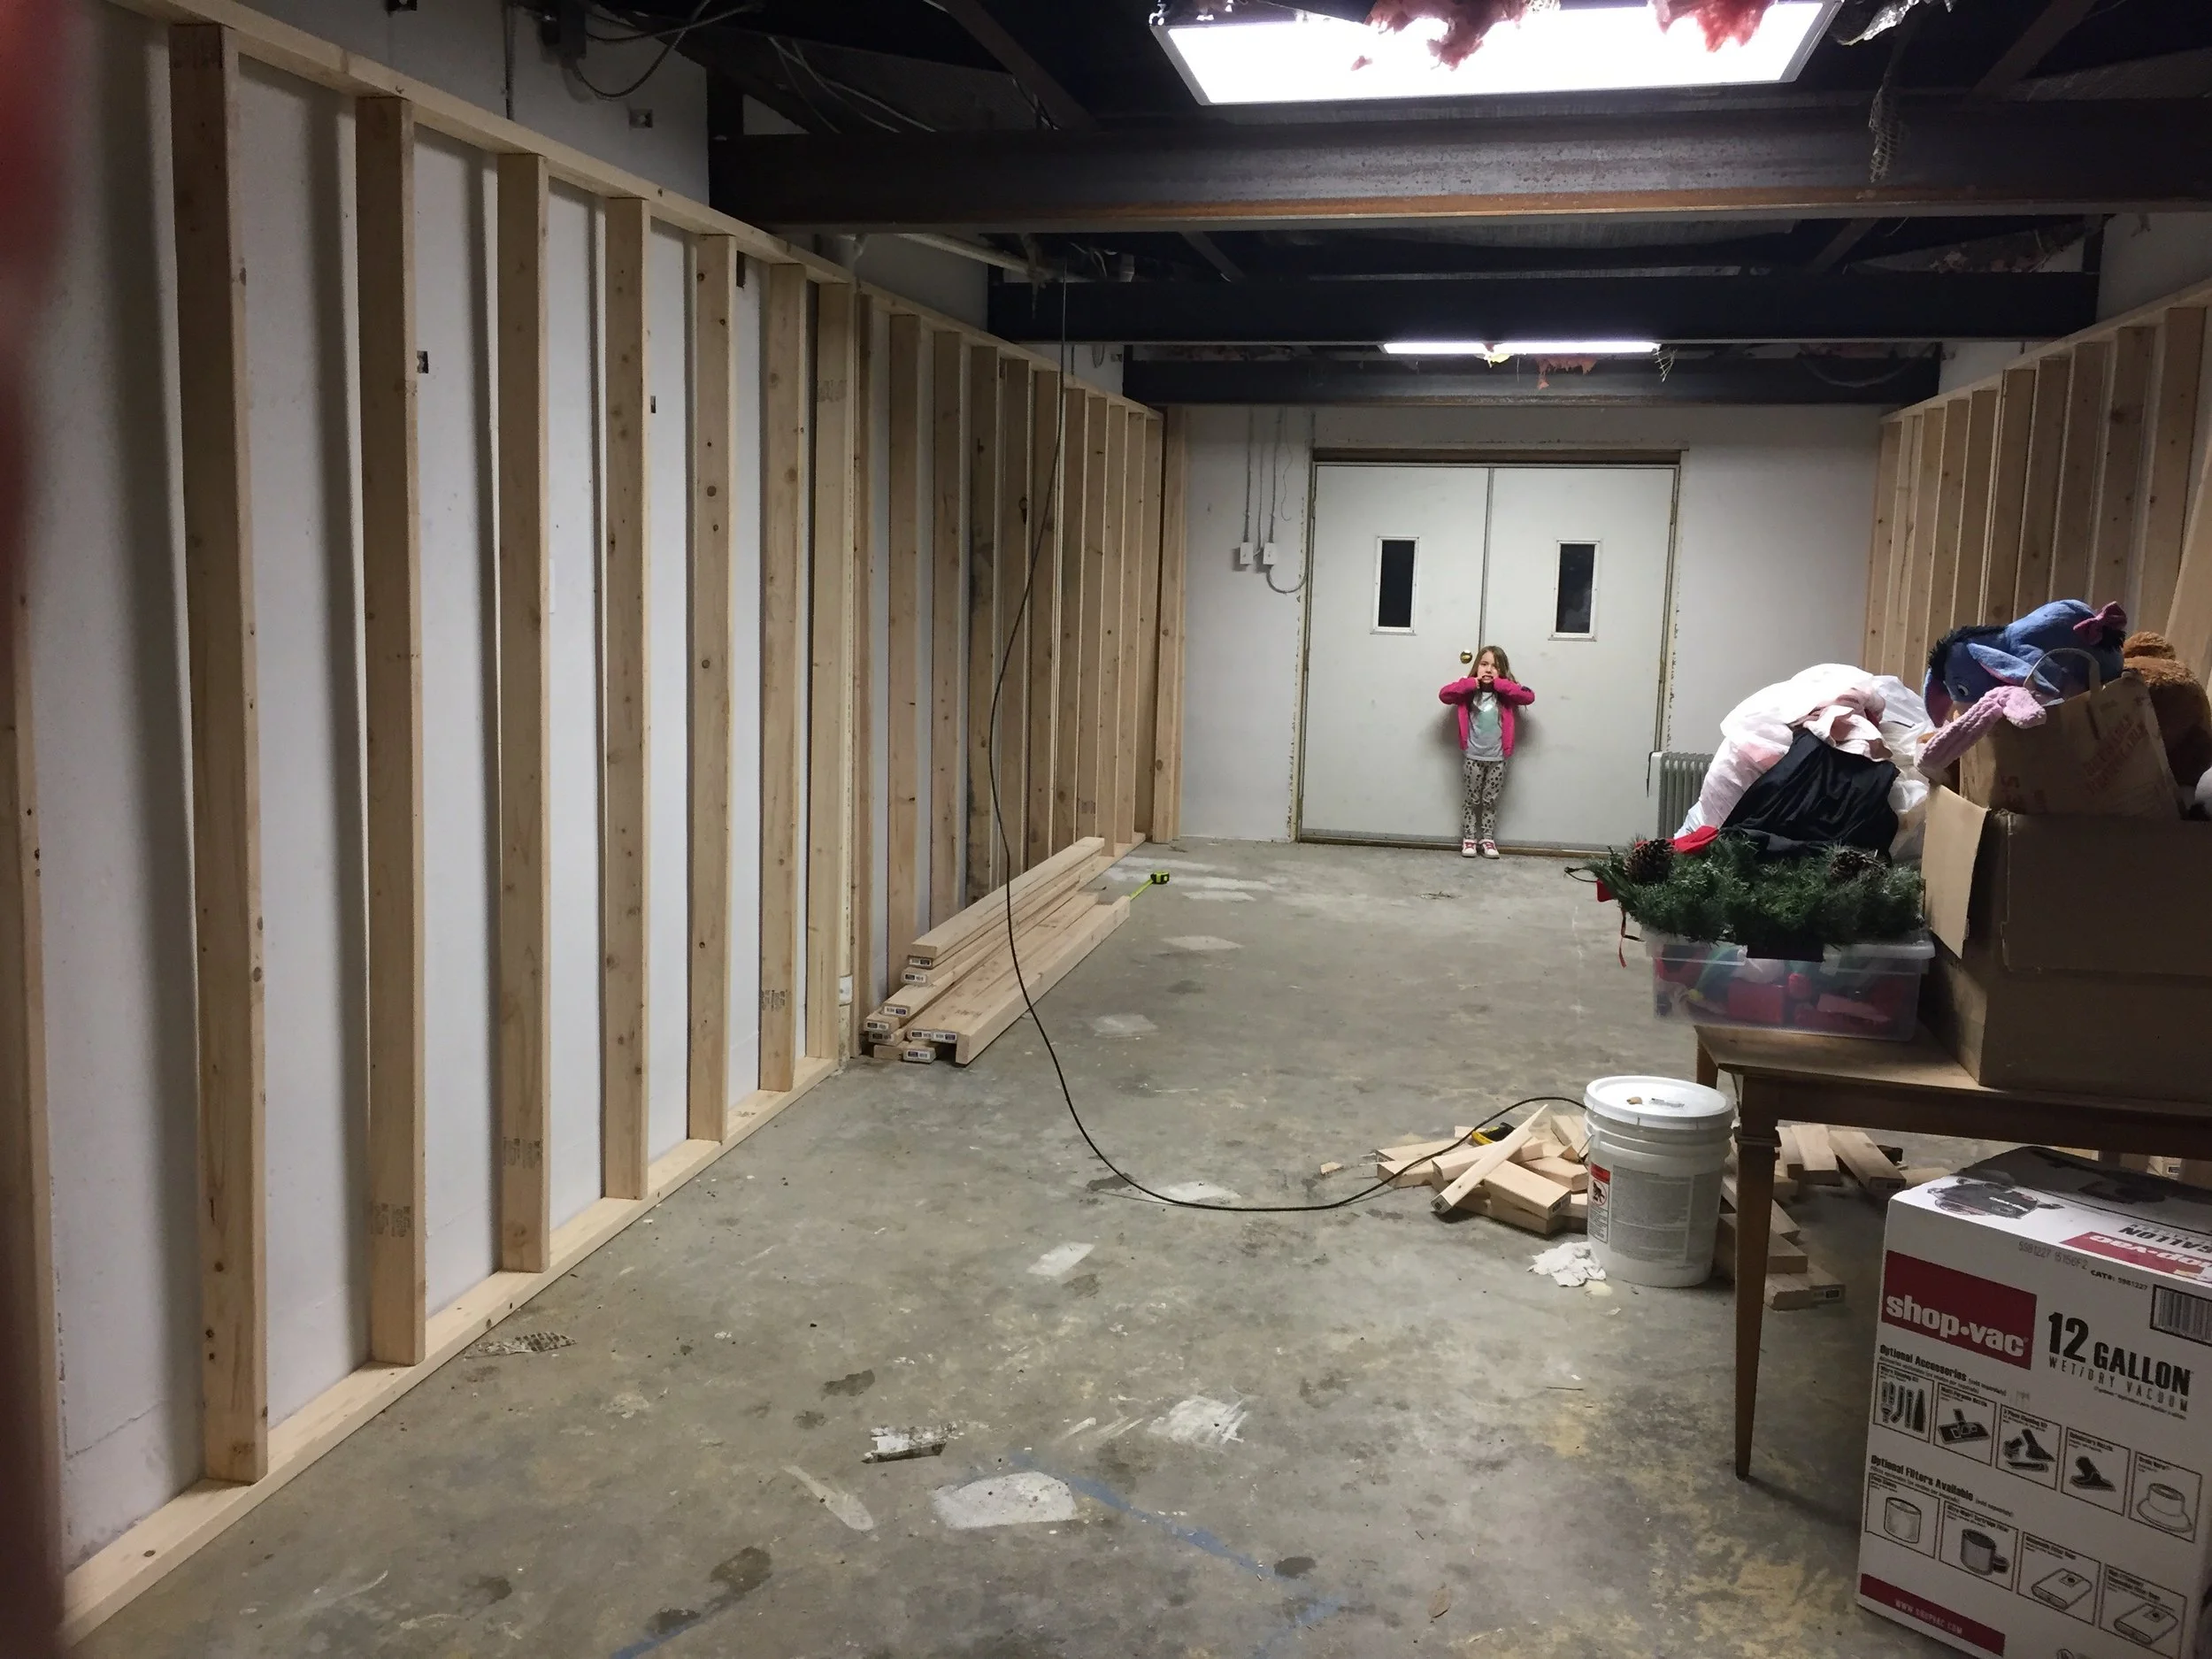
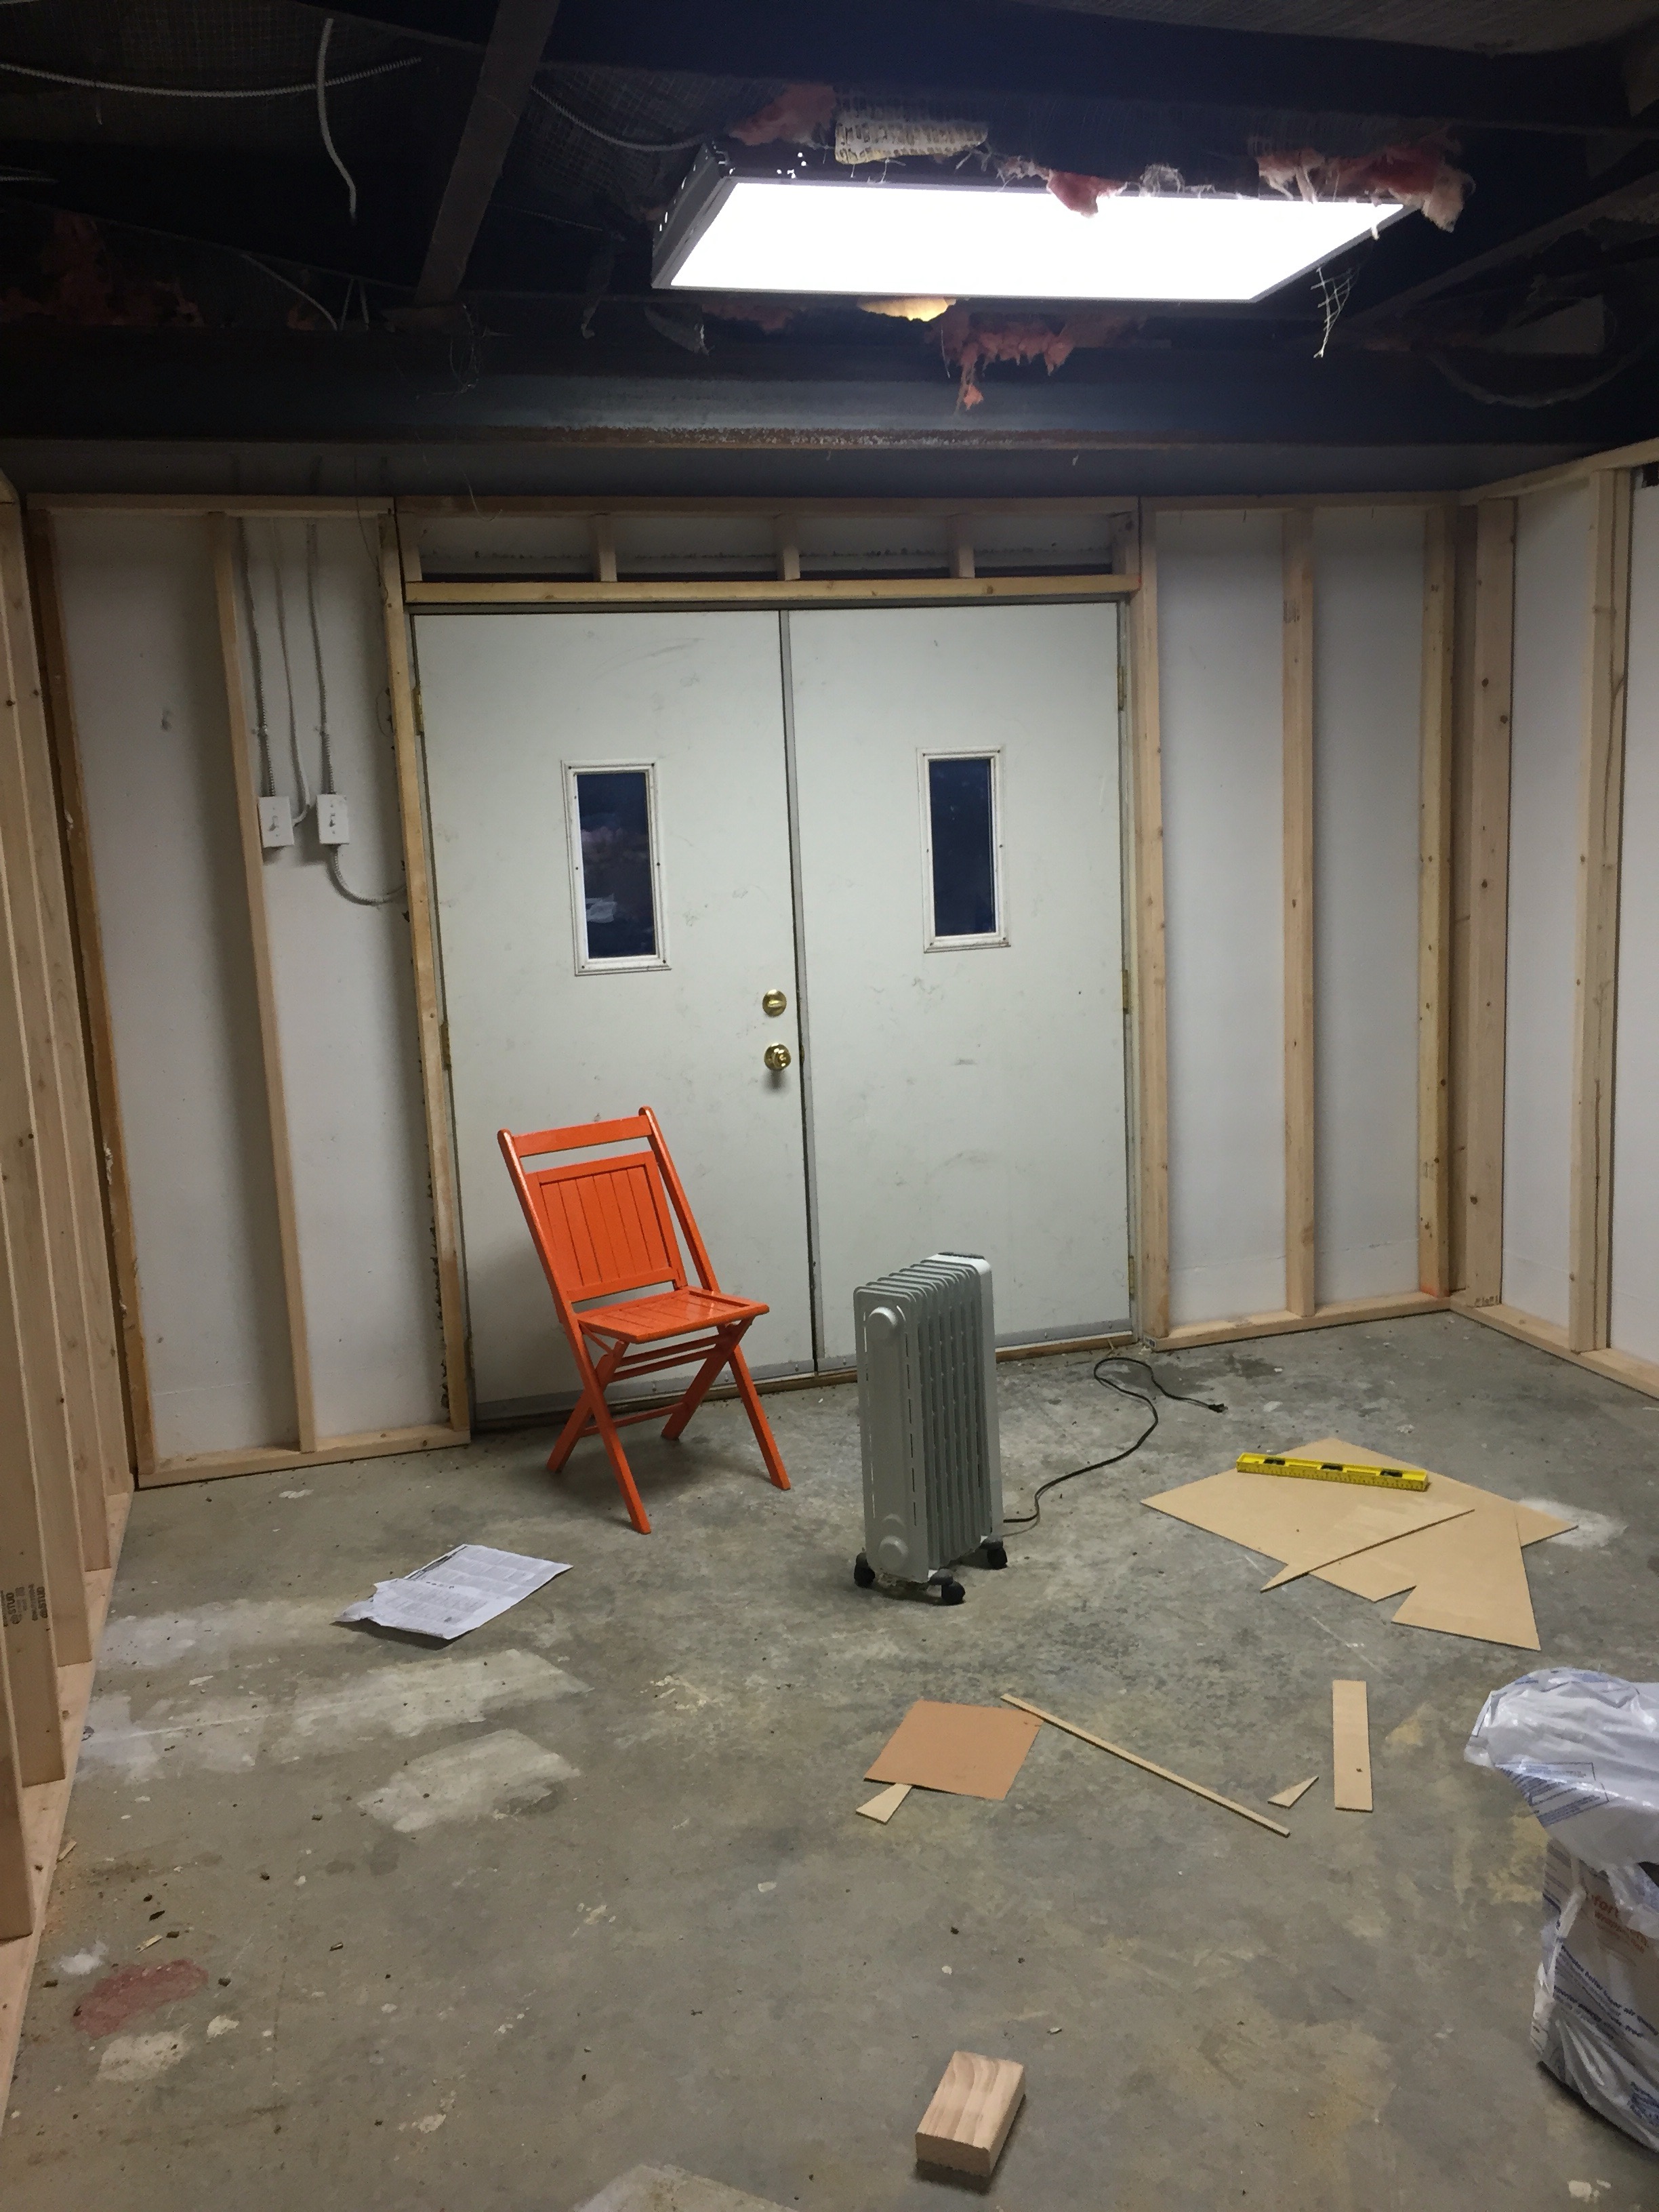
Here I have completed two of the 10ft wall sections to finish off the side walls. Framing both side walls took about a day and a half with lots of breaks to spend time with family, errand running, etc...
Now I just have to finish framing the opening into the other half of the basement and around the door. Speaking of that door. I am looking into replacing it with French doors to let in all that natural light.
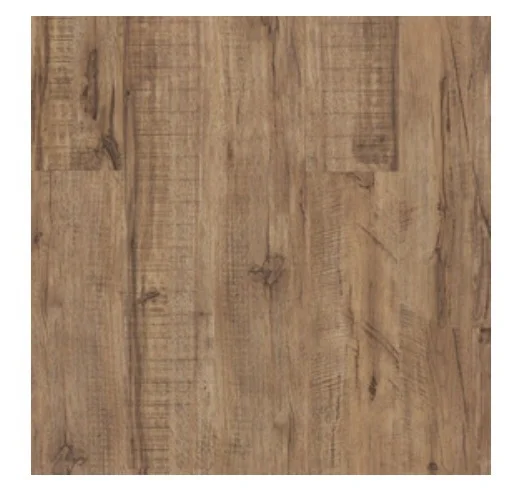
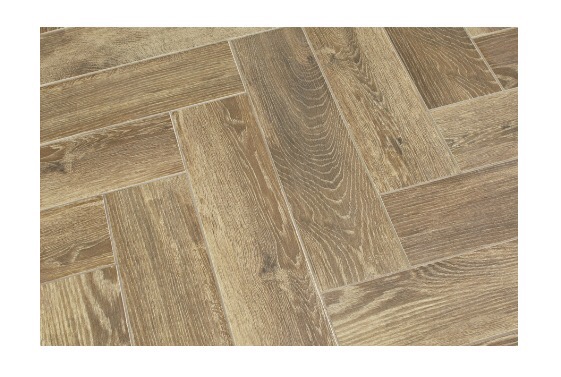
We are still discussing ceiling and flooring option, but "wood" tile and vinyl flooring is the top two choices at the moment.
I knew it would be a big job but man, framing is no joke. 💪🏻
Now we have finally finished the framing section of this project. It took about two days. We bought this awesome tool to help with the framing.
It's a DEWALT Single Shot Powder Actuated Trigger Tool and it fastens the studs to the concrete floor. This thing is powerful and dangerous so my wonderful husband did this one for me.


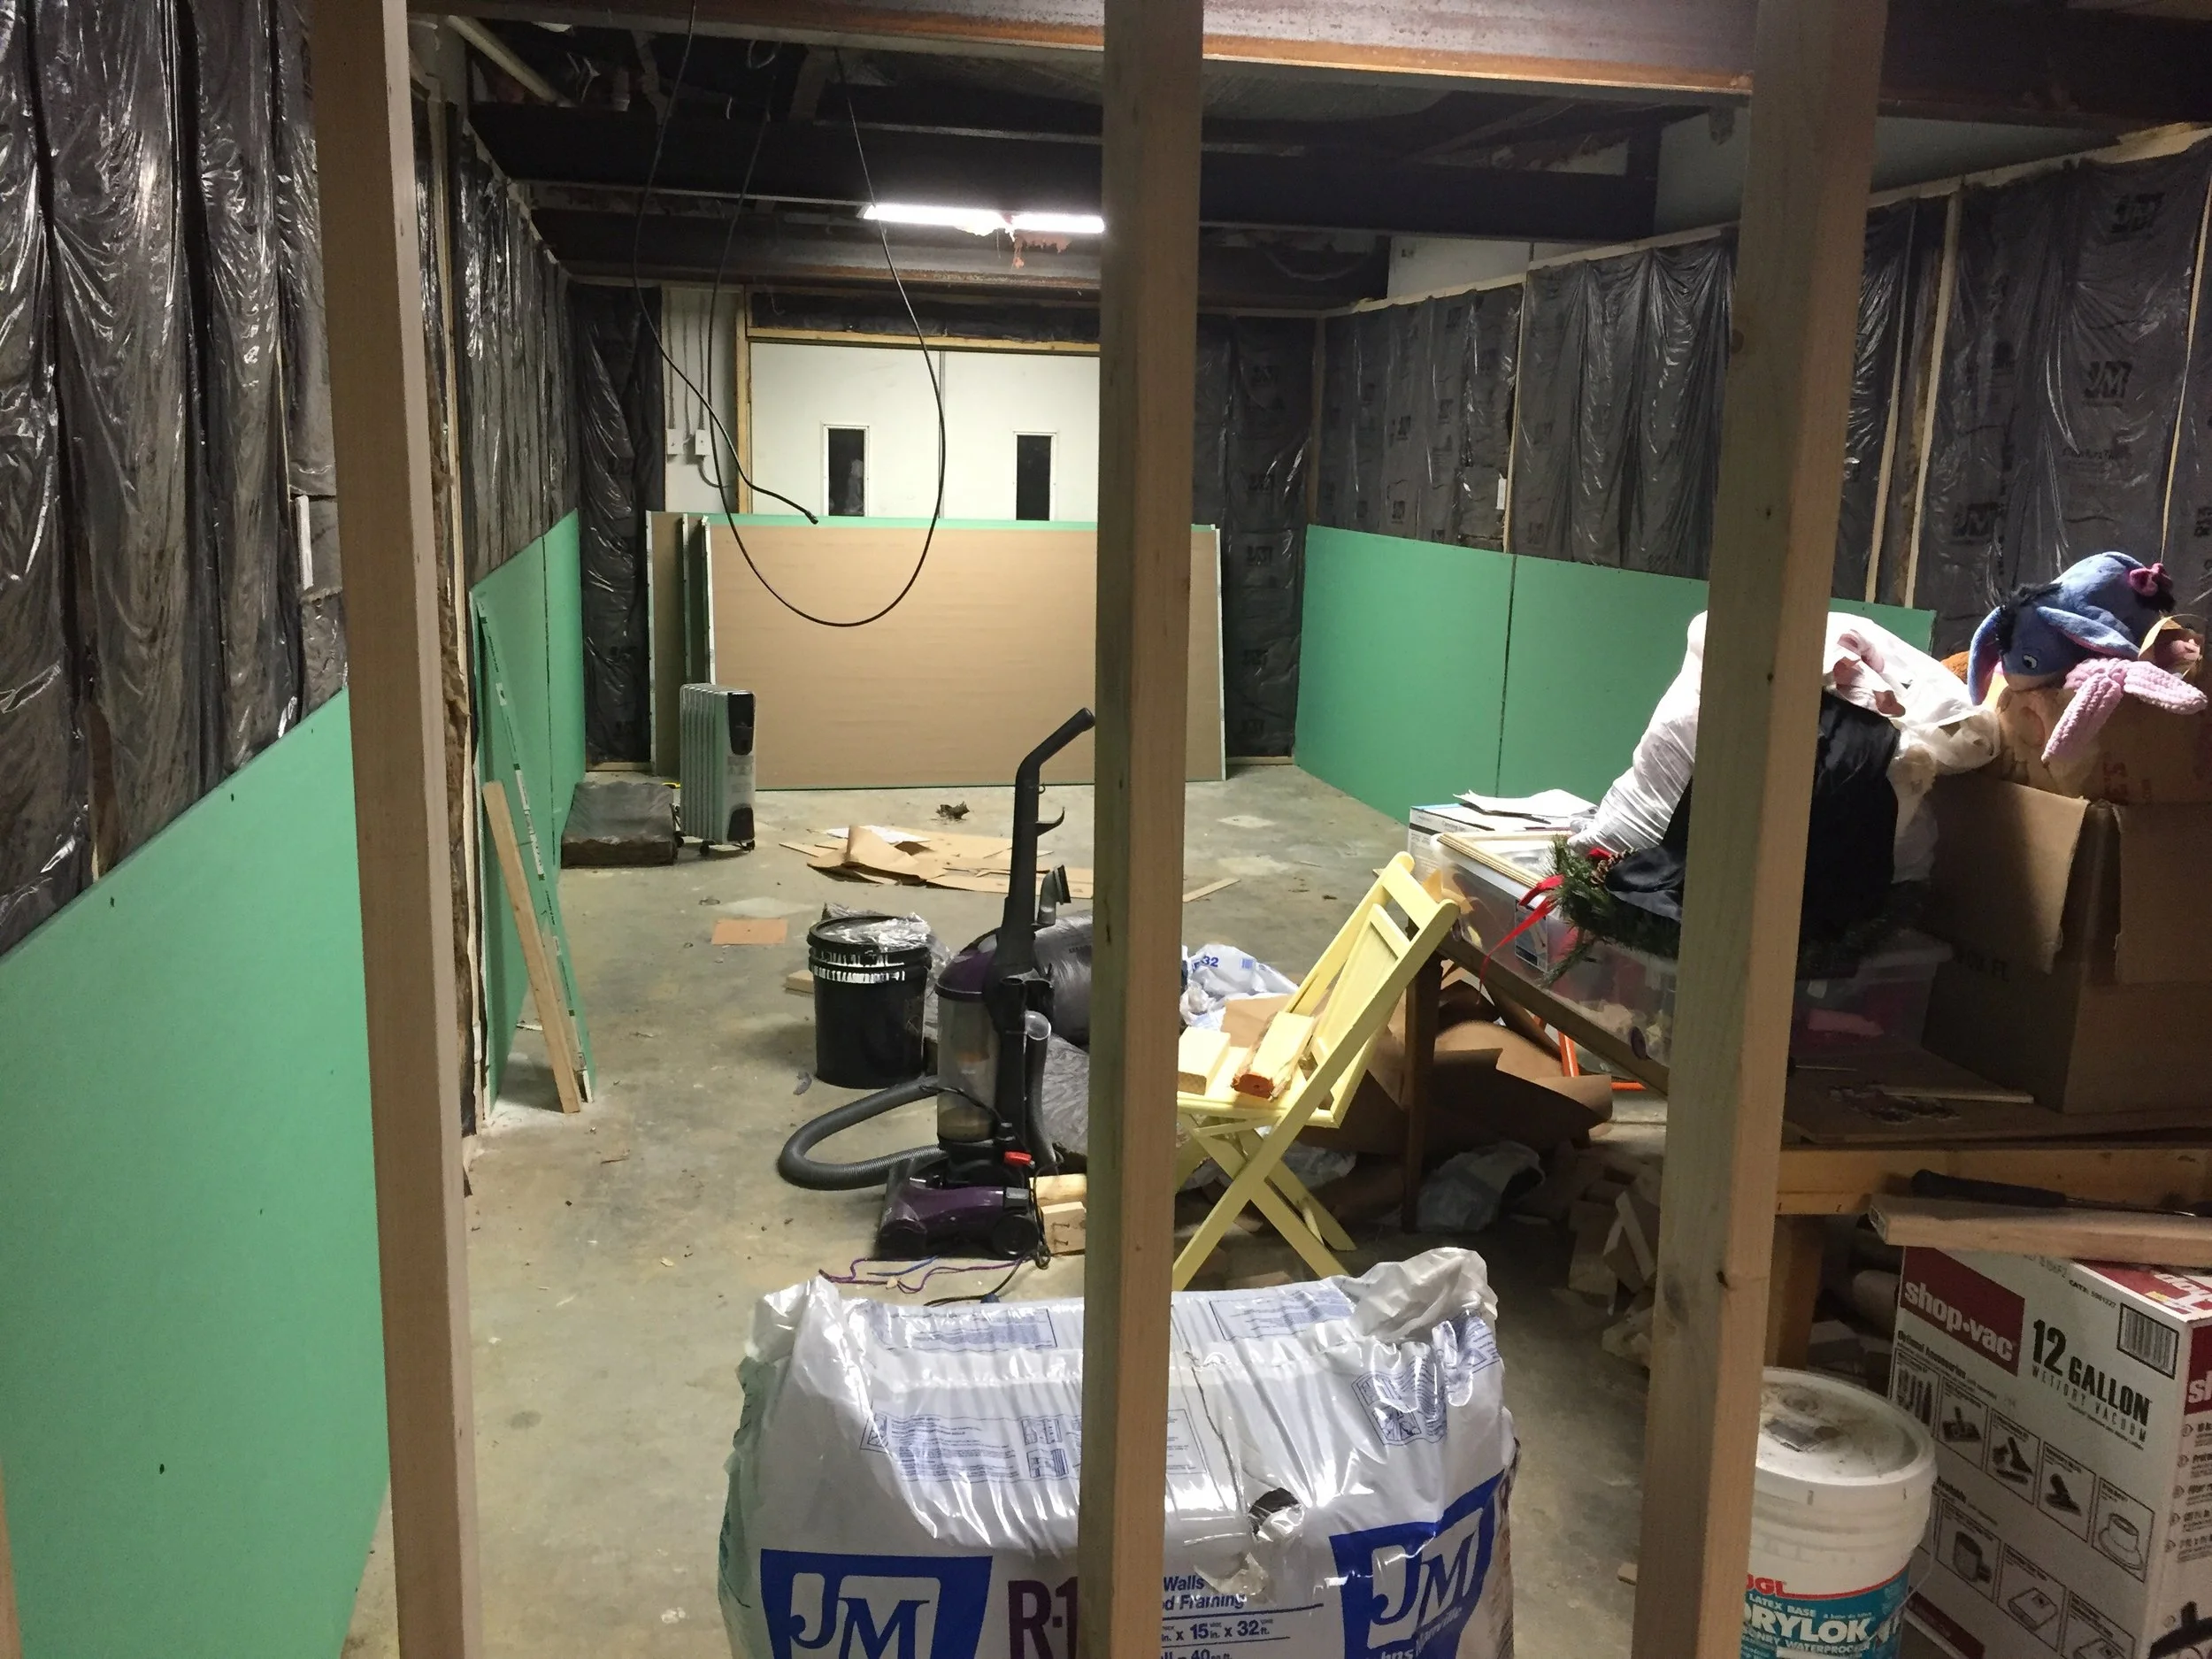
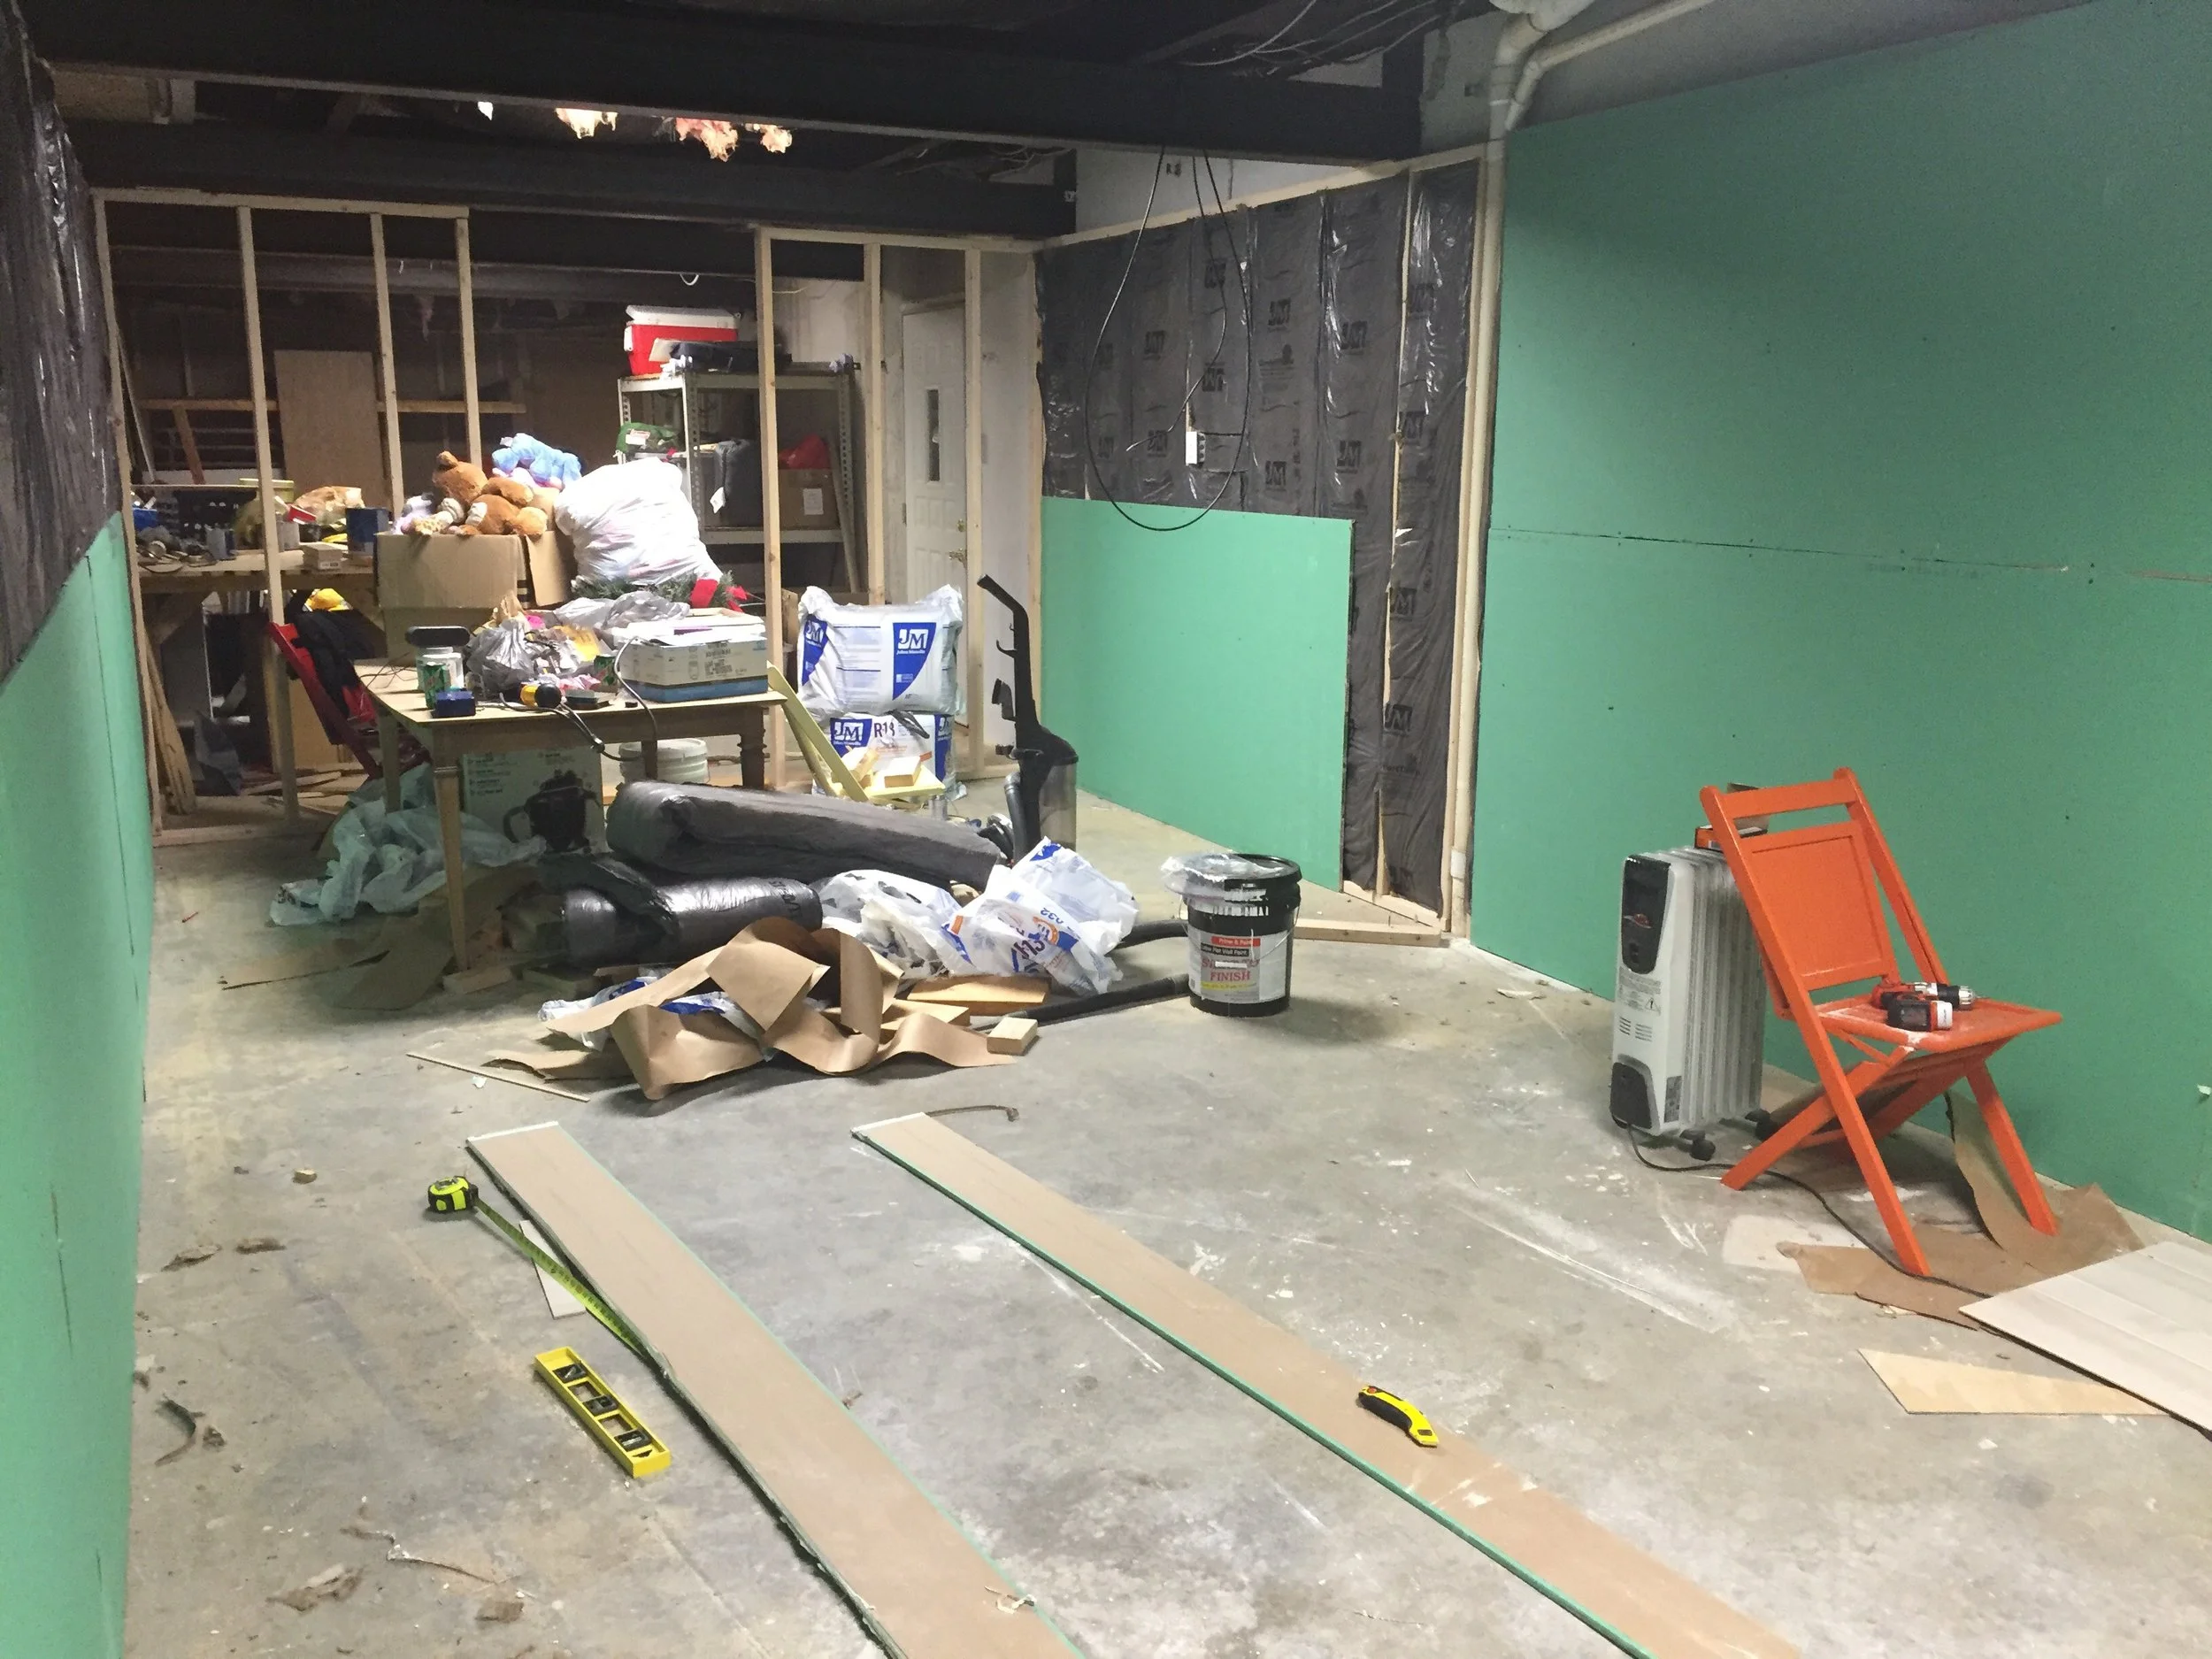
You can see the room is really coming together now. We have the sides and the door wall all framed in as well as the case opening. (Do you see my poor table being used as a workbench/storage? I will be giving it some attention soon.)
I didn't get a picture of the case openings header but it's there lol. Did you see that big pile of insulation? I will be working on that next. (Look at those cute colorful chairs my mom scored for me, aren't they amazing??!!)
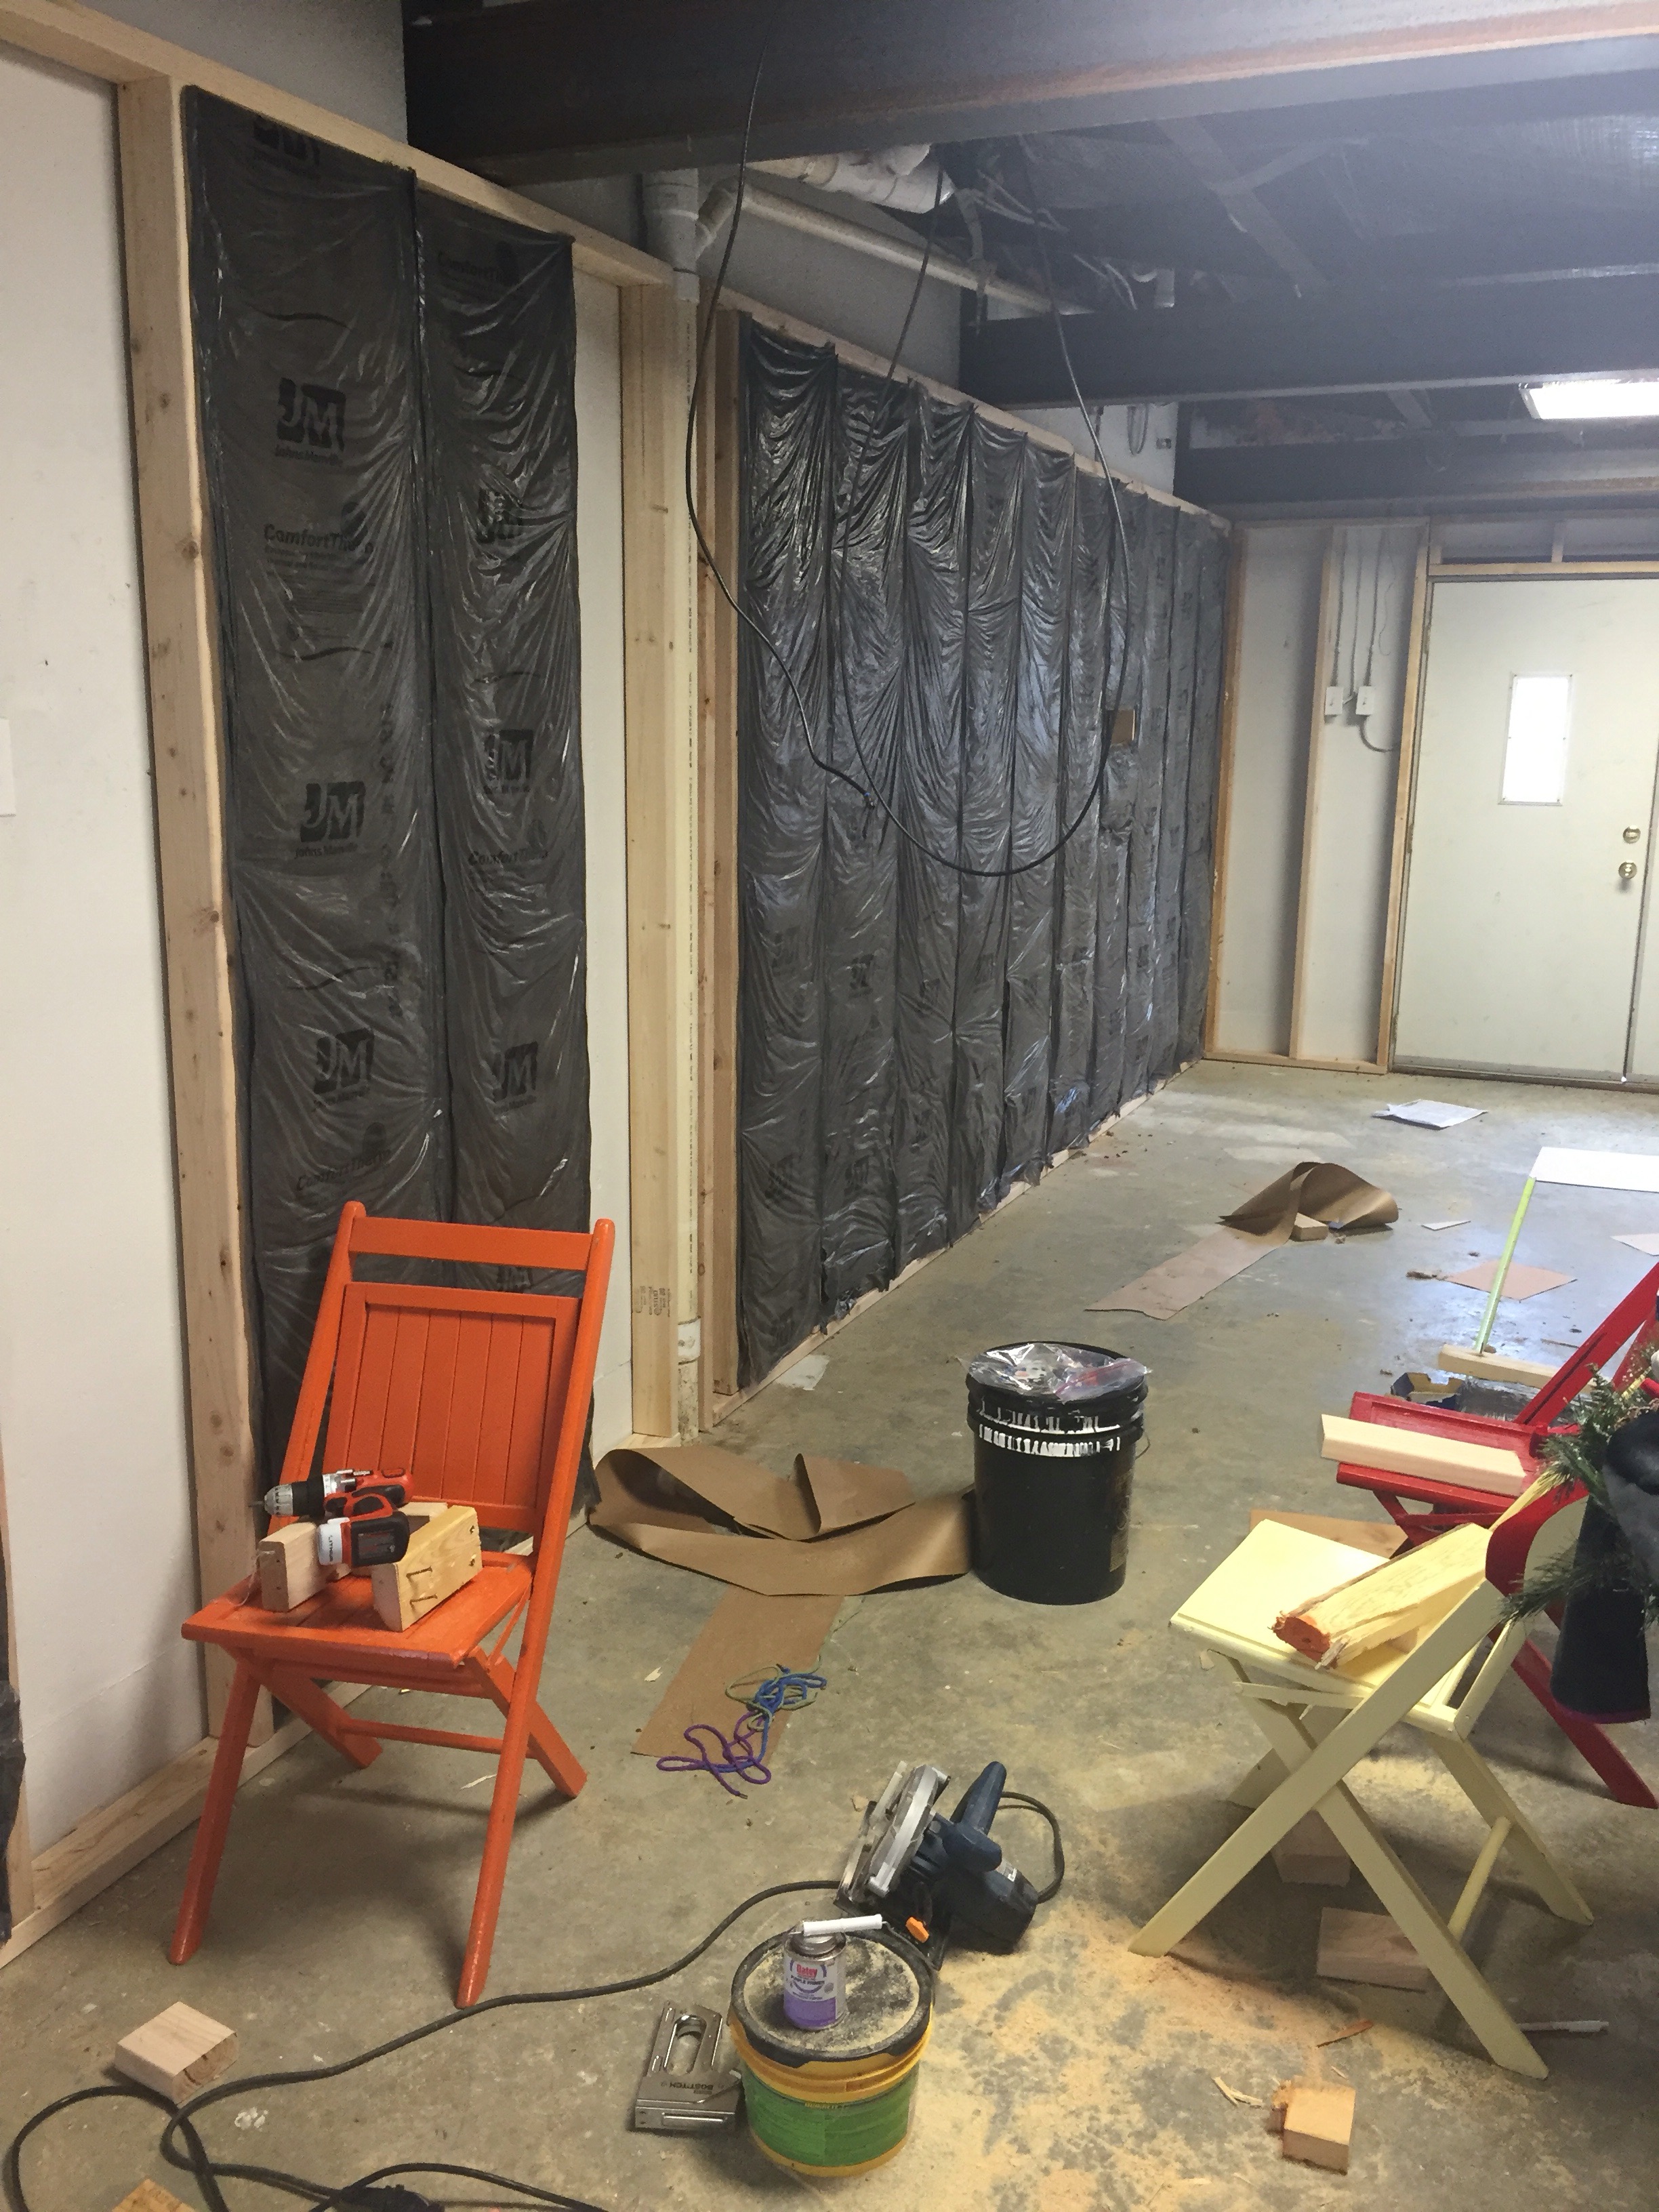
I managed to get all the insulation put in and I moved the outlets forward so they will (hopefully) sit flush with the drywall.
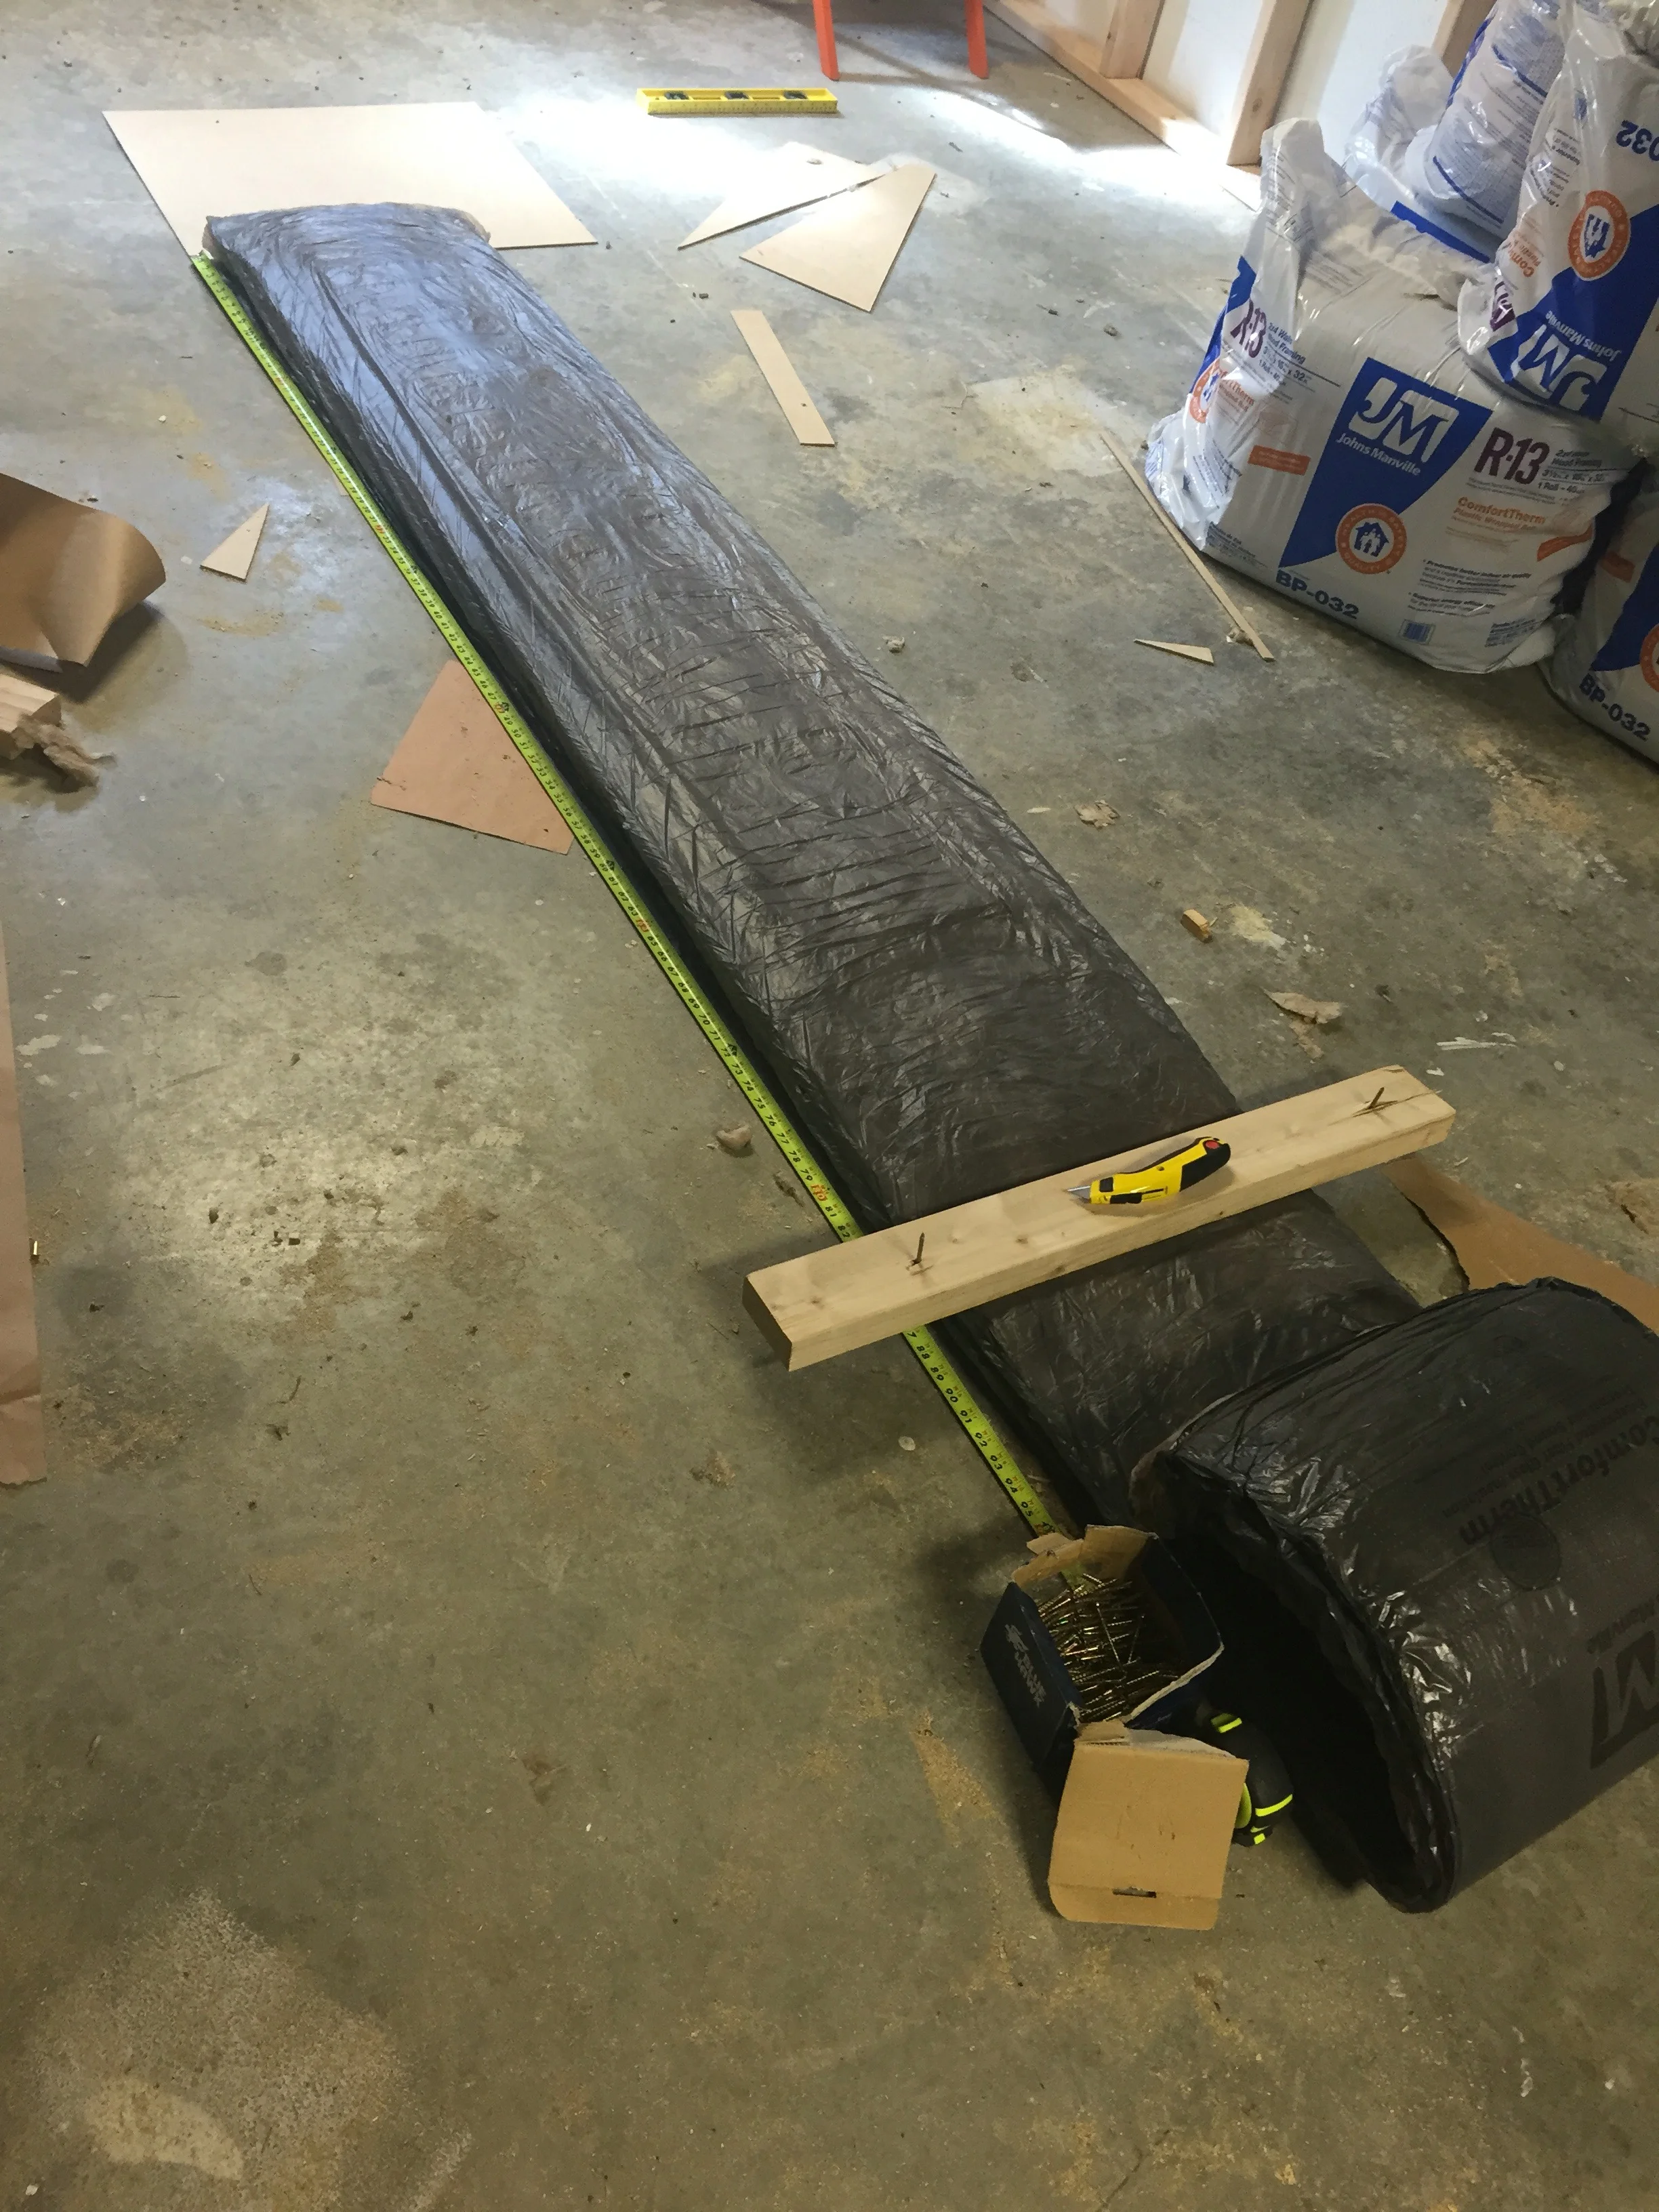
The insulation was very easy to put up. I just measured the inside of the studs, then I unrolled the big roll of insulation and placed a 2x4 across where I needed to cut. I used a utility knife to cut across the insulation and then I hung the pieces with heavy duty staples. I couldn't believe how simple it was.
(Please ignore the mess).
The next day I came downstairs to work, I could feel a huge temperature difference. It was usually super cold downstairs and I would have to wear a jacket. But not after the insulation was up, it's warm and comfortable.
The electrical outlets sat against the cement walls, if I left them as is, we wouldn't be able use them once the Sheetrock was added. So I unscrewed them, pulled them out and attached them to the studs. Now I am ready for the Sheetrock!
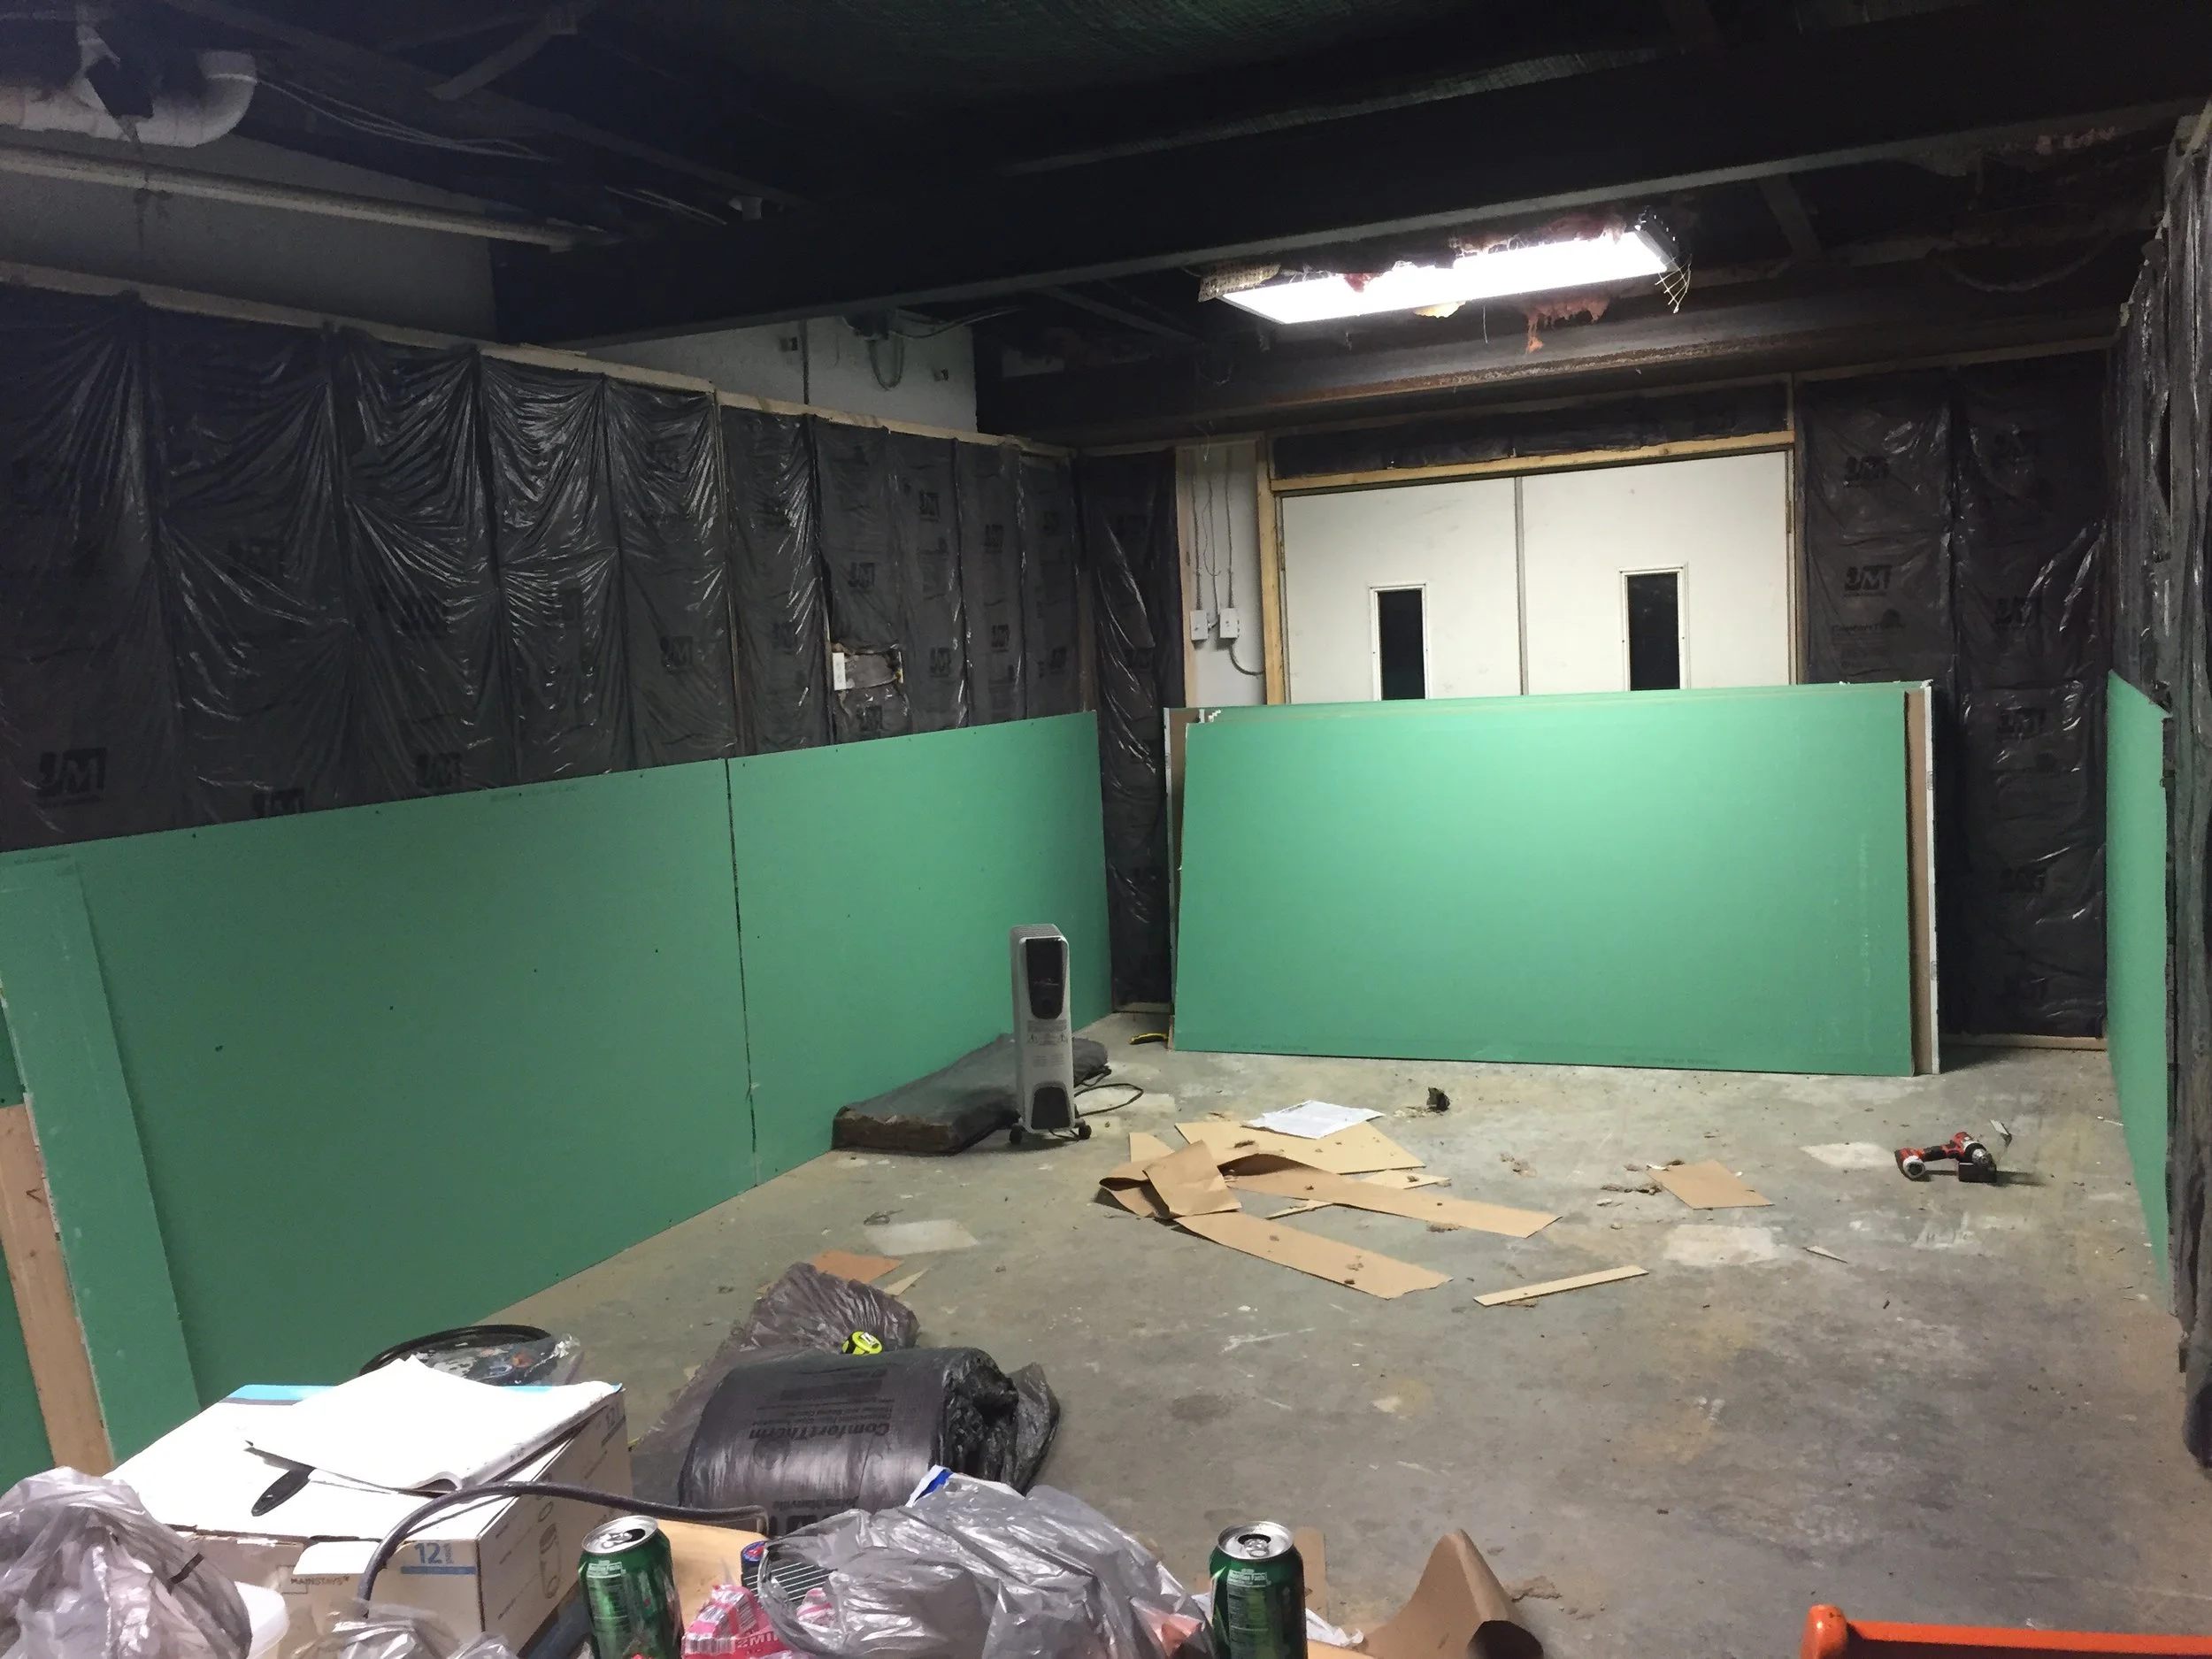
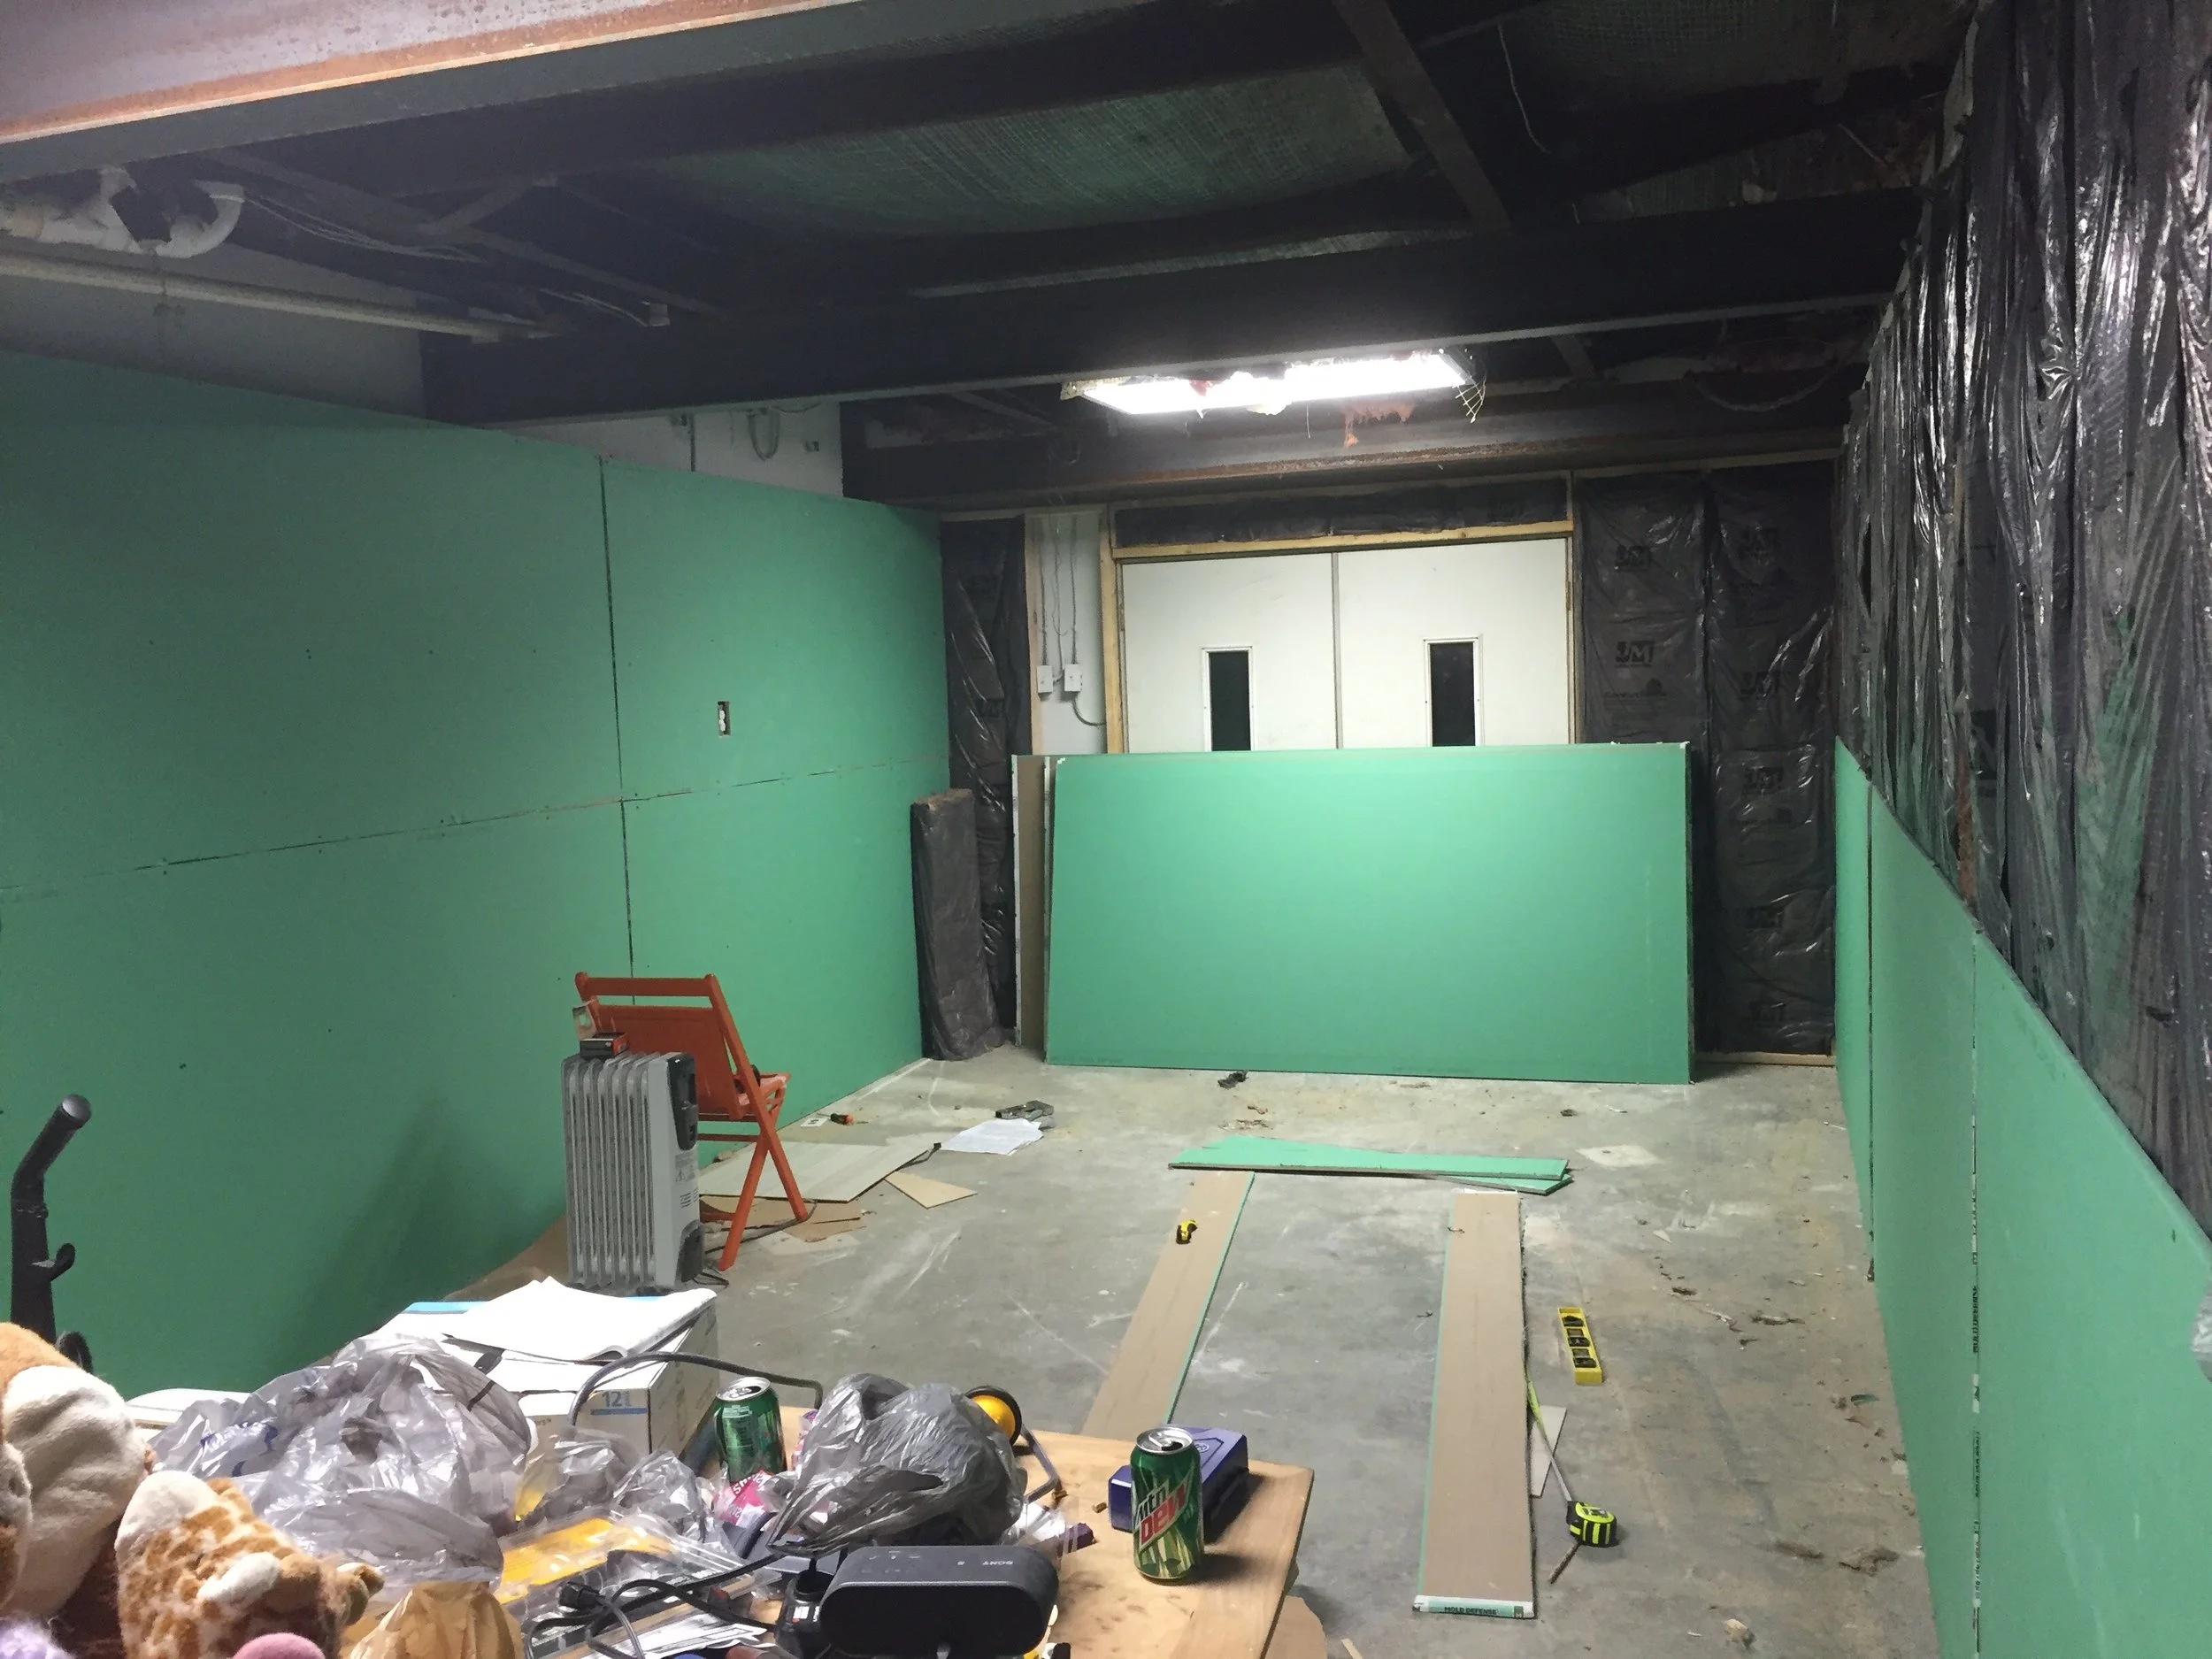
Do you like the green? It's mold resistant drywall, I figured the combination of this Sheetrock and the Drylock should keep any potential mold or mildew from growing.
We decided on a flooring choice, but we are still looking into ceiling options. I don't want to do a drop ceiling because I don't want taller people (like my husband) to feel like they have to duck.
Here is where my computer crashed and I lost all of the following images... (Computers and I don't get along).
I got all the Sheetrock up thanks to my husband and then I started on the taping/mudding. After I sanded the mudding as smooth as I could manage I began painting. The MMR Sheetrock ate up my base coat. I think I put on like 3-4 coats of paint and you can still see some green showing through the white.
Finally we put up 2x4's for the ceiling rafters. I used little U-shaped brackets to attach them to the wall frames. A little while later I headed out to Lowes to buy the lumber for the planked ceiling. I got quarter inch thick plywood, 9 to be exact and asked the Lowes employee to cut them down into 6 inch planks.
I got to work putting them on the ceiling with a Brad nailer my husband got awhile back, this made the process go pretty quickly. It was difficult to hold the 8ft long planks myself and nail them in place (don't be like me and have a buddy help) so after a while I called in my husband to help hold them in place.
Changing out the fluorescent lighting would have cost us a pretty penny, so we decided to just keep them. My husband and I comprised by "boxing" them into the ceiling, now they kind of look like sky lights.
Because the basement slopes, we had a problem with sections of the planks being about half in inch higher than the rest of the planks. To solve this I added 2x2's as trim where the planks "seams" were and now no one would ever guess the planks weren't even.
We are planning on painting the ceiling white at a later date but for now we will live with the pine color. I would also love to add wood beams where the trim is currently since I had to cover up the beautiful steel beams to save some money.
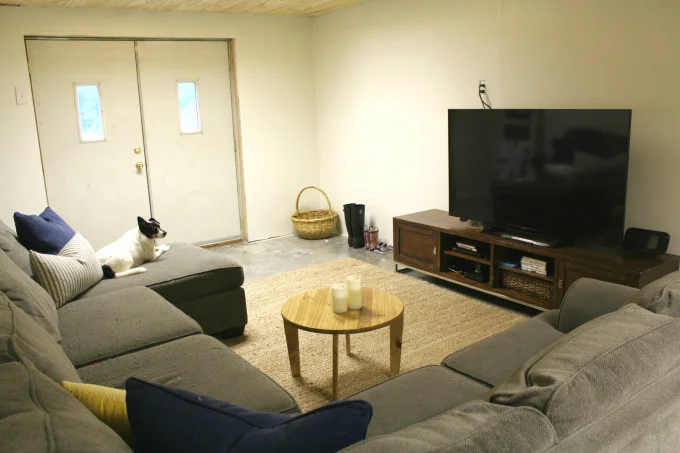
The double metal doors will be replaced with beautiful French doors to let all that natural light pour in the space(I should start a go fund me lol). That case opening is being left as is for now until I get to work on the sliding barn door (Meaning I haven't bought the kit or the wood yet).
For the flooring we have chosen to keep the concrete until we can afford the beautiful flooring we picked out. When it rains heavy here moisture seeps through the concrete. To hopefully solve this problem we bought DRYLOK clear to seal the floor and hopefully keep water out. It looks milky, but it dries clear. The application is super easy to do, I cleaned up the floor first by sweeping and then vacuuming. I poured the sealant straight from the can(after stirring) into a deep painting kit and rolled it directly unto the floor.
After three hours of drying time I added the second coat. That was all I had to do! Once it dries (I gave it over night but the can says 3-4 hours) we can start bringing in our furniture.
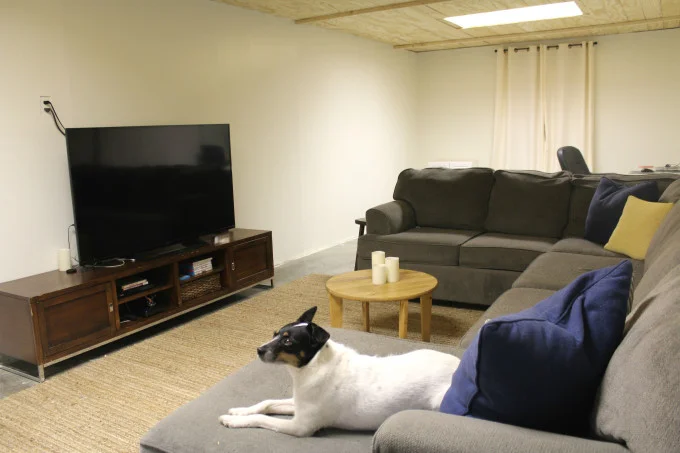
I went to my local home store for wall paint. I went in thinking I was going to get Accessible Beige like I had planned but when the lady at the paint counter asked me "What color?" I found myself saying Dove White. I like that this color keeps the space looking light and bright rather than feeling like a dark basement.
The end of a project is always a bitter-sweet moment for me. I am happy to be done with the physical labor but I will miss sneaking away here and there to work on something. This construction part of the project has occupied my mind for so long and I often felt like I would never get it done. Now that we are in the final stages of construction I am excited to start thinking about the finishes and decorating.
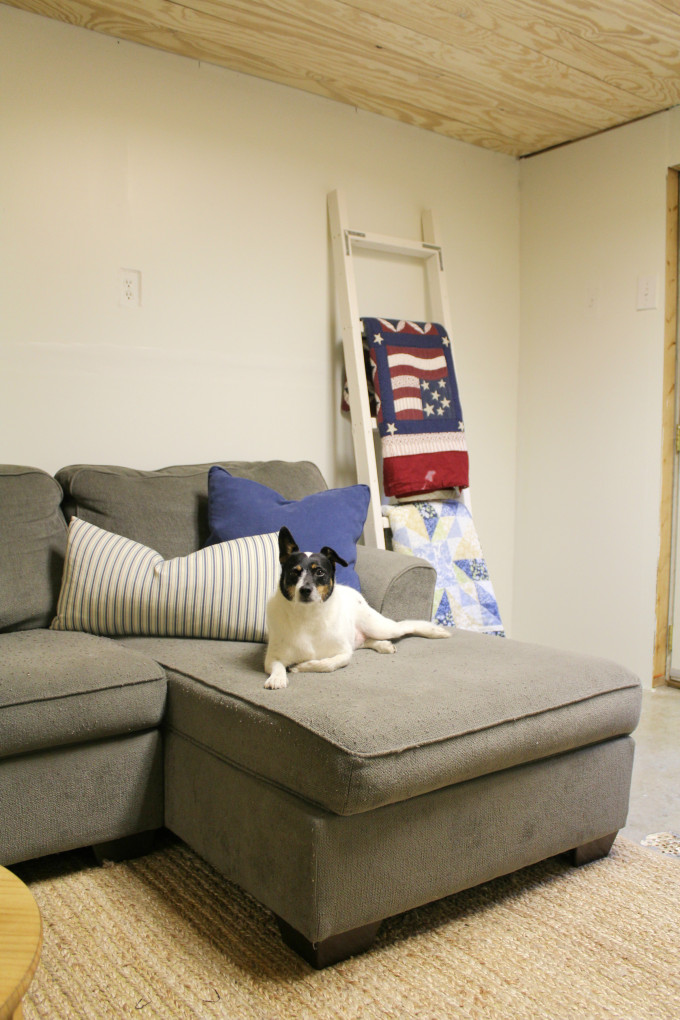
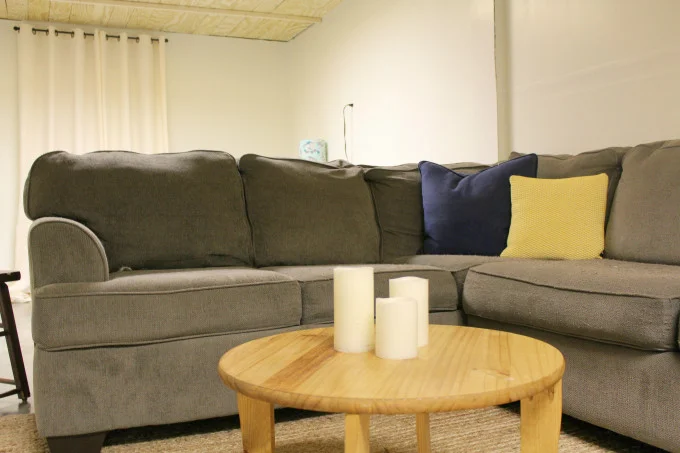
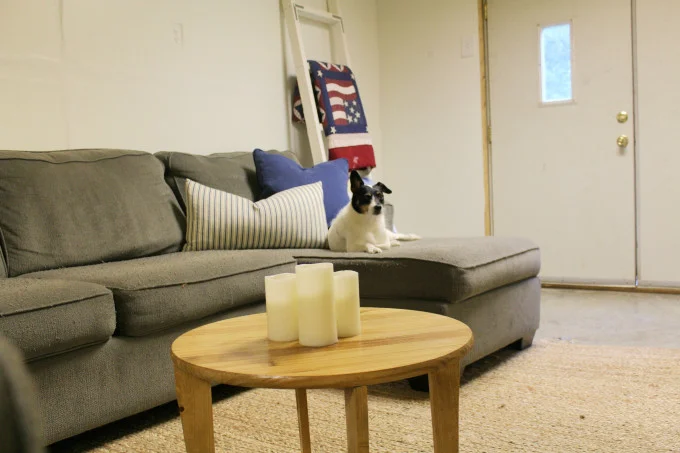
The finished space is around 12 feet by 24 feet. I love that we did it all ourselves and it's always a bonus to stay in budget.
Happy decorating!
Amy

